
My lovely rivet buddy Colleen and I got started on riveting the top wing skins on to the wing. I used a new riveting technique

One average family living on the fly
My lovely rivet buddy Colleen and I got started on riveting the top wing skins on to the wing. I used a new riveting technique
Tonight was a quick two hour night. I got the garage cleaned up so I could tell which way was up, then Colleen and I
Are you seeing a pattern here? Well, after today, it’ll be on to something different… assembly! After Colleen and I finished deburring the skins, j-channel,
After all the deburring, we though we’d get some dimpling done to mix things up a bit. I got all the dimpling done on the
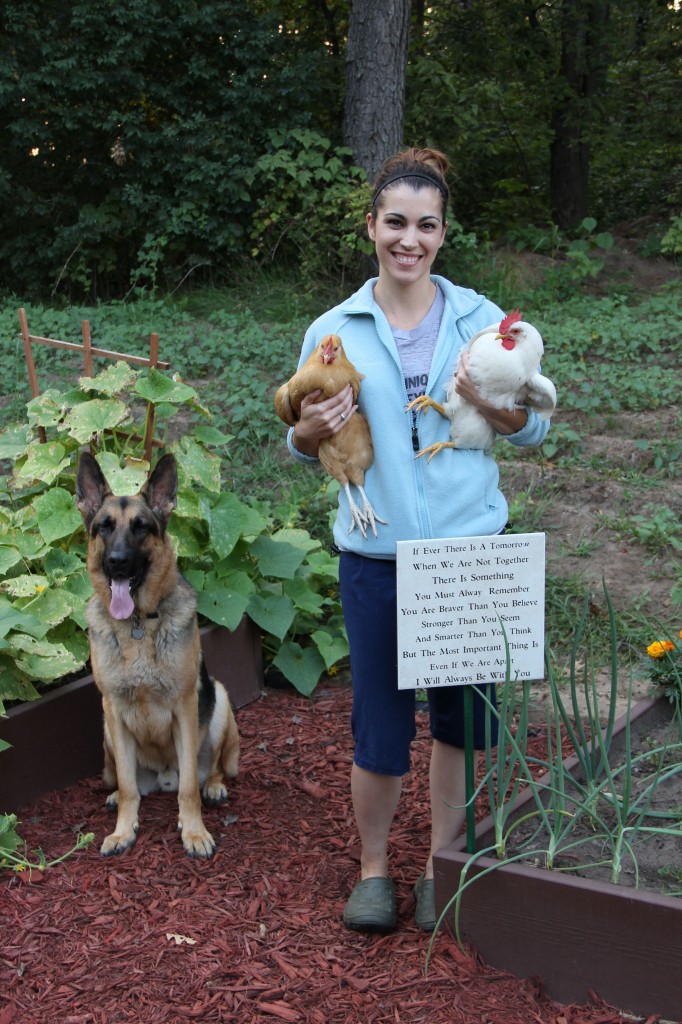
Quickie post on SUCH a super cool gift idea from my BFF, Alicia, and her Wilmington, IL Garden Club friends – I had to share!
We got the rest of the deburring finished on the left wing. Since the skins were already done, this consisted of all the ribs, the
Colleen and I managed to get the deburring done on the wing skins for one of the wings. There are a lot of holes.
Today was just like the last time I worked on the skins: sanding down the edges where they overlap… this time, on the other wing.

The top of the RV10 is actually made up of a number of different skins. A large outer skin, a smaller inner skin, the fuel
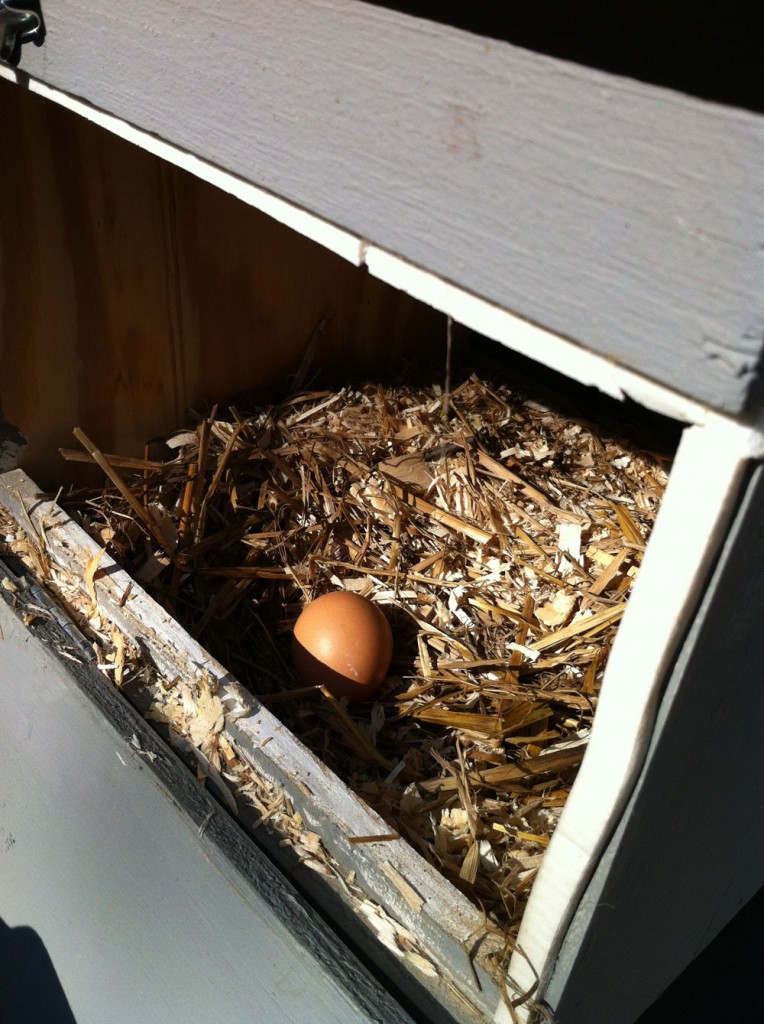
(Excuse my Frenish) It’s official – we have egg layers! I went out this morning and checked the nesting boxes – nothing. Threw out the