
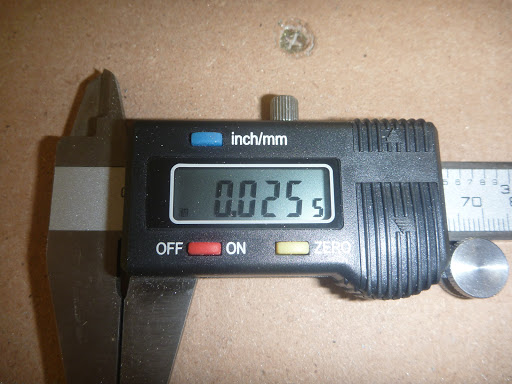
The top of the RV10 is actually made up of a number of different skins. A large outer skin, a smaller inner skin, the fuel tank skin, and the outer leading edge skin. Most of these skins butt up against each other in a way you can make the transition pretty smooth, but the inner and outer skins actually over-lap. In order to make this seam as aesthetically pleasing as possible, the instructions show you that you can sand down the edges where it over laps. I accomplished this with a random orbital palm sander with 60 grit paper, a caliper, and a sanding block with 150 grit. I’d go to town with the palm sander, check where my high spots were, and hit them again. Then I’d go over the whole edge with the sanding block, and that would even everything. A few times putting the skin on and taking it off to check the fit, and I think I have it to a point that I’m happy with it!
Before:

After:


Pictures don’t really do it justice, but on the one wing that’s done, the joint is much less noticeable.
I really appreciate both your Blog and your videos on Youtube. Both are great sanity checks for me when I’m second guessing myself.
I’m at this sanding the top skin overlap step now and was wondering, did you take both skins down to a point on each end so they sit completely flush with each other?? Or do you still have a little bit of a ridge from the top skin??