
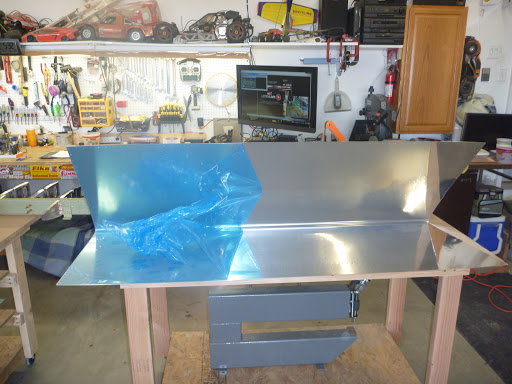
Tonight was a fun night as we got to see a lot of visible progress in a pretty short amount of time. It was the first time the entire HS was assembled! I started the night with getting the skins prepped. This involved deburring the edges and pulling the protective blue plastic from the inside. Then the skins are set into the plywood cradles I build last night. The only purpose of the cradles is to hold the stab vertical. It doesn’t align anything. The pre-punched holes in all the parts do that. That’s the magic of these kits from Van’s. More on the pre-punched holes later.
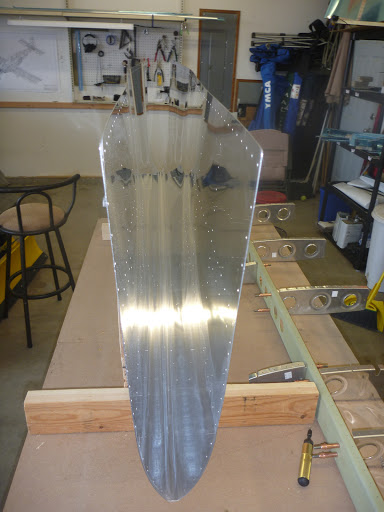
Once the skins were standing up, I cleco’d in the nose ribs. While doing this, I noticed that I forgot to round the nose of two of the ribs. Luckily I caught this before the skins were bent at all. Last night was one of those nights where I should have just put the tools down and gone to bed. In addition to missing those two ribs, I managed to OVER round another rib, and sanded two of the rivet holes completely off. FIRST PART REORDER! A quick call to Van’s, and they are happy enough to take my money and send me another rib (and some more pro-seal that I’m going to need for the elevators and trim tabs). For now, I’ve got the bad rib at the end so I can just pop it out the side to replace it. The nose ribs really pull the skins together, and it’s a bit of effort to get them in place. Lots of cleco wiggling…


Nose ribs going in, and the offending rib with a bit too much off the nose
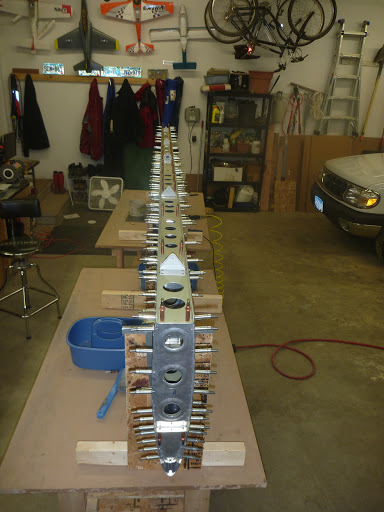
Nose ribs in place, it was time to drop the spar and rib assemble into the skins. Then more clecos. The clecos are still a bit tricky as the skins really pull all the parts together tightly. Next is the stringer assembly, which is just two tapered pieces of angle aluminum joined together. This is dropped in between the skins and the ribs to help stiffen everything up a bit more. Now the tricky part. The inspar ribs (the RIBS that are INbetween the two SPARs) were the parts that I had trouble with last night. I figured I’d see if the holes in the skins would line everything up… and what do you know? They did! Gotta love this pre-punched stuff. It was quite a bit of work to get the clecos in, as the skins were really pulling the parts together tightly, but with Colleen’s help, and a LOT of clecos, the ribs were all in place.


That task out of the way, I was able to drop in the rear spar, cleco it in place, and final drill it to the inspar ribs. Every single silver 3/32 cleco I own is in that stab. That’s 500! And the stab is TINY compared to the wings! I really understand why they say you can never have too many clecos! A quick task of match drilling in a piece of webbing in the center section, and we were done for the night. 

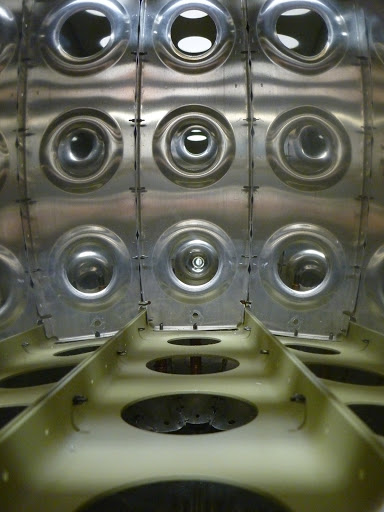
When I was putting the rear spar on, I noticed something… I had a few rivets that were “tipped” on the rear spar doubler. The rule is that if a .002 feeler gauge can reach the shank of the rivet, it should be replaced. That is definitely the case with these, so replaced they will be! The bad ones are in a row, so I mush have been holding the squeezer at an angle… and I know I was focusing on the shop head side, not the manufactured head side.

And finally, tonight’s video: (doesn’t Colleen look a little “dressed up” for the airplane factory??)
Well, those are very fashionable sweat pants if I don’t say…
Good teamwork tonight! It looks like it’s all coming together well. 🙂
Sorry about the botched rib. I will think of your order in shipping tomorrow as I pass by Van’s shop. 🙂
I really like your pneumatic cleco tool for production fitting. I bet your wrists appreciate your financial investment.
Your plane factory looks like a great size, is well organized, and set up for production. You guys had some pretty odd positions to be in tonight while work progressed. As a suggestion, you might consider placing some concrete floor pads down where you stand a lot. My back hurts just watching you two stand on the concrete for long periods.
YES, Colleen does look pretty snazzy for the home hanger! I AM SURE that she ran home from work and didn’t have time to dress down before her second shift for the day commenced and this is why she abstained from the PJ’s or sweats tonight. I KNOW it had absolutely nothing to do with her now knowing that you two have attracted a couple of lookiloos/future builders on the west coast. 🙂
I appreciate the update as usual; very informative. You are likely benefiting greatly from the experience of keeping a great up to date log too; now and when the DAR reviews your work.
You two keep up the great work!
Thanks Stuart! Love your suggestion about the pads for the concrete floor – well worth it in the long run I’m sure.
I know – pretty different from my normal footy PJ attire:) Didn’t need those yesterday with the beautiful weather. Could you believe we are upper 60s in MN this week? Glorious! We’re used to blizzards in March around here.