
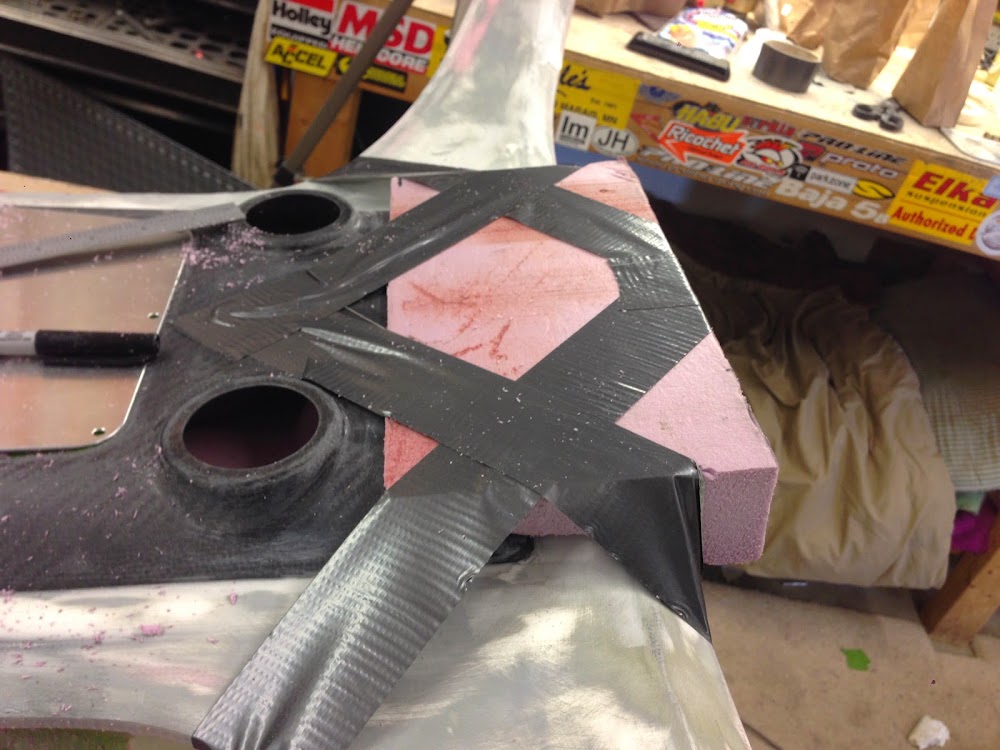
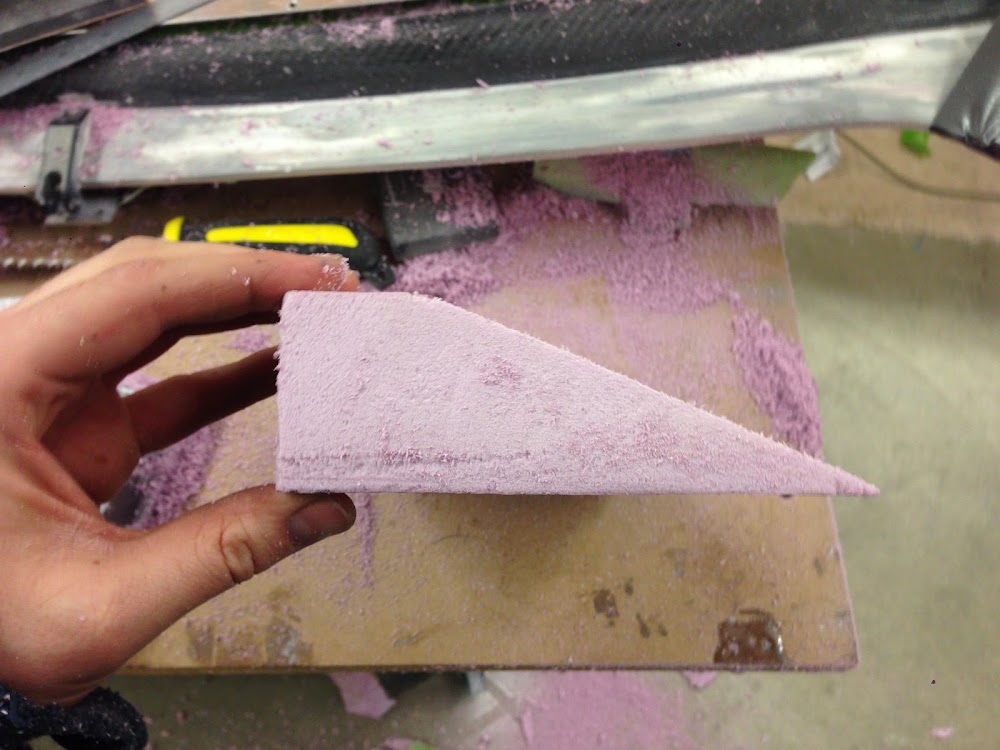
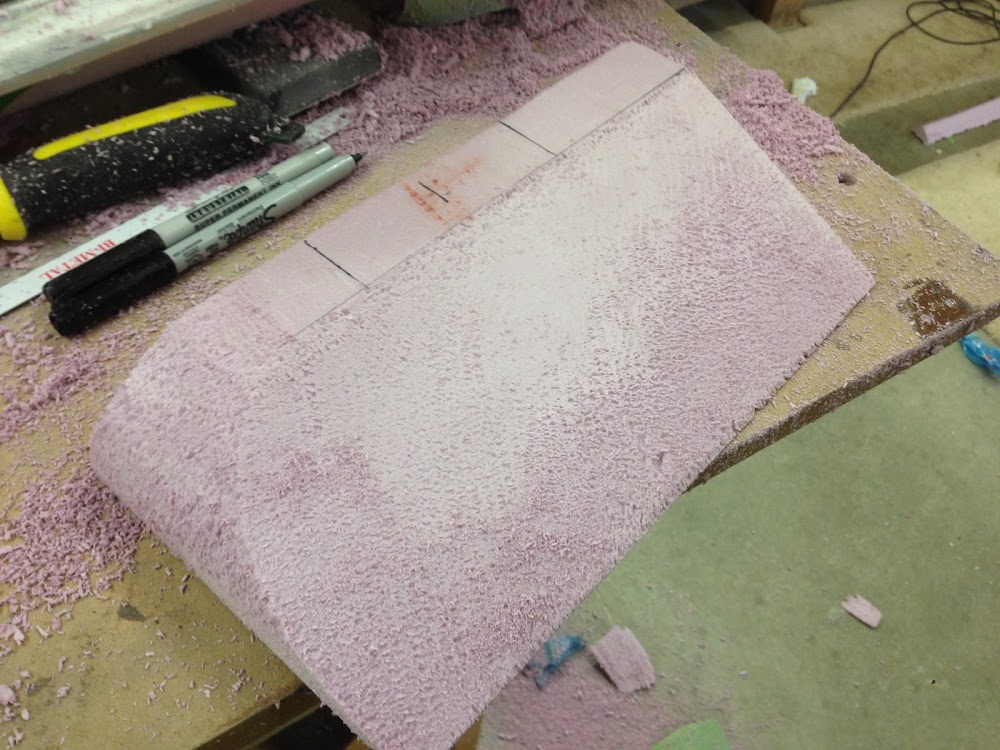
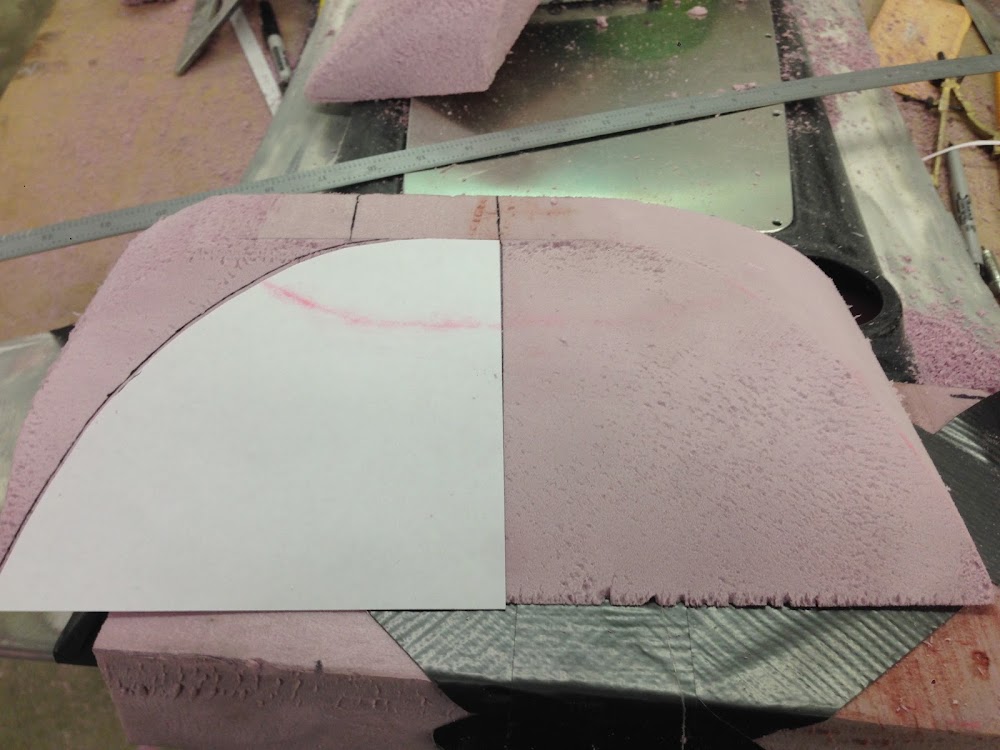
I’ve decided that I am going to go forward with the overhead switch pod that I’ve been putzing with. However, the foam plug I had been working with was just a quick and dirty size to give me a feel for how it might work. Since I’m going to do this for real, I needed to remake the foam plug from scratch, while being careful to make it symmetrical, and shaped in a way to cleanly flow into the existing Aerosport overhead console.
I had tried my original “pod” shape with the overhead attached to the fuse, and the pilots seat bolted in place. This gave me a good feel for how I would reach for switches, and how the panel would look. It turns out that the original design was about twice as tall as I liked, and I also needed to carve much more of a curve into the sides of the panel. So I chopped it down further, and did some pretty aggressive carving on the sides. I was worried about the panel obstructing the view, but with my head against the headrest of the seat, the switch pod obstructed the exact same area that the bill of my baseball cap did, which is to say, not much at all.
I put some packaging tape on the overhead and the cabin top, taped the foam plug in place, and used some expanding foam to fill some voids in the more complex curving areas. Once this dries, I’ll final shape the entire thing and glass it in.
The pod is a cool idea. What switches did you use for the on/off dinner for lights on, strobe, taxi, land?
I am always amazed at your build. I just helped a friend finish a RV 10 N2722W. Just came back from paint.
Thanks,
Bill