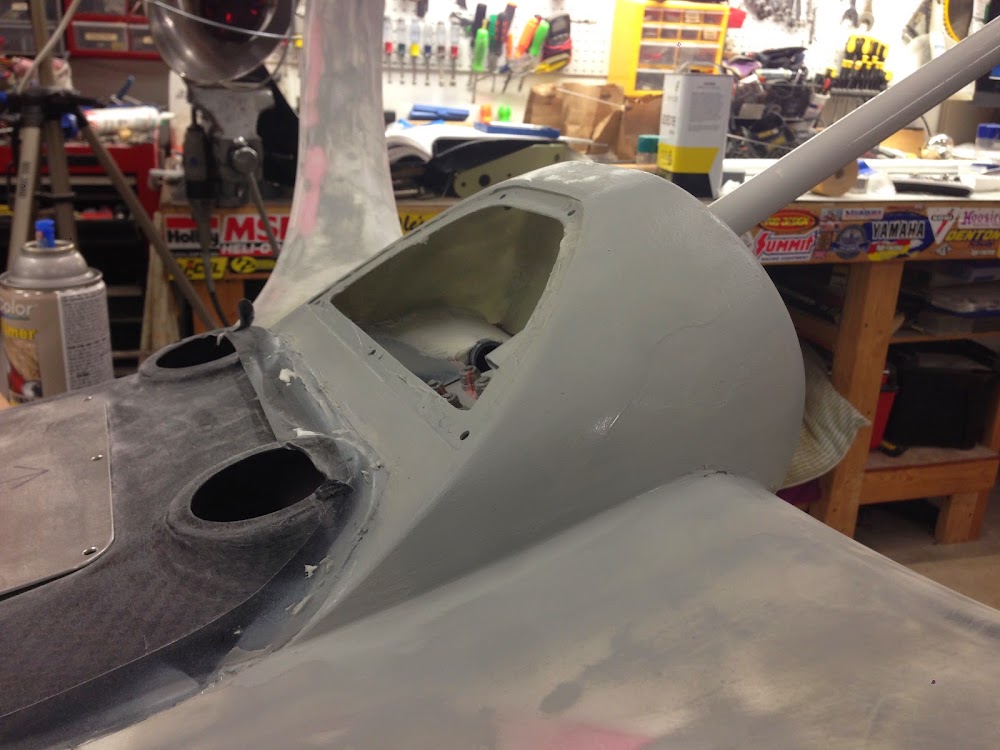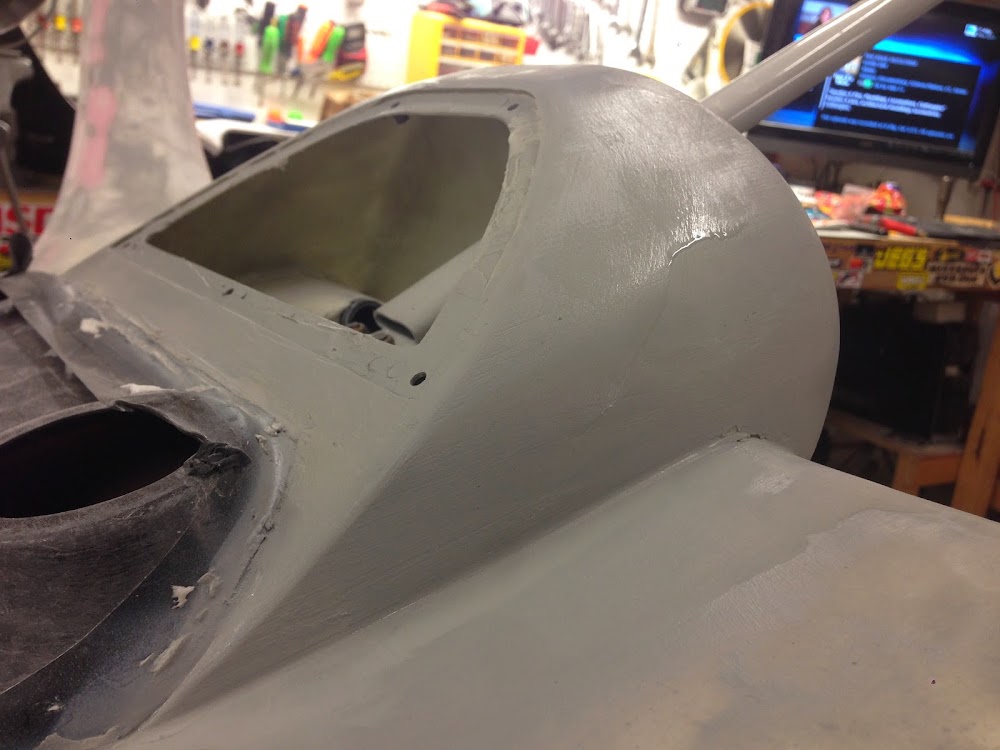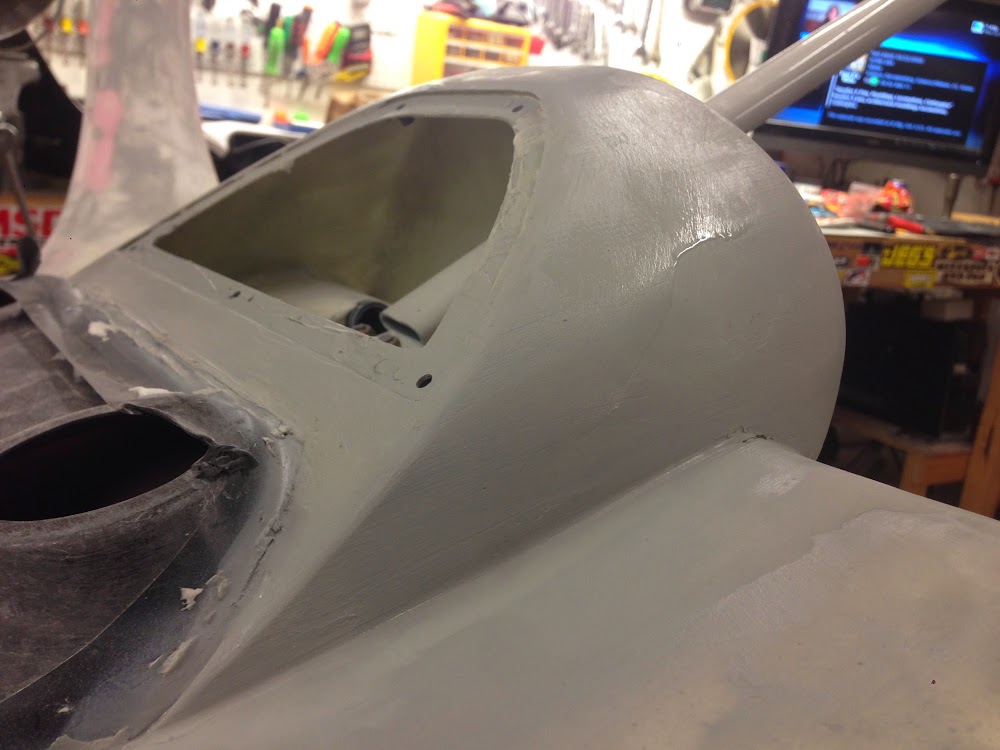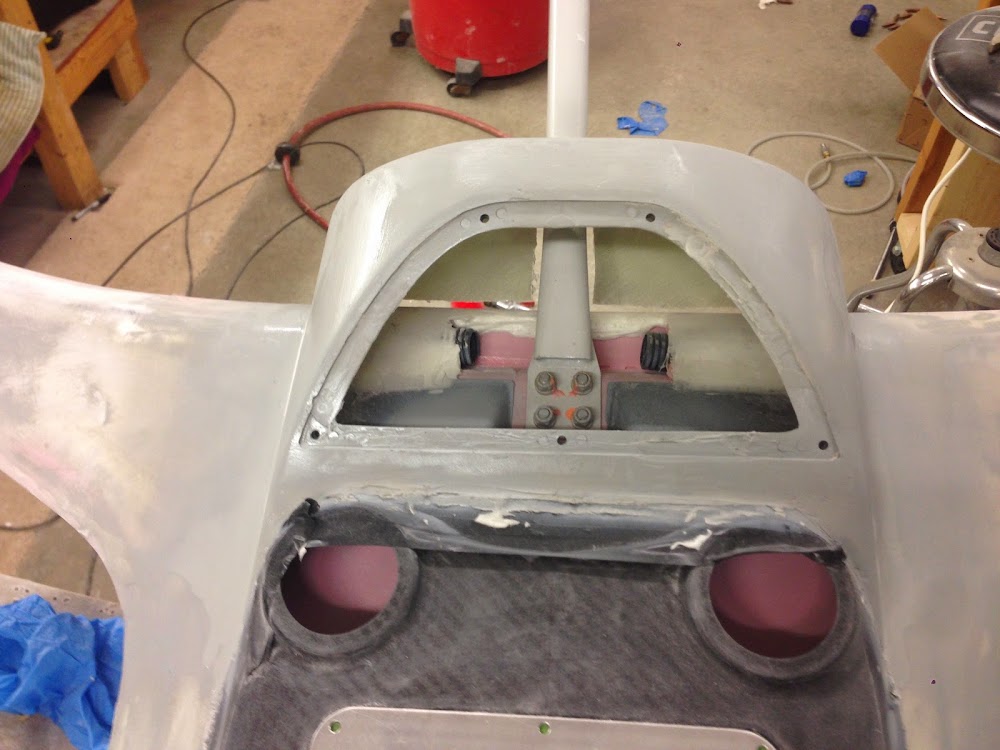
More of the same tonight. I started by sanding smooth the switch pod again. I also sprayed on some high build primer as a sanding guide coat. When you let it dry, the next time you sand, it shows you where the high and low spots. The high spots get the primer sanded off, and the low spots stay in the primer color. After sanding, I added some more micro to the switch pod, especially around the panel flange. I wasn’t happy with the way the edge of the opening looked, so I put a bunch of filler in there and screwed the panel on. It should be an exact fit when it’s cured.
And then I finished up with a little work on the rear door posts. These are quite rough from the factory, and are basically getting the same treatment as the switch pod is now.