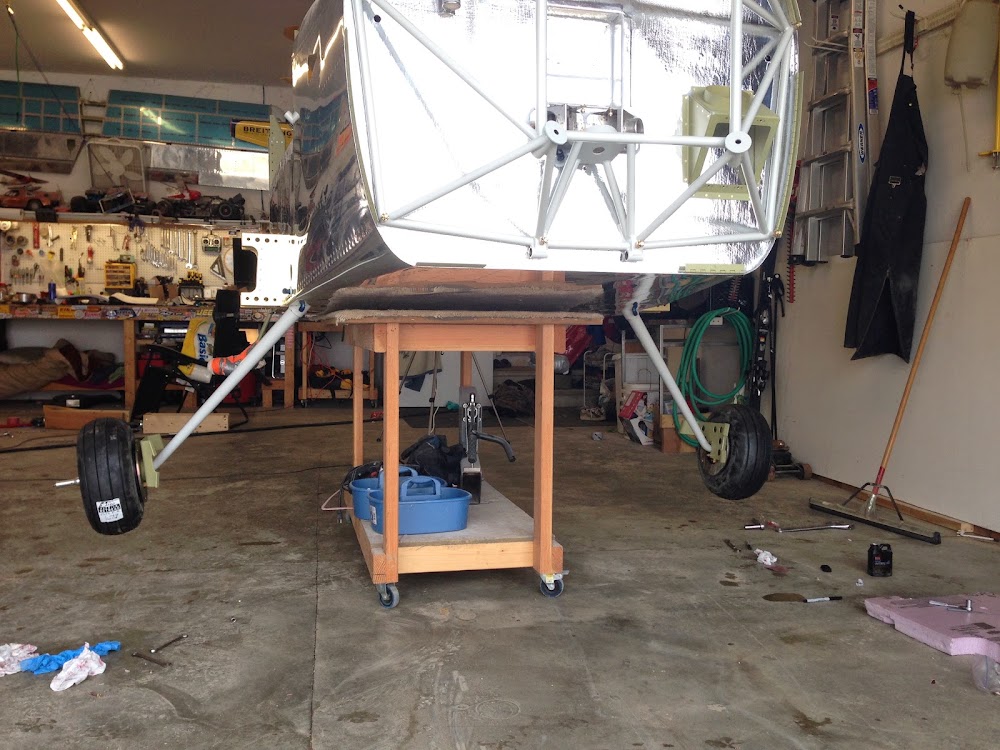
Big day today! After priming the cabin top and airing out the garage, I began work on installing the landing gear.
To begin, I had to raise the fuselage up onto the work bench. Luckily, the bench is both high enough to clear the landing gear, and also narrow enough to sit in between the gear mounts. I was able to lift the fuse on to the bench by myself, with some help from a front end loader!
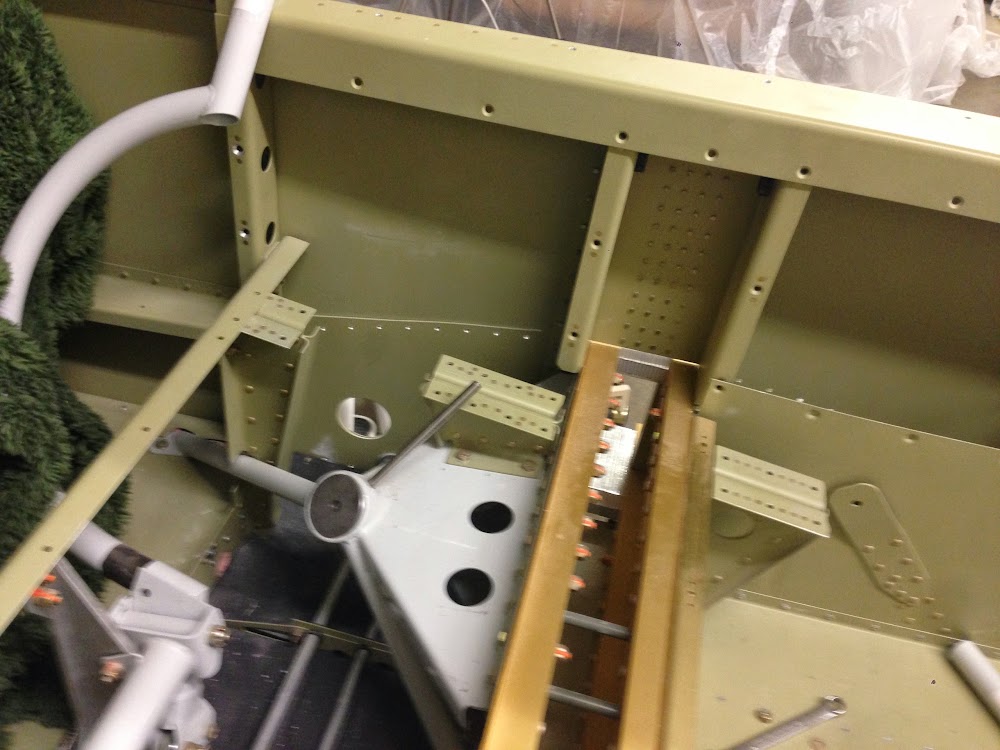
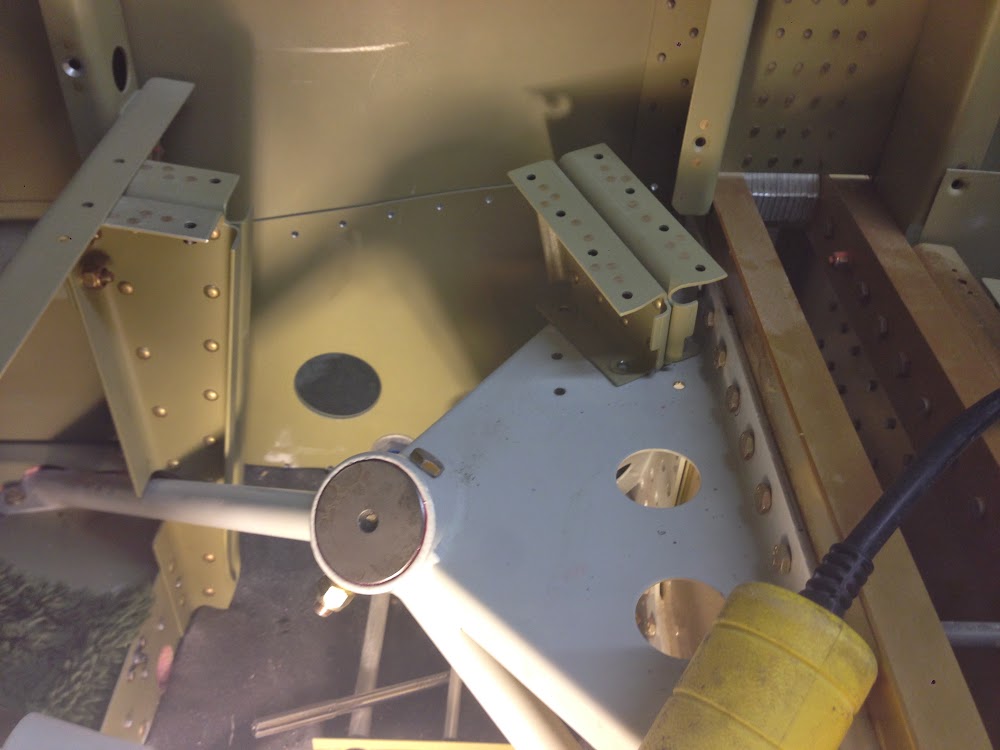
Once on the bench, I removed the temporary wooden supports. Then I slid in the first leg. I got lucky, and it slid perfectly in all the way on my first try. The next step is to match drill the hole for the bolt that fastens the gear leg to the gear mount. Here, I was not so lucky. It’s tight enough in the fuse that the plans have you slide the drill bit into the hole, then attach the drill. However, I had bolted the mid seat rails to the gear mount, and it was in the way. And with my luck, the bolts that hold it in place are probably the most awkward and painful bolts to access in the plane to this point.
After a few choice words, I was able to unbolt 3 of the 4 bolts and rotate the mount out of the way, and drill the gear leg. The leg was then removed and the holes deburred. I greased up the leg, slid it in for the final time, and bolted it in place!
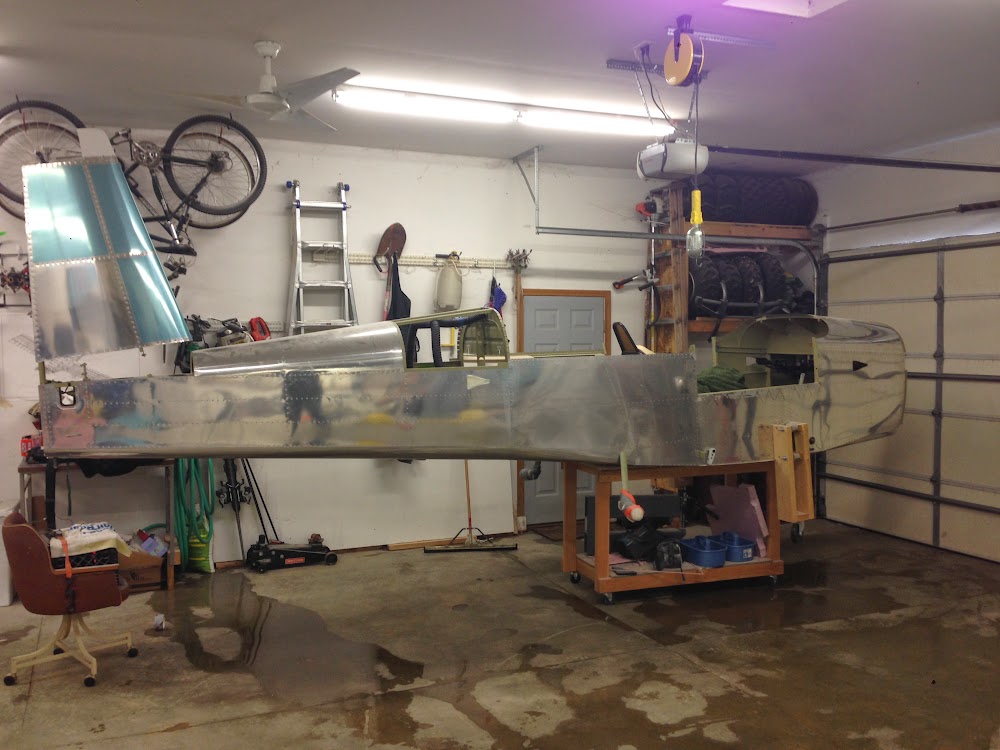
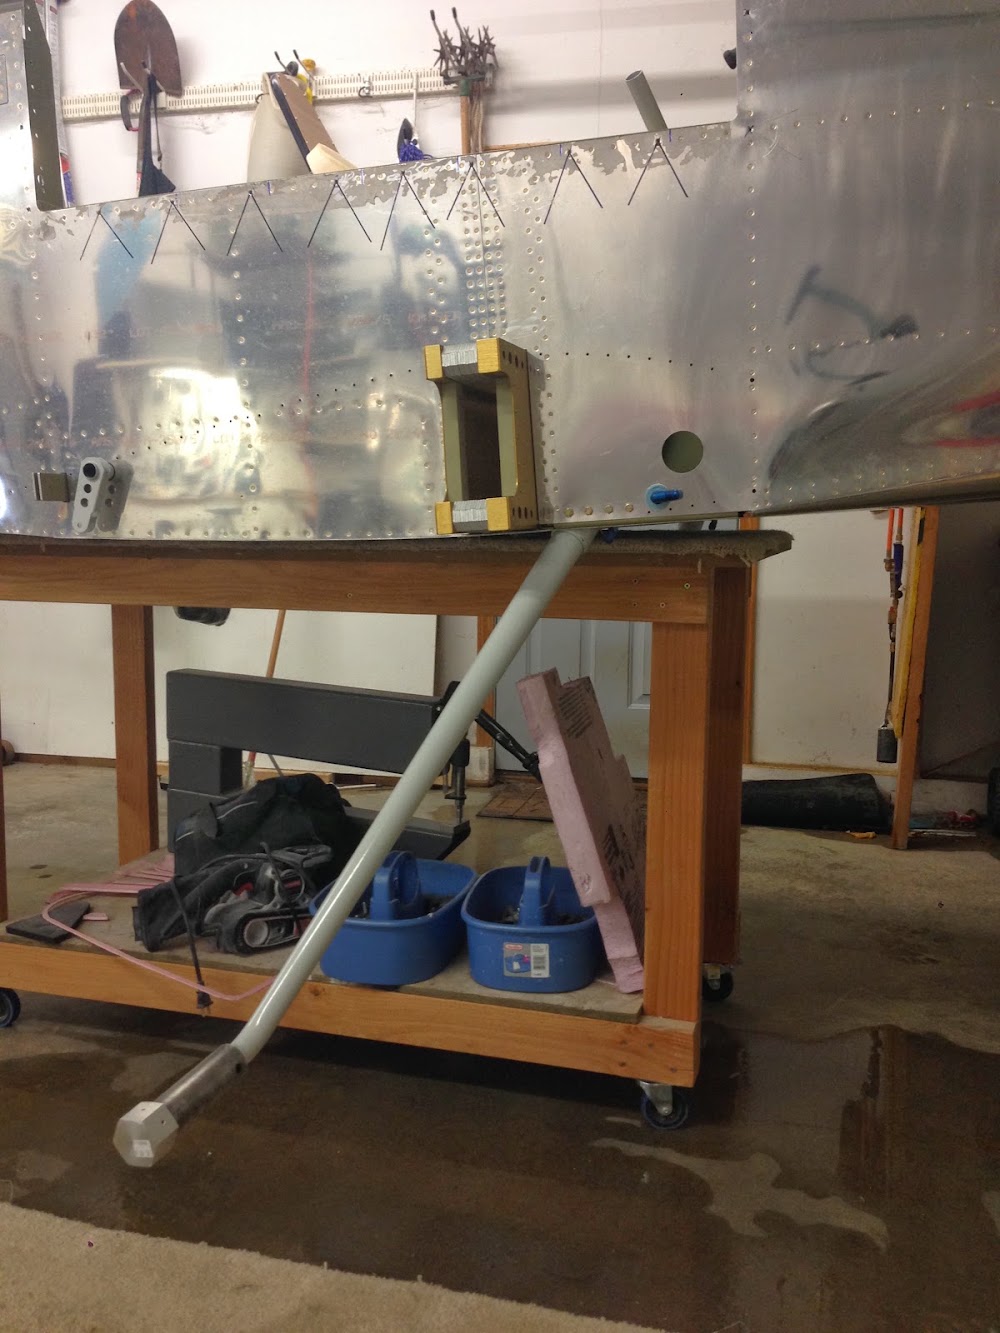
I then repeated the process with the left gear leg, which went a lot faster, now that I knew what I was doing.
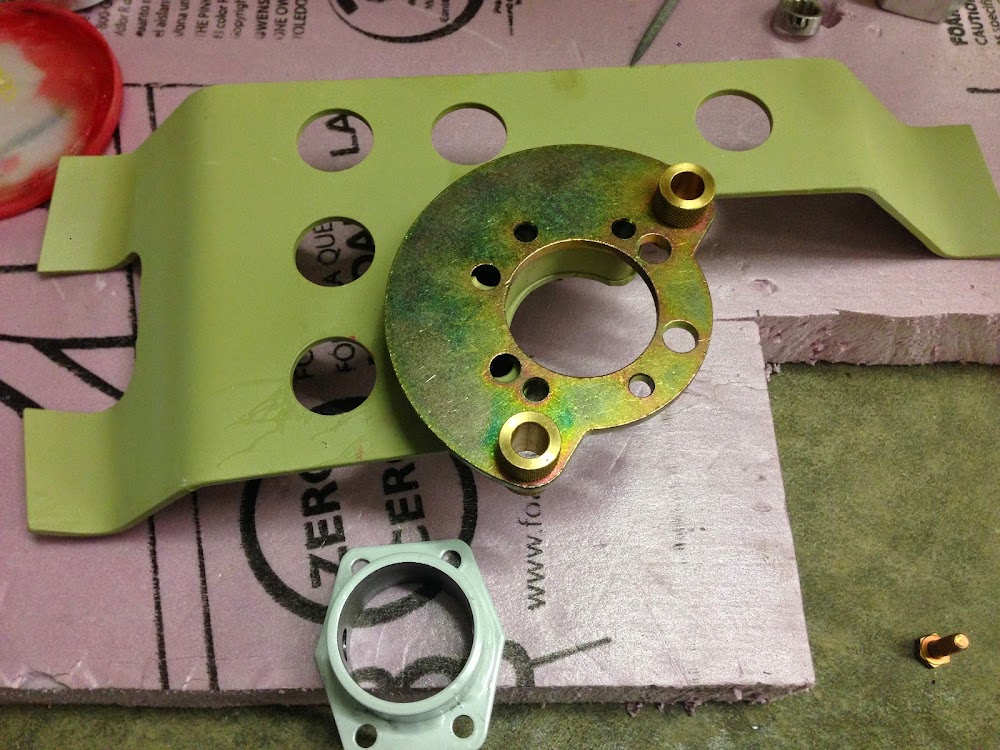
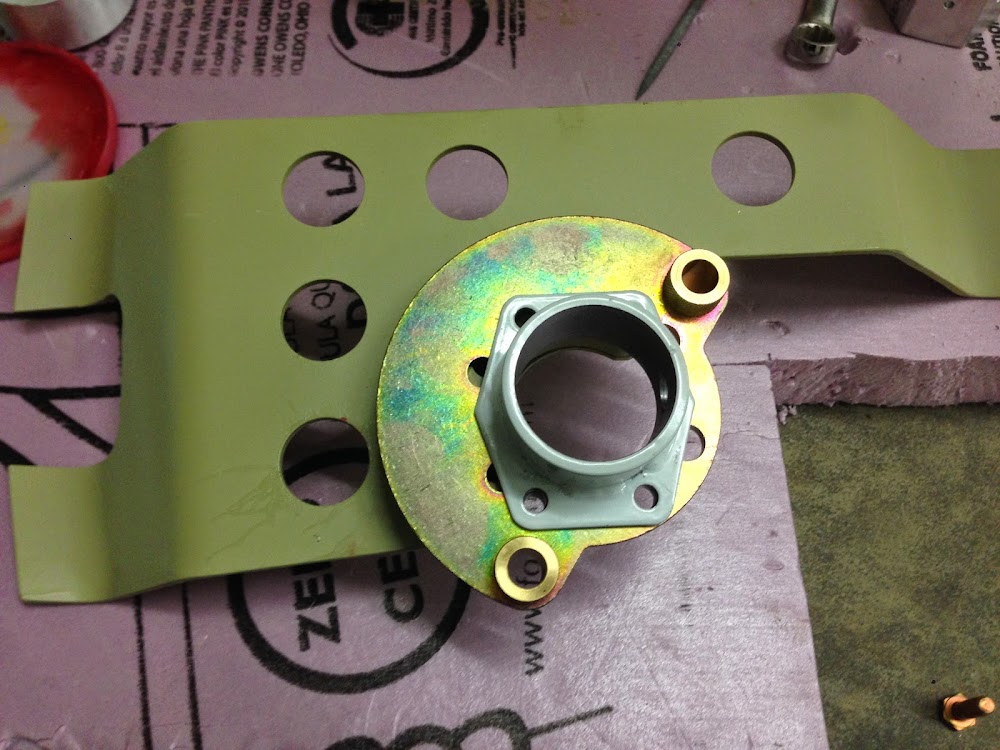
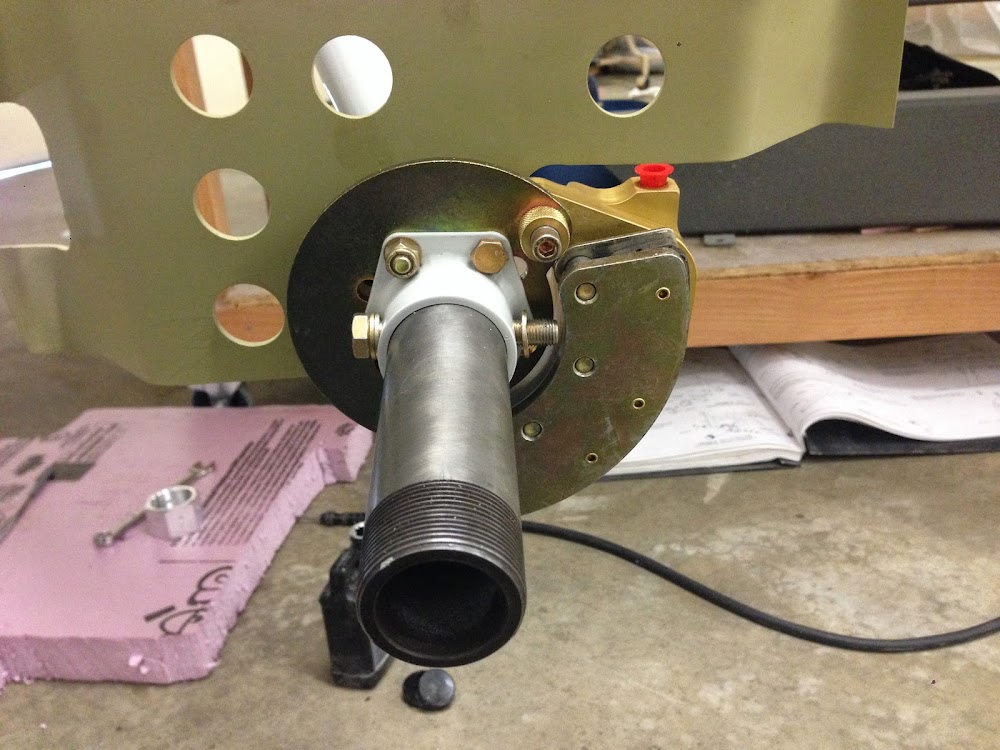
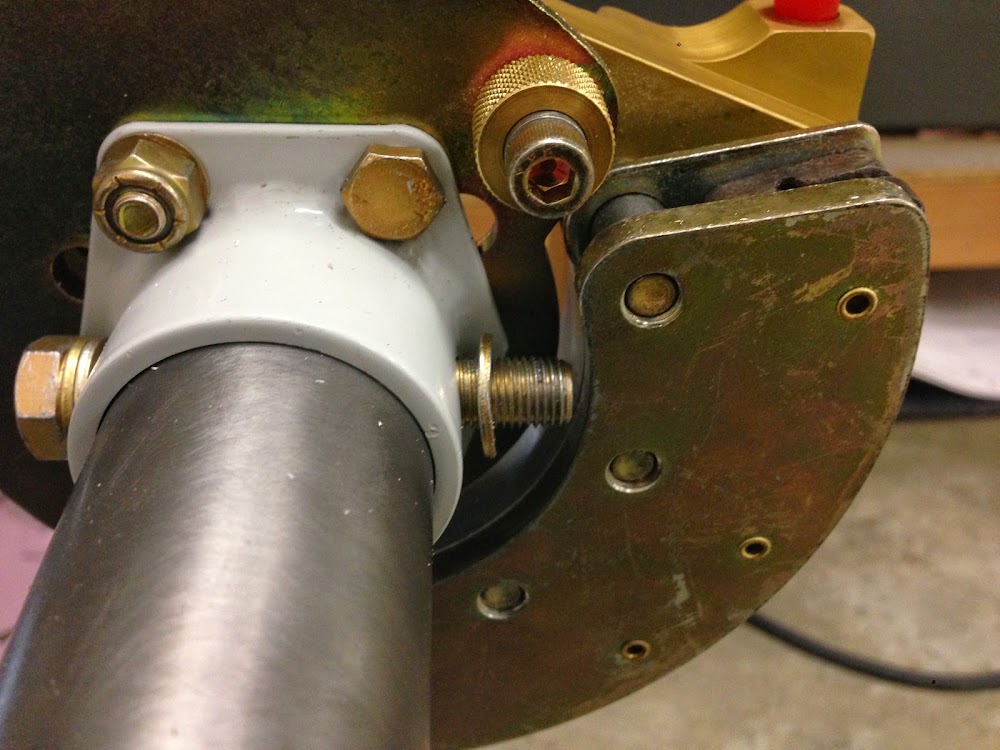
Next, I built all the components that hold the wheel, brakes, and wheel fairings in place. Three departures from the plans are that I am using the Matco brakes and rotors (that I mentioned in a previous post), the PlaneAround spacers for the pants bracket, and the Cleaveland Tool Axle Extender. The stock configuration is to use 3 narrow bushings to space the wheel pant bracket out, but many people had problems with these failing after time. PlaneAround makes a nice light spacer that replaces these. The last aftermarket part is an axle extender from Cleaveland Tool. This provides the outboard support for the wheel pant, and the stock setup suffers from the same issues as the stock spacers I replaced with the PlaneAround kit.
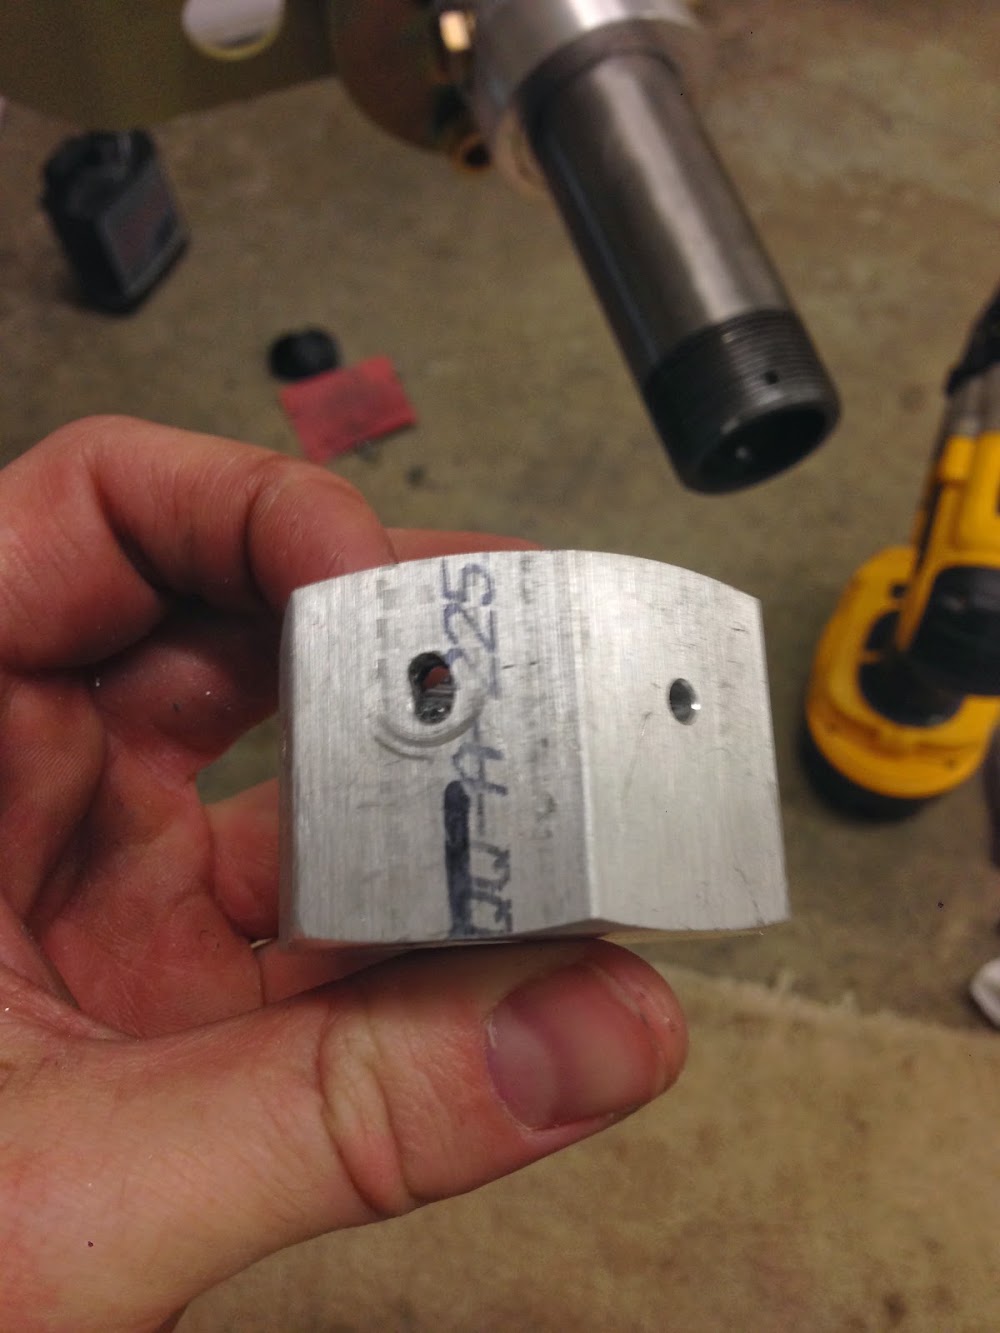
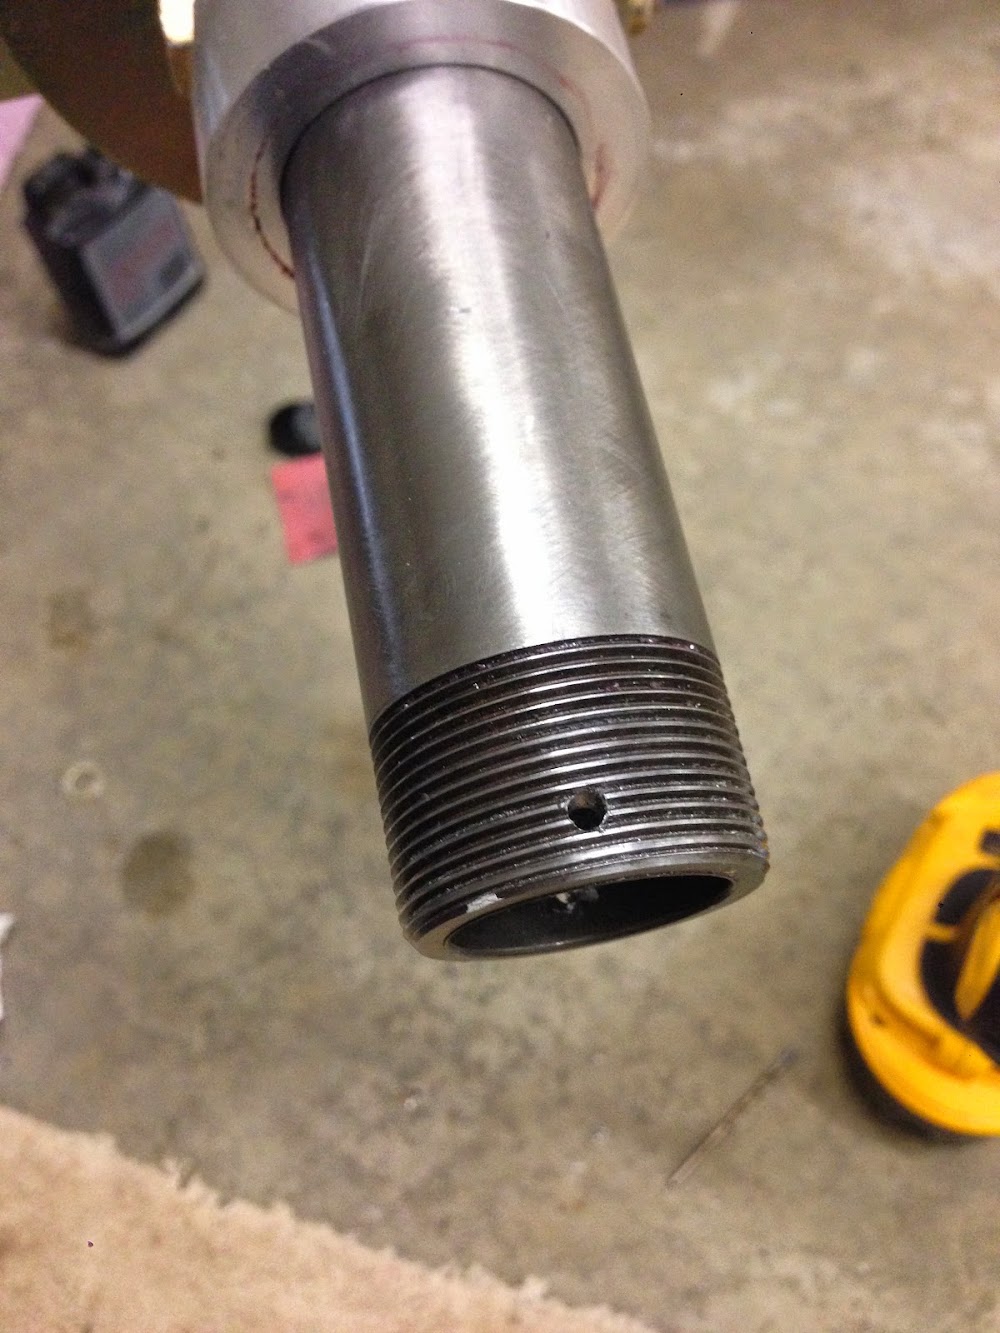
It took a little head scratching about the order that everything is assembled, and which way bolts should go, but I got it all together. The only part that I had to “Phone a friend” on (thanks Justin and Sean) was the part where you need to drill through the axle nut into the axle. This hole is for the cotter key that keeps the axle nut in place (which holds the wheel on… kinda important). The issue I had was that the Matco wheel must be a bit thicker than the stock wheel, because when the axle nut was tightened to spec, the pre-drilled hole in the nut was only a thread or two from the edge of the axle. The solution is to slot out the holes in the axle nut a bit, which allows the cotter key hole to be drilled a little bit more inboard, away from the edge.
After that, I repeated the process again on the left side, and again, it went MUCH faster. If I ever build a plane again, it’s going to be a snap!