
Since I had decided to redo the baggage hinge earlier, I needed to wait to install the door permanently until I was able to prime the hinge.
First the door jamb gets riveted to the frame and side skins. Then I installed the door to the jamb with the hinge pin(s).
I did my door hinge differently from the plans. Since it’s easier to just show you all what I did, here is a video explaining it:
I also insulated and installed the little side panel that sits right in front of the baggage door.
All that’s left on the door is to install a lock and install some weatherstrip. I’ll do both at a much later time.
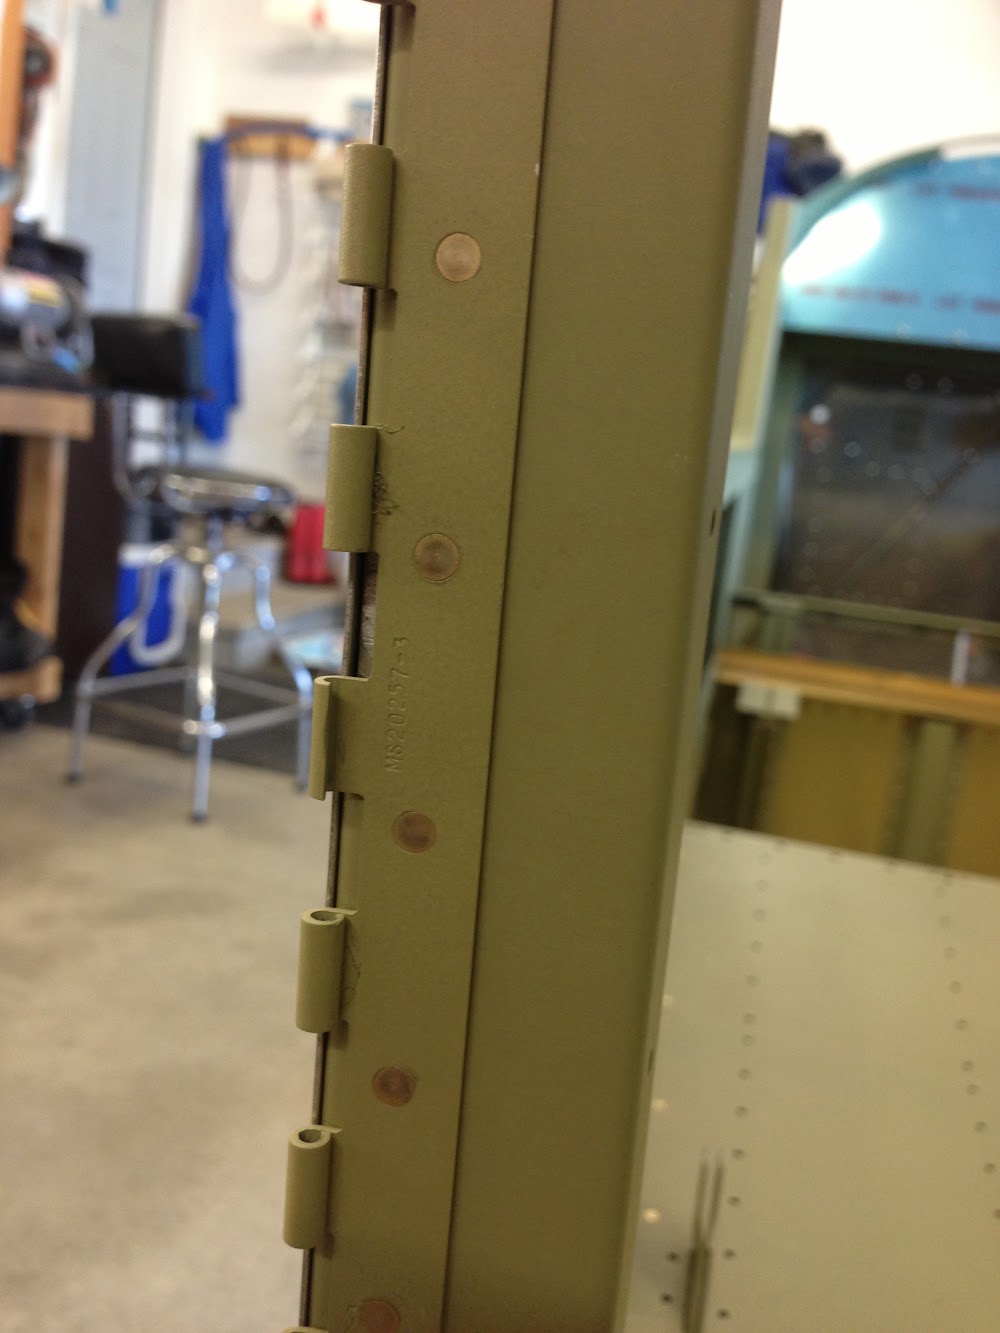
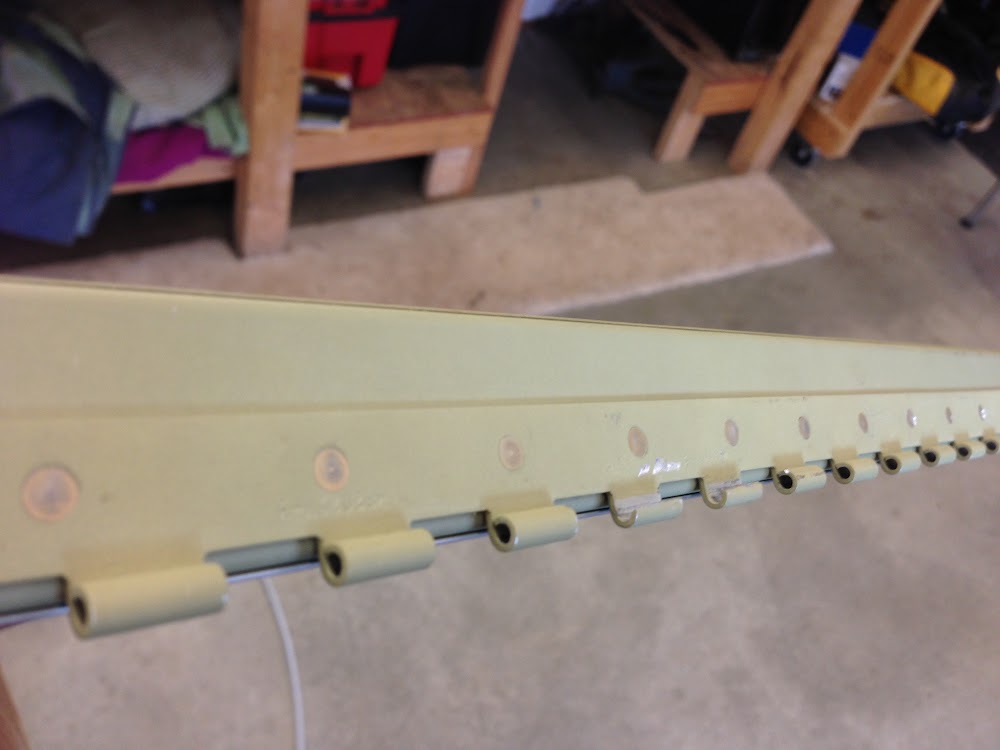
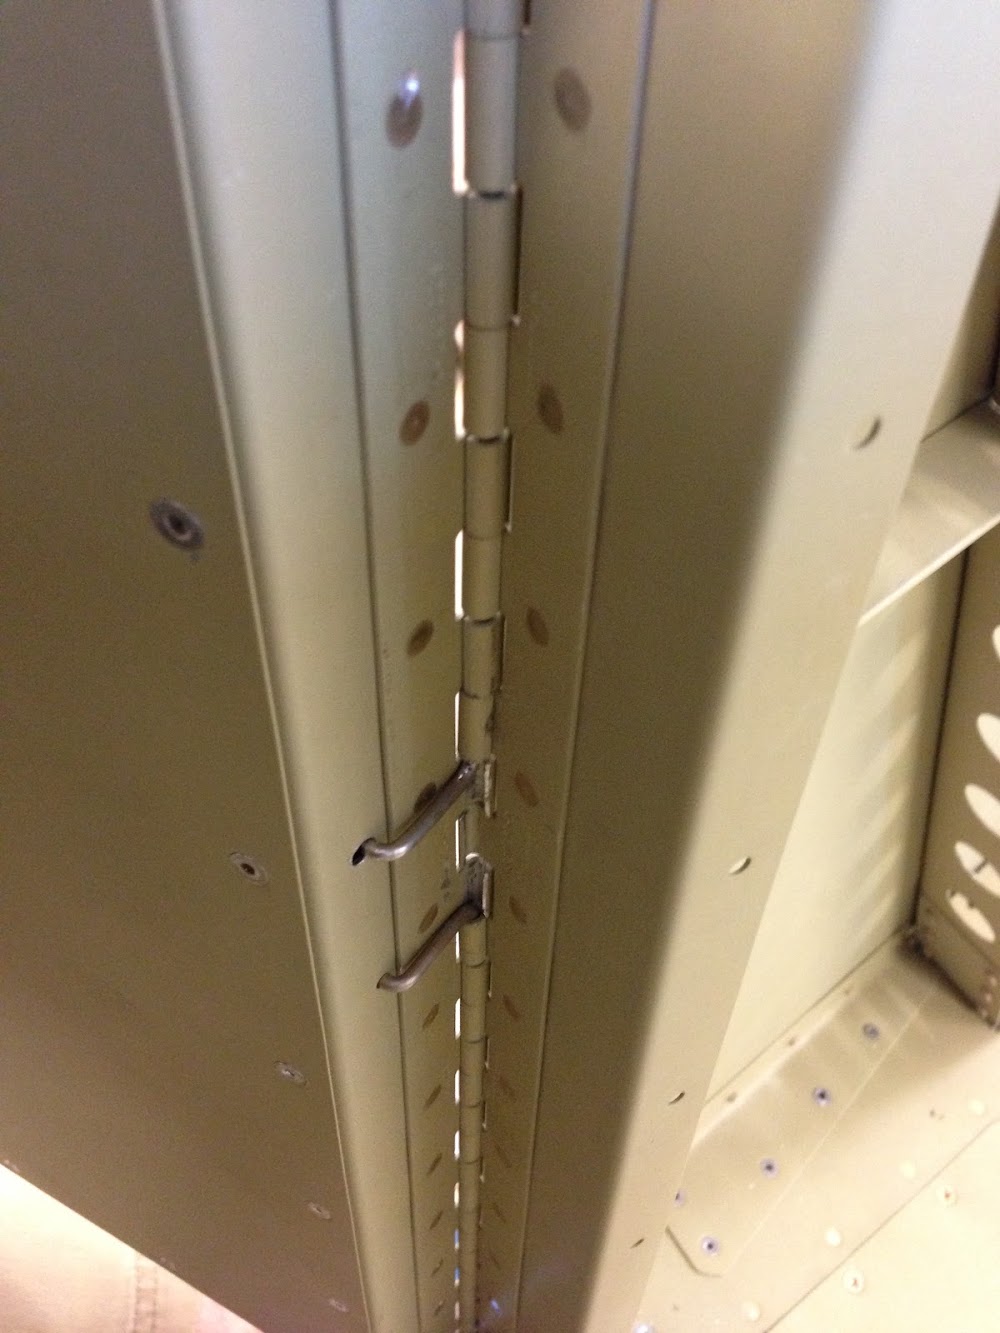
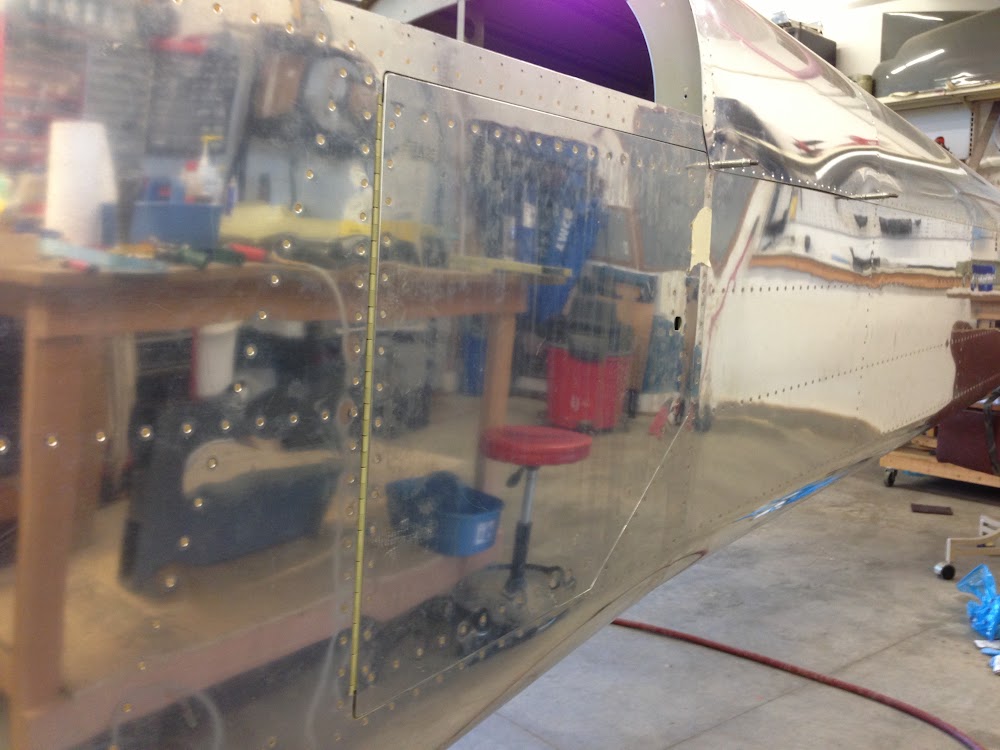
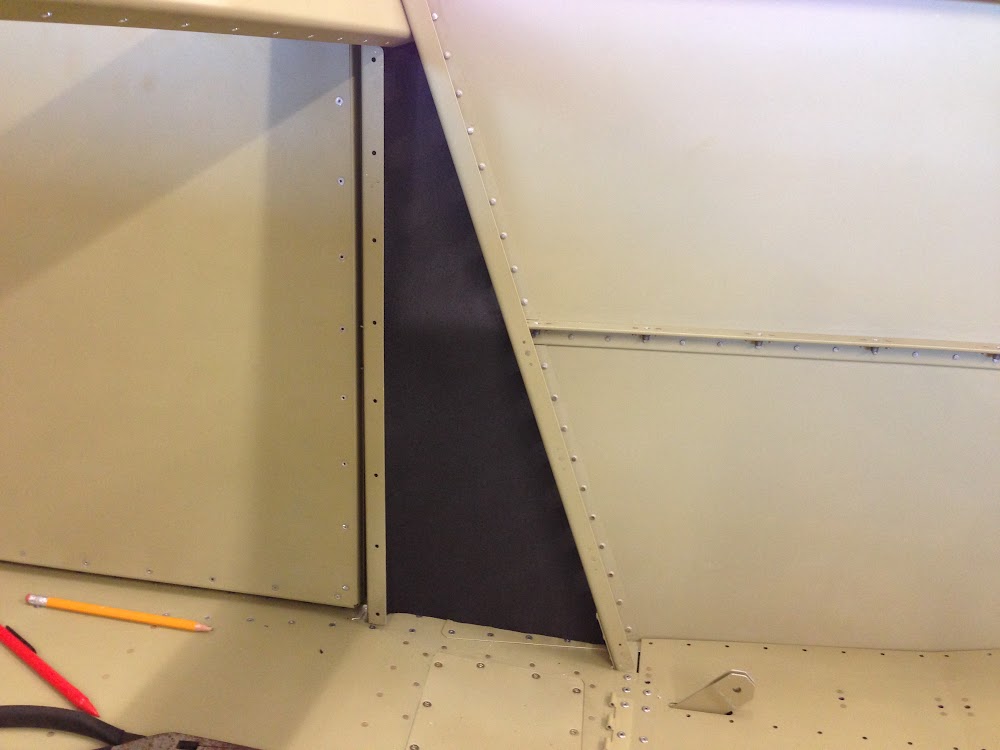
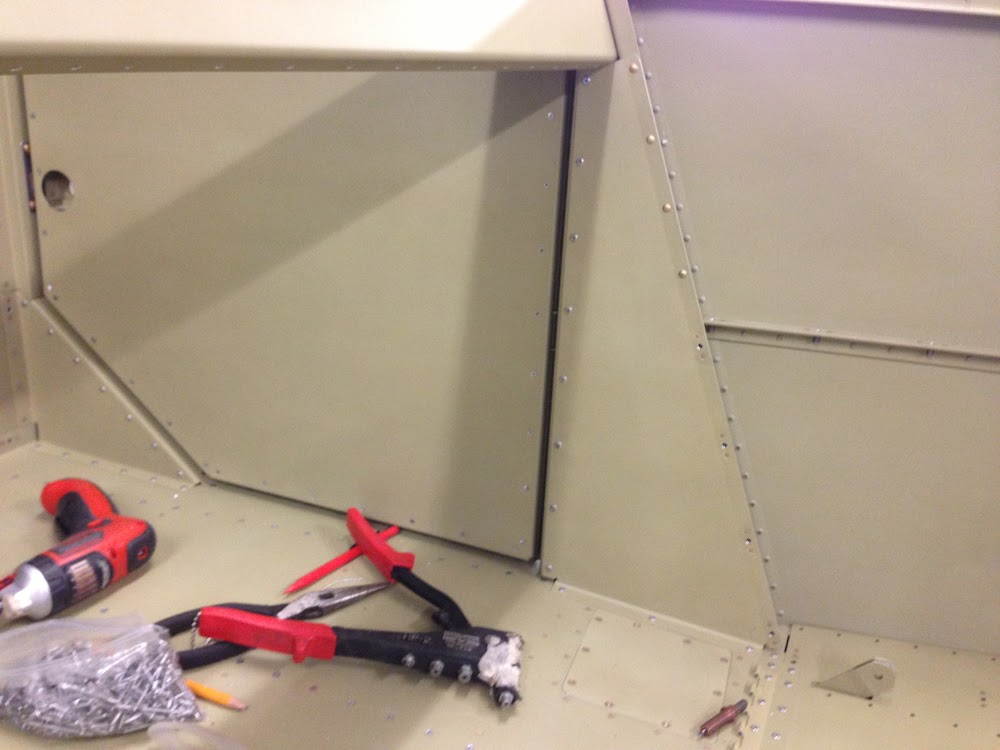
Doesn’t the presence of the pins between the two hinge plates prevent the hinge from closing all the way? I’d like to see what the closed-door looks like on the hinge side from the inside.
Nope. There is enough of a gap between the frame and the door for the pins to not hit both sides. I’ll try to get a picture in there to show the space. Remember, it was designed to have a piece of weatherstrip in there too.
Cool. In that case, I’m definitely stealing this mod. Thanks for the write-up!
Pingback:Baggage Door – Mark's Family RV10
I just finished my baggage door last weekend. I used this split pin design and it is amazingly easy to get the door off. I also took advantage of the this design and completely flushed the hing, no protrusions. It does prevent the door from opening 180 degrees, but that also prevents it from banging against the paint. I simple cord will keep it from being blown too faw open if it gets caught on the ramp in a gust of wind.
Brilliant and simple.