
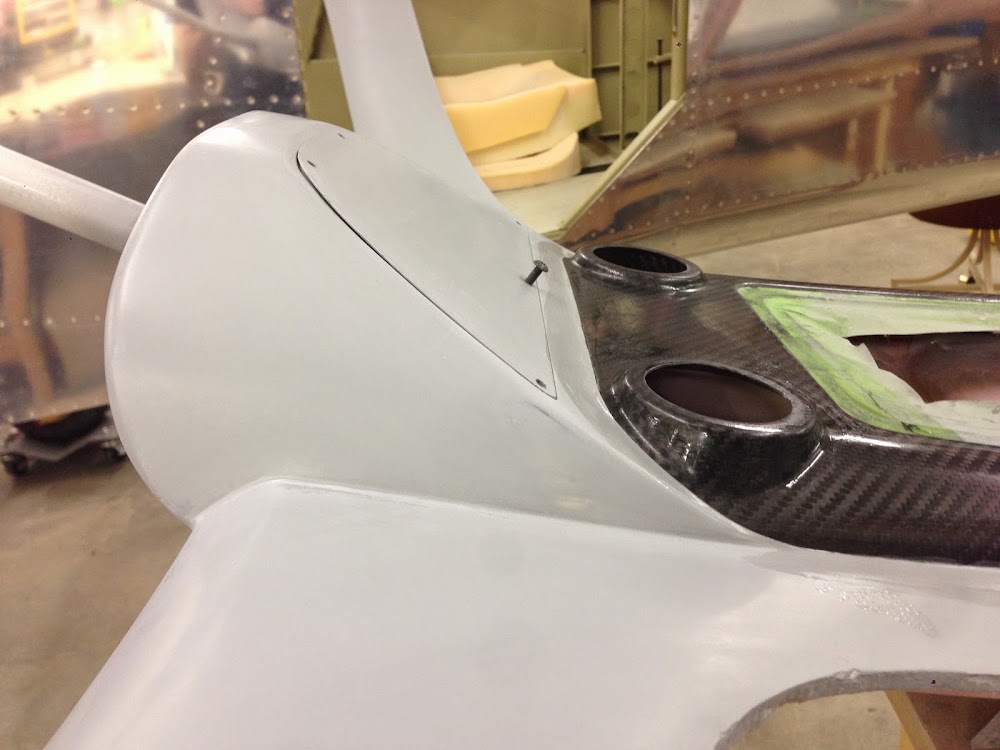
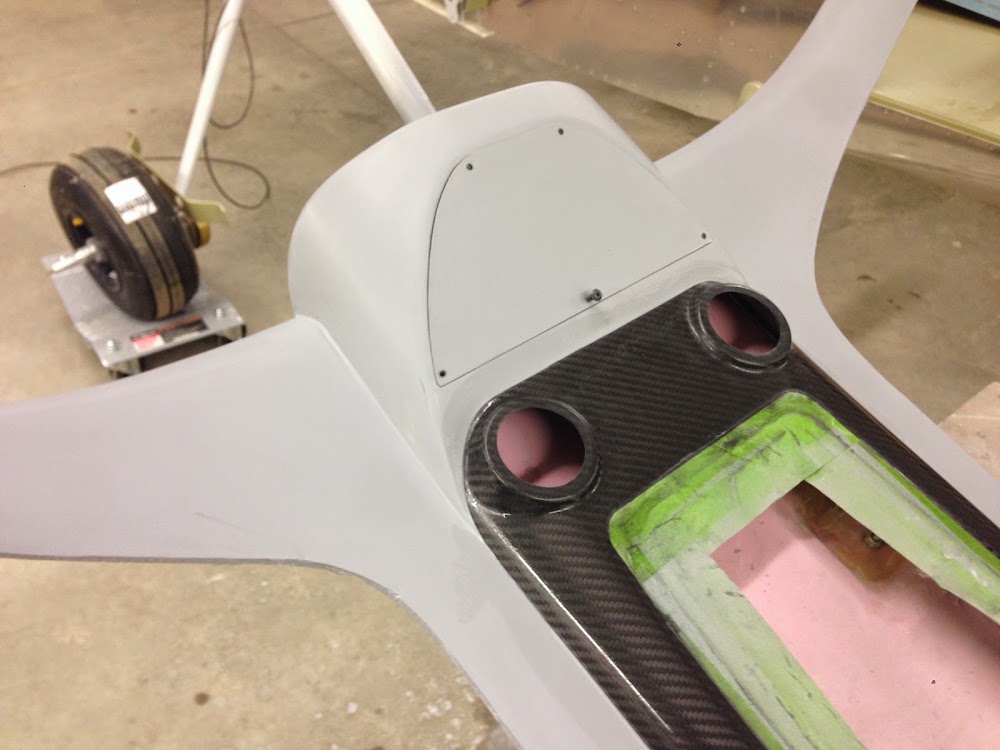
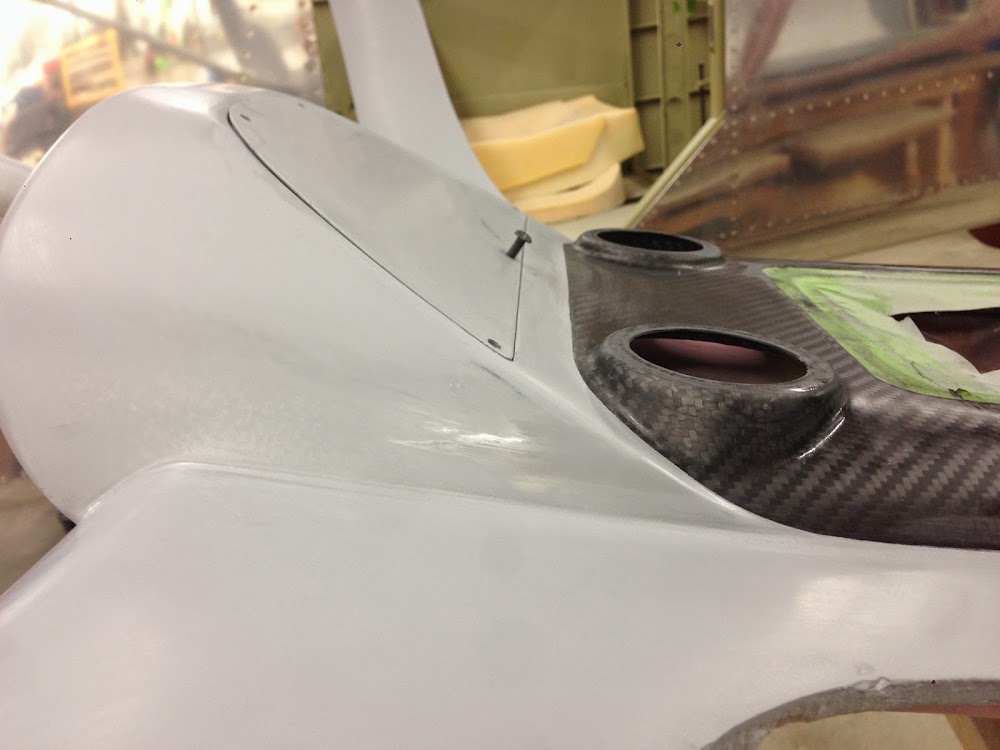
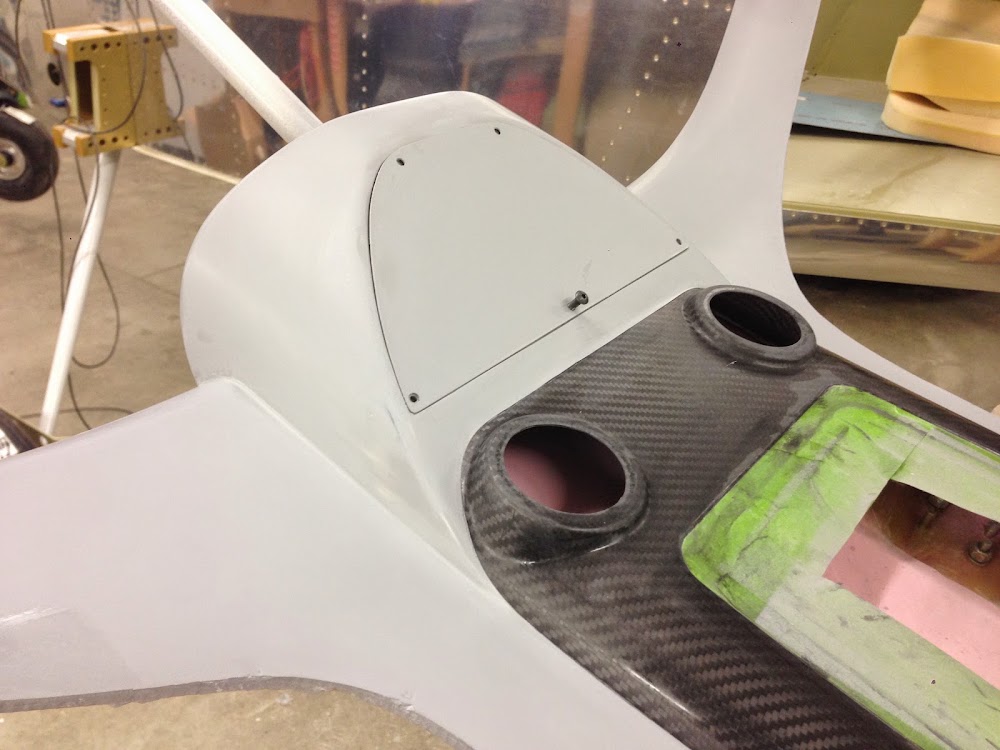
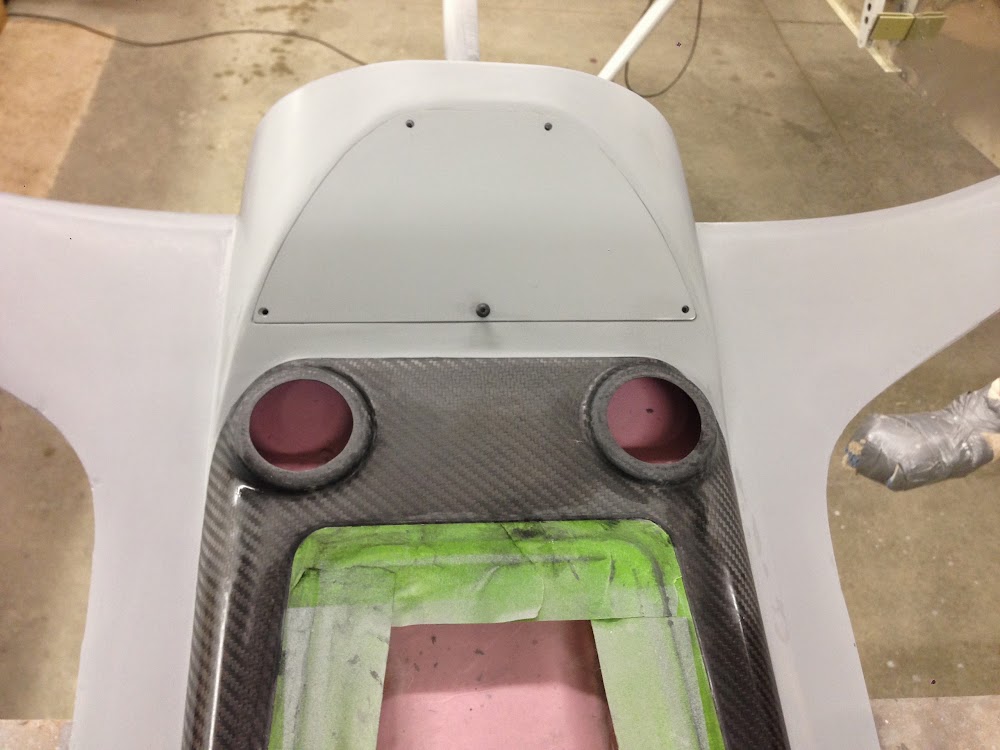
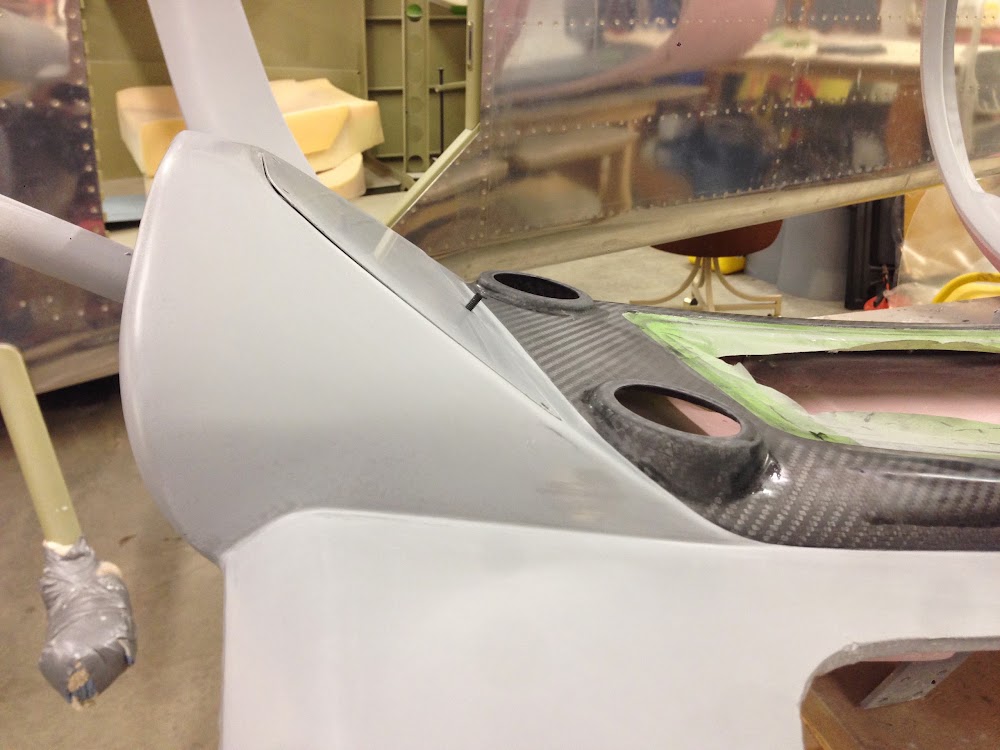
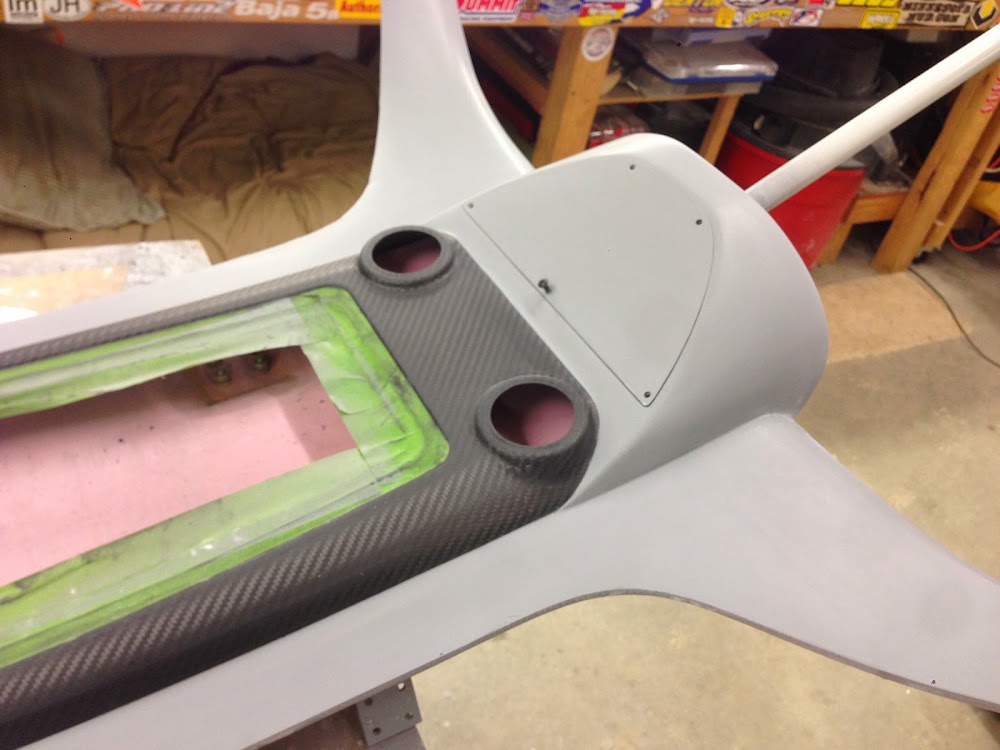
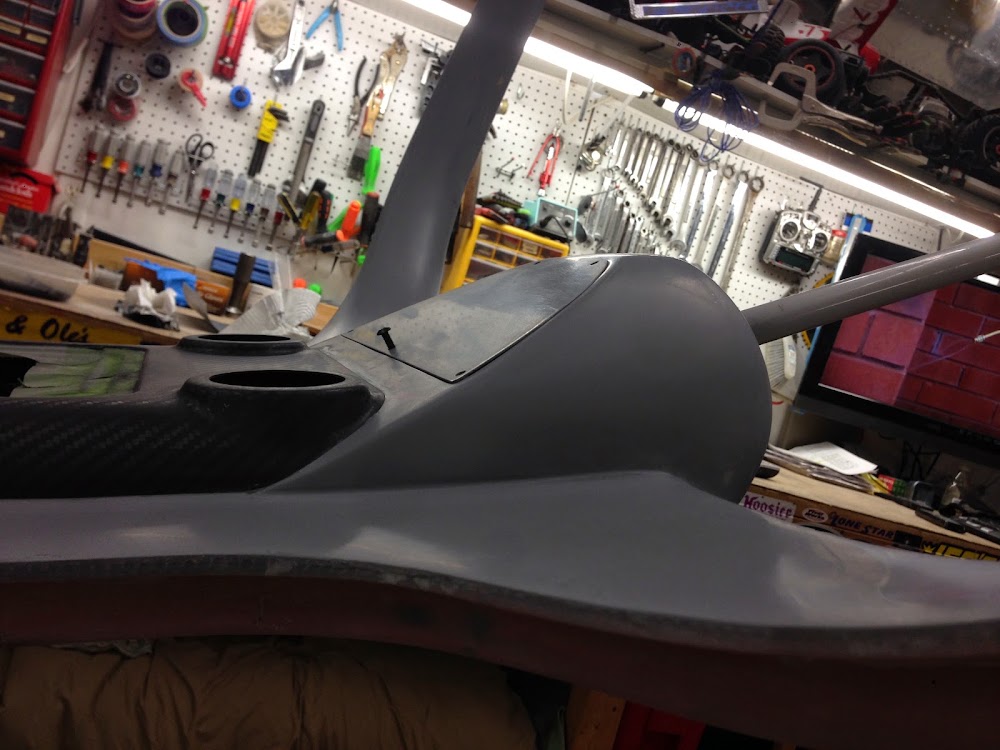
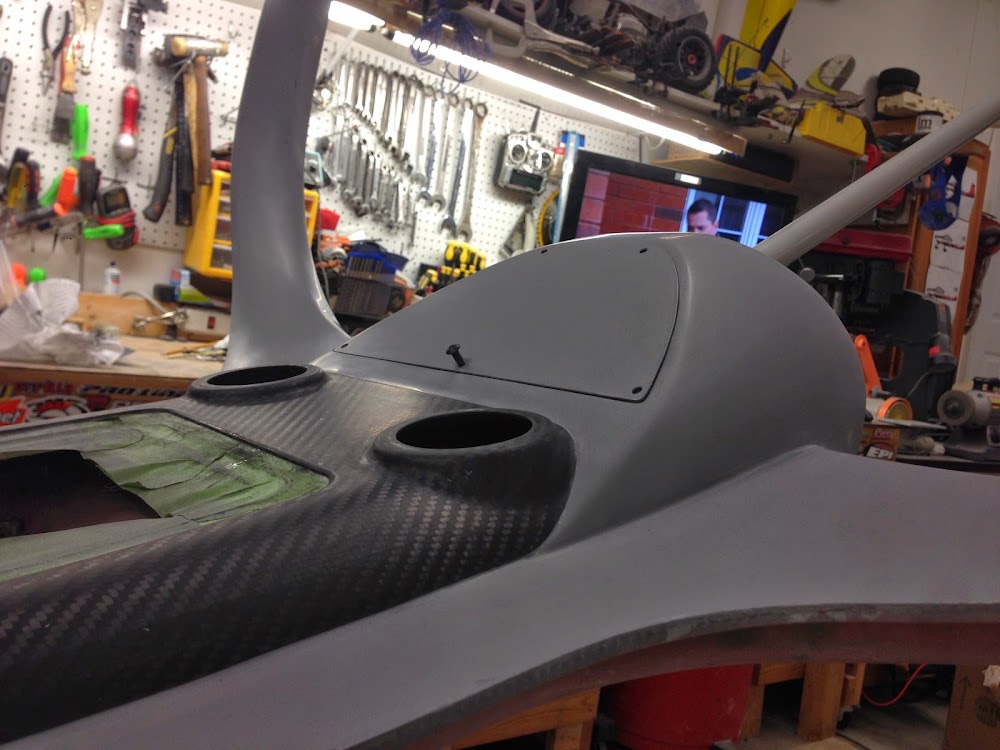
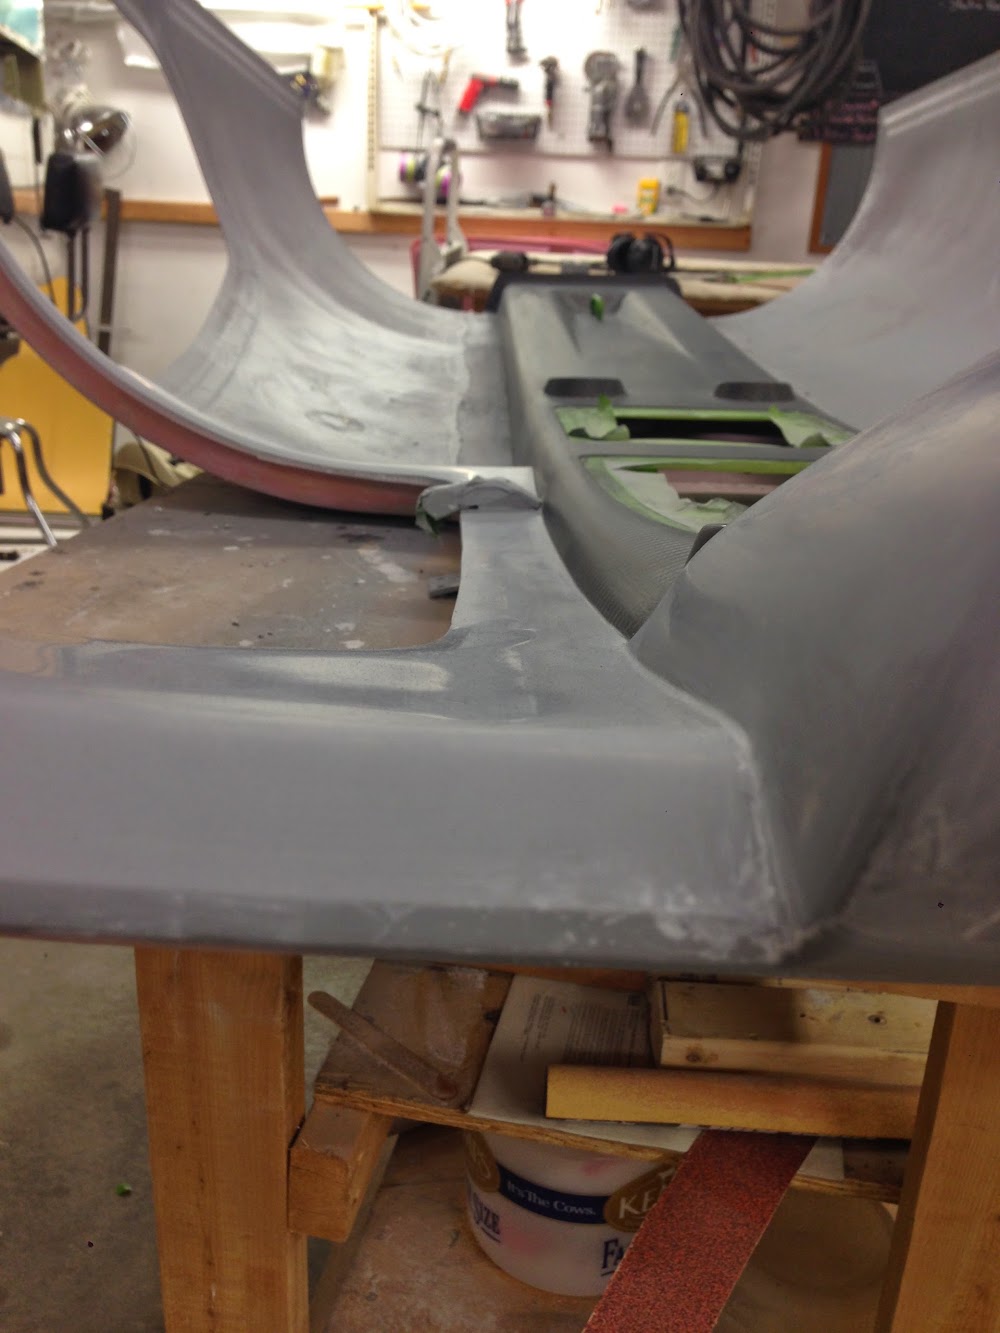
I’m done with the body work on the cabin top!!! Well, the interior, at least.
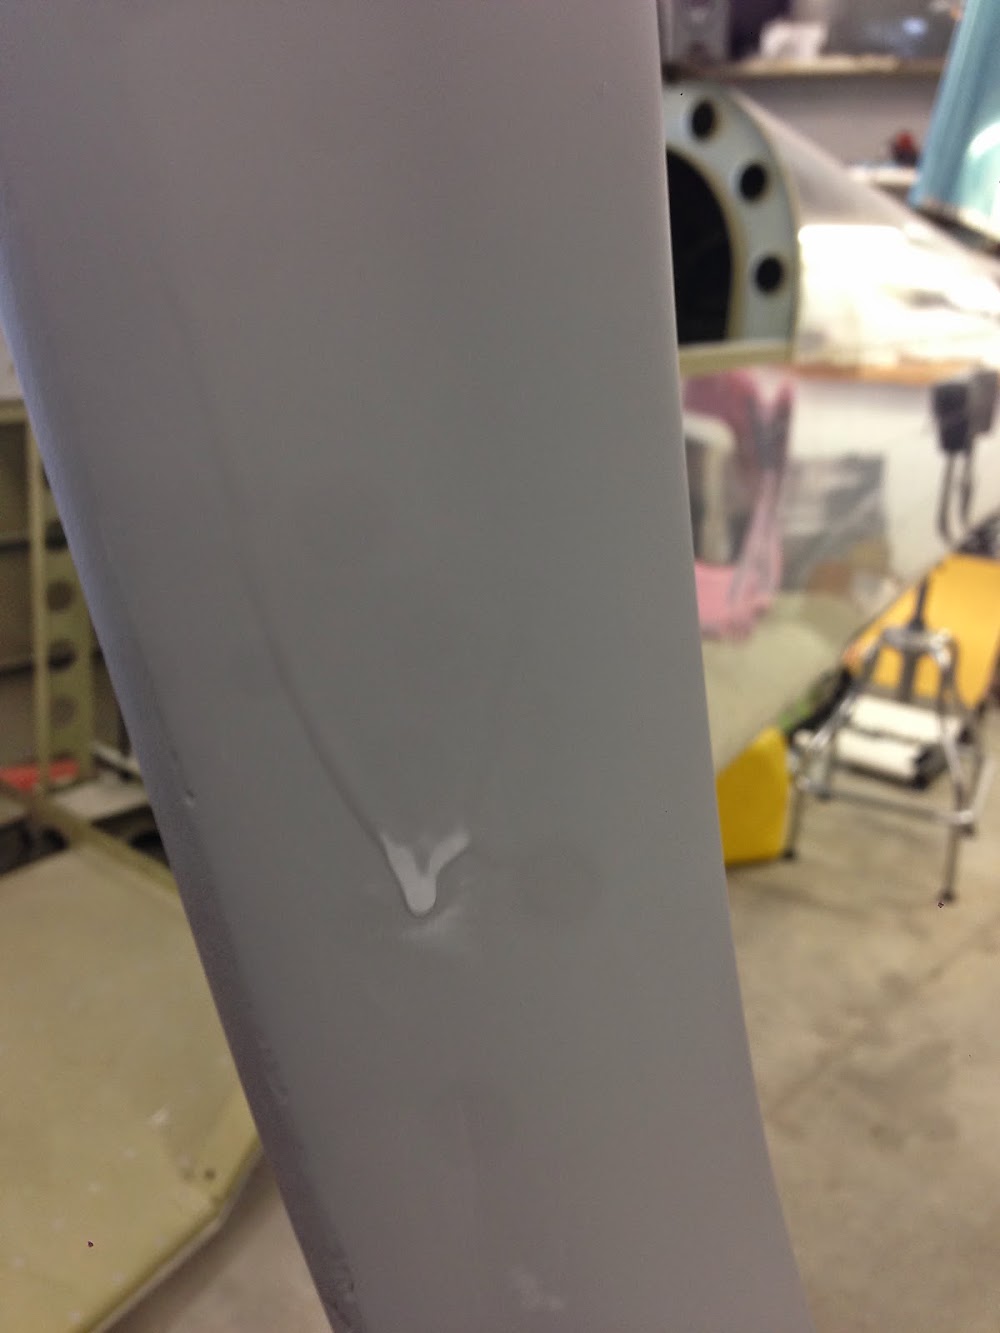
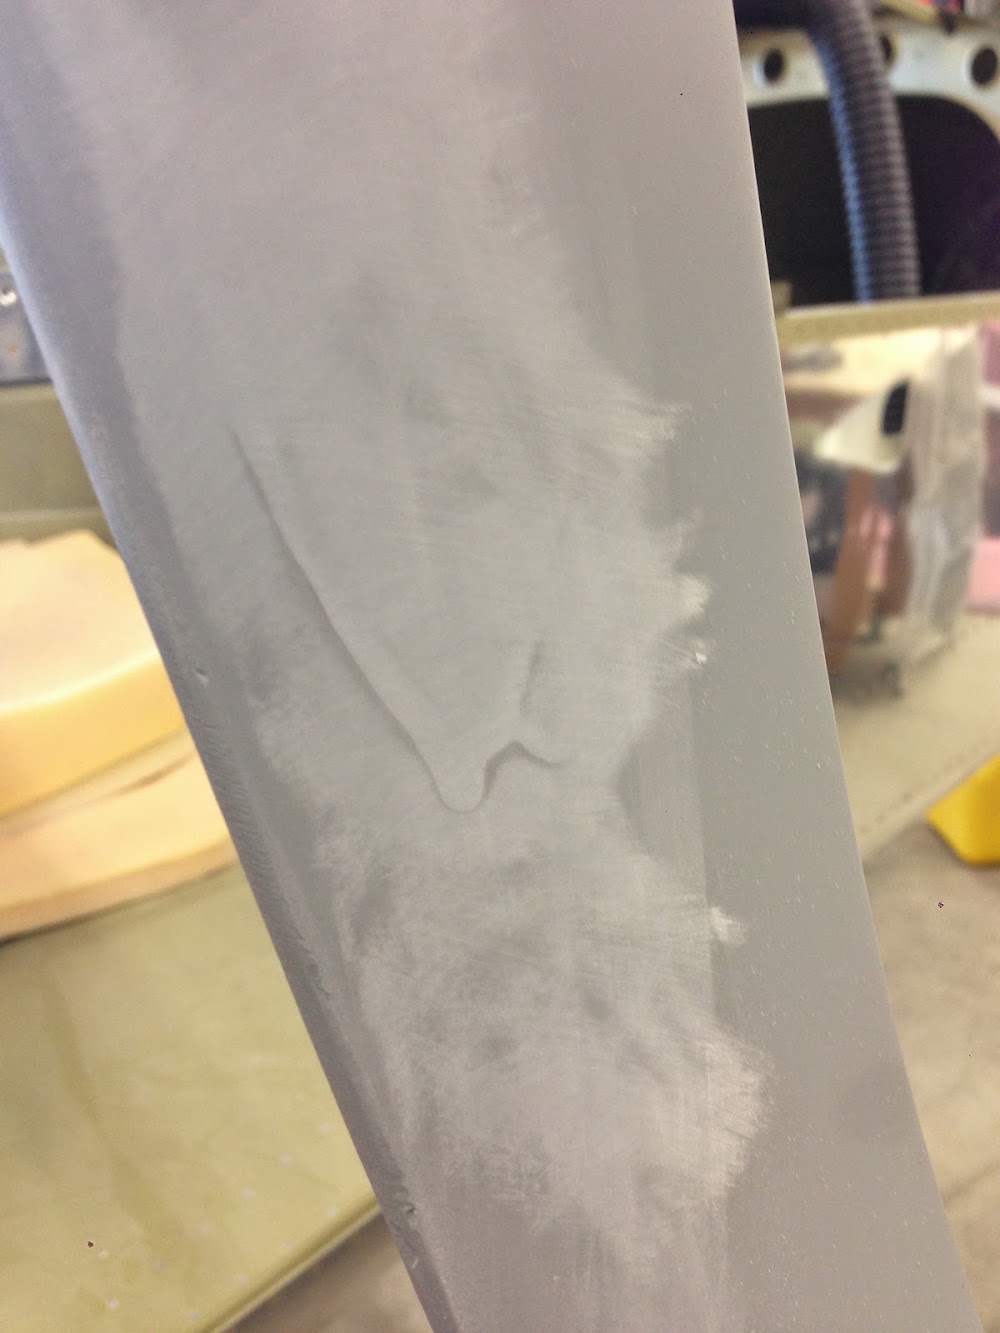
I went a little heavy on the last primer coat because I really didn’t want to deal with any more pinholes. The good news is that I don’t have any more pinholes. The bad news is that I got a few runs in the primer. But that’s easy to fix. A little 320 grit sandpaper dry to take the ridges of the run off, and then finish up with some 600 grit wet, and you’d never be able to tell there was a run at all.
I went over the rest of the overhead with some 600 wet, and the surface is so smooth, it’s actually a little shiny! It really looks good in person.
I also went over the carbon fiber with some 320 and 400 grit to smooth that out in anticipation for the clear coat that will be shot over it.
Now, I need to decide on my interior color scheme. I’m having Aerosport send me a leather sample card, and once I choose my seat colors, I’ll match paint to that. Then I’ll be able to shoot the top in the final color, clear everything, and install the cabin top permanently!
Dude – you are making some great progress. I like the custom pod too. My finish kit arrived last week and I’m starting on the doors, so I’ve been looking at your seals – I’m going to do the McM Carr ones too. I haven’t figured out the best way to deal with the curve of the cabin top door flange, particularly on the sides – the top and bottom don’t have much of a curve left, and, like you, I have a fairly good gap at the bottom. Did you cut the curve back, or did you build it up and then sand parallel to the door for the seals? And on the bottom, where you have to build out the flange, what did you do to have a quarter inch thick place to attach the seal? Enquiring minds….I’m thinking that as long as the face of the flange that is toward the door (where the roll on the seal is) is parallel to the door, you can wedge that stuff on if it’s not perfectly rectangular around to the back, but square seems like it’d be better. I’ve seen Sean’s grinder with the 1/4 inch fence, that’s what makes me think he did it so the front and back of the flange are parallel to each other. Am I making any sense?
Keep it up!
==dave==