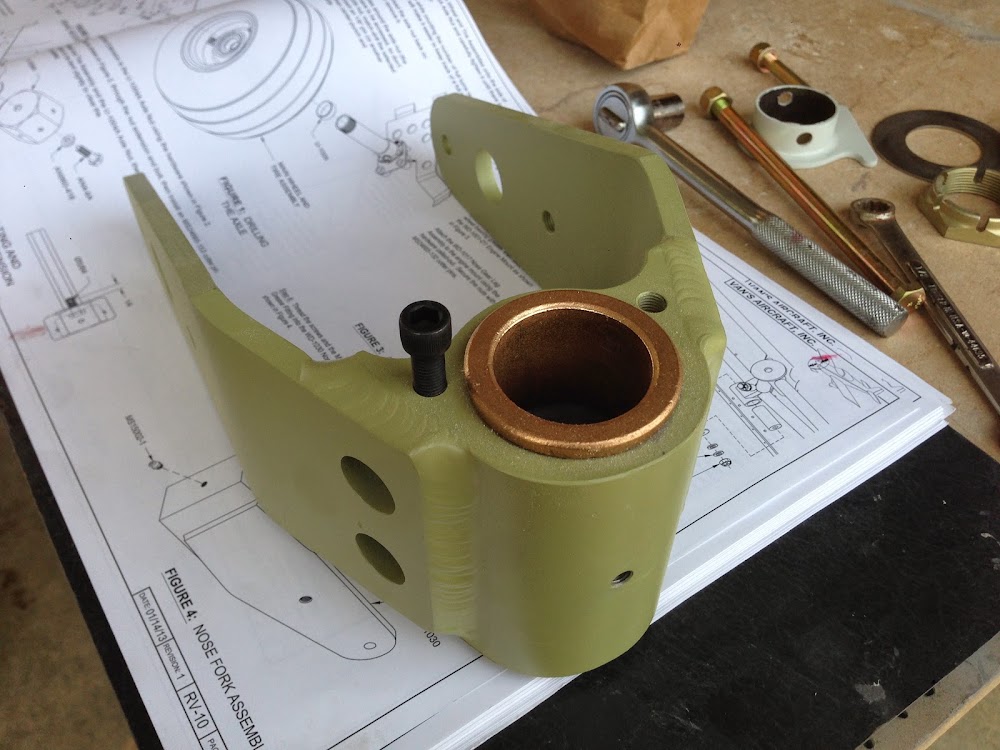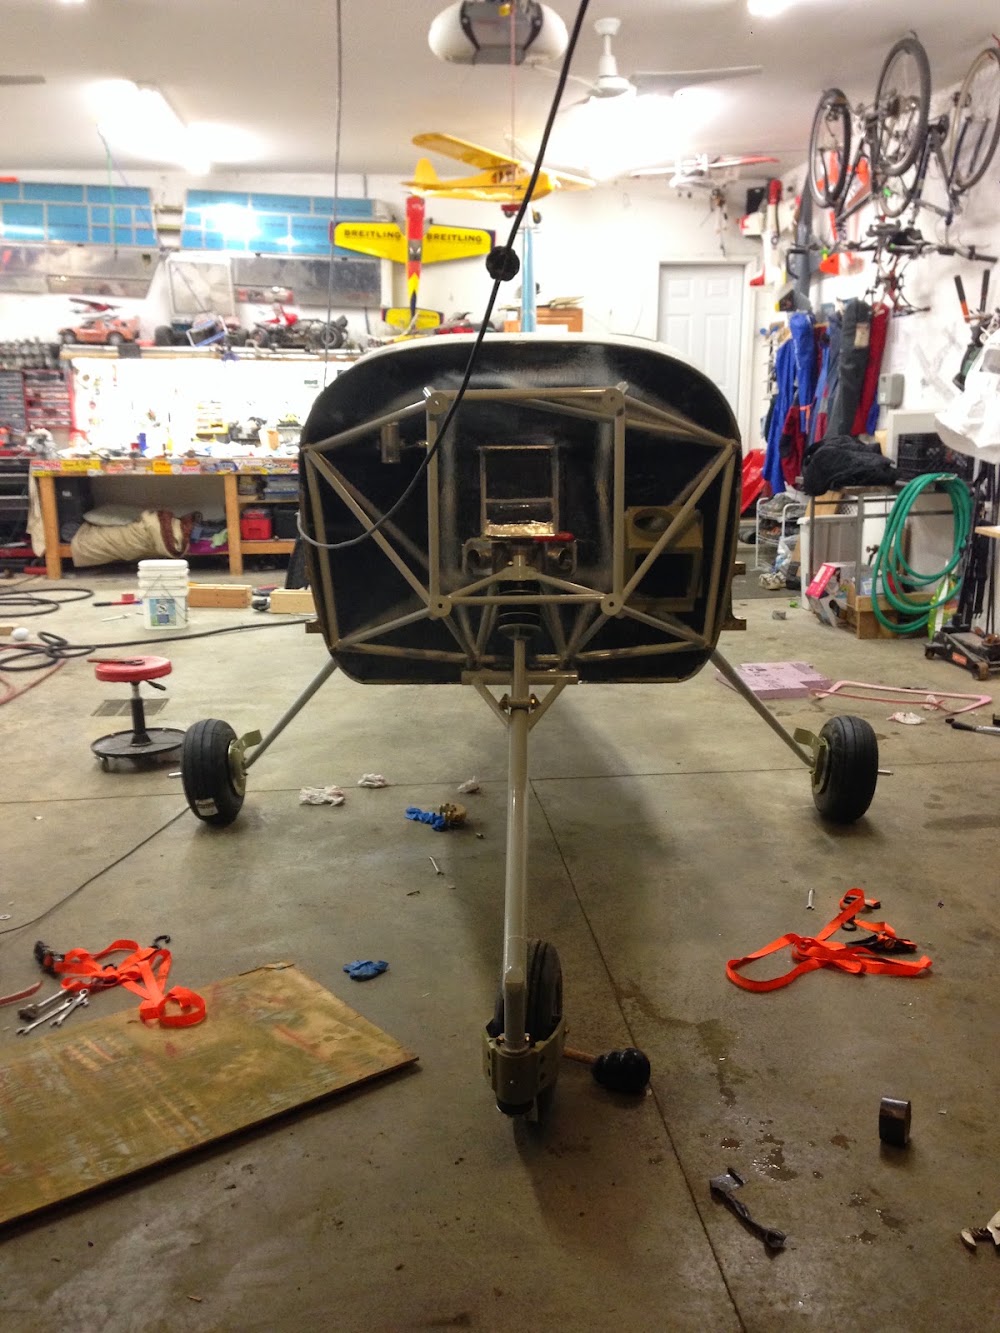
I’m finishing off the landing gear today with the nose gear. This assembly was a lot more straight forward. Also, the only aftermarket part I used here was the Matco nose wheel axle. This part is considered a MUST by RV-10 builders. The stock setup uses the main axle bolt to hold both the wheel in place and the bearings in position. It also uses some more bushings that don’t work very well, and a number of builders have had the stock setup actually ruin the nose gear fork. Tim Olson did a great write up of the issue on his site. I also made a mistake that you can see in the video, that I did fix later. The upper nose fork retainer collar is 180 degrees off. The little tab is supposed to be on the forward side, not the rear like in the video!
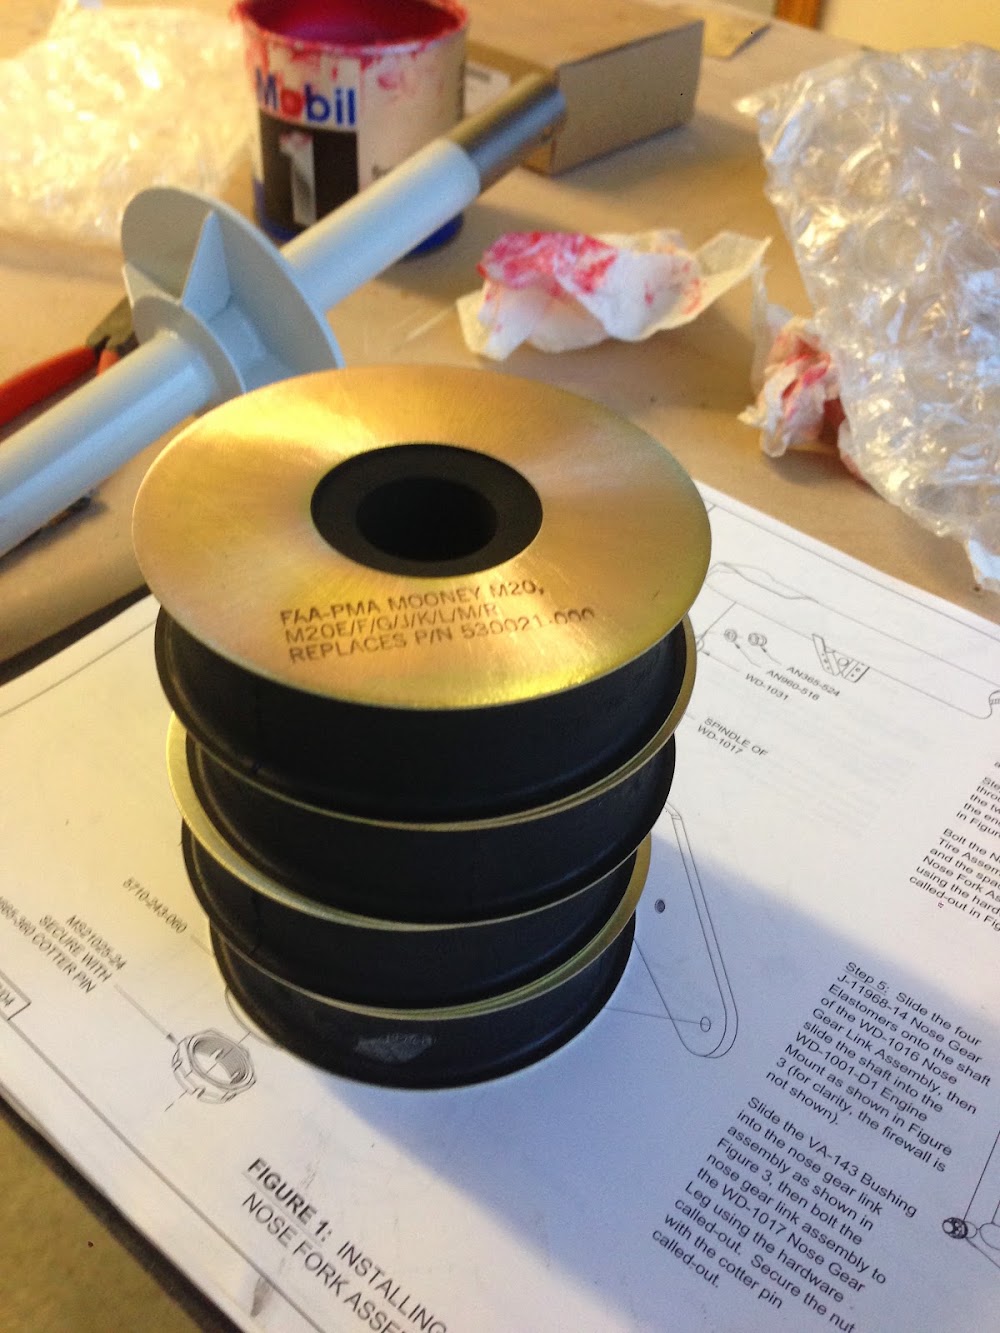
Once the nose wheel assembly had the bearings greased and the wheel assembled on the axle, it was time to work on the nose gear link. This link provides some suspension for the gear. It has 4 rubber pucks that are compressed, and provide some give. I bolted this assembly in place, but in order to secure the top retaining bolt, you need to pre-load the suspension. Luckily, I have a tractor! A John Deere with a front end loader and some ratchet straps provided me all the pre-load I needed.
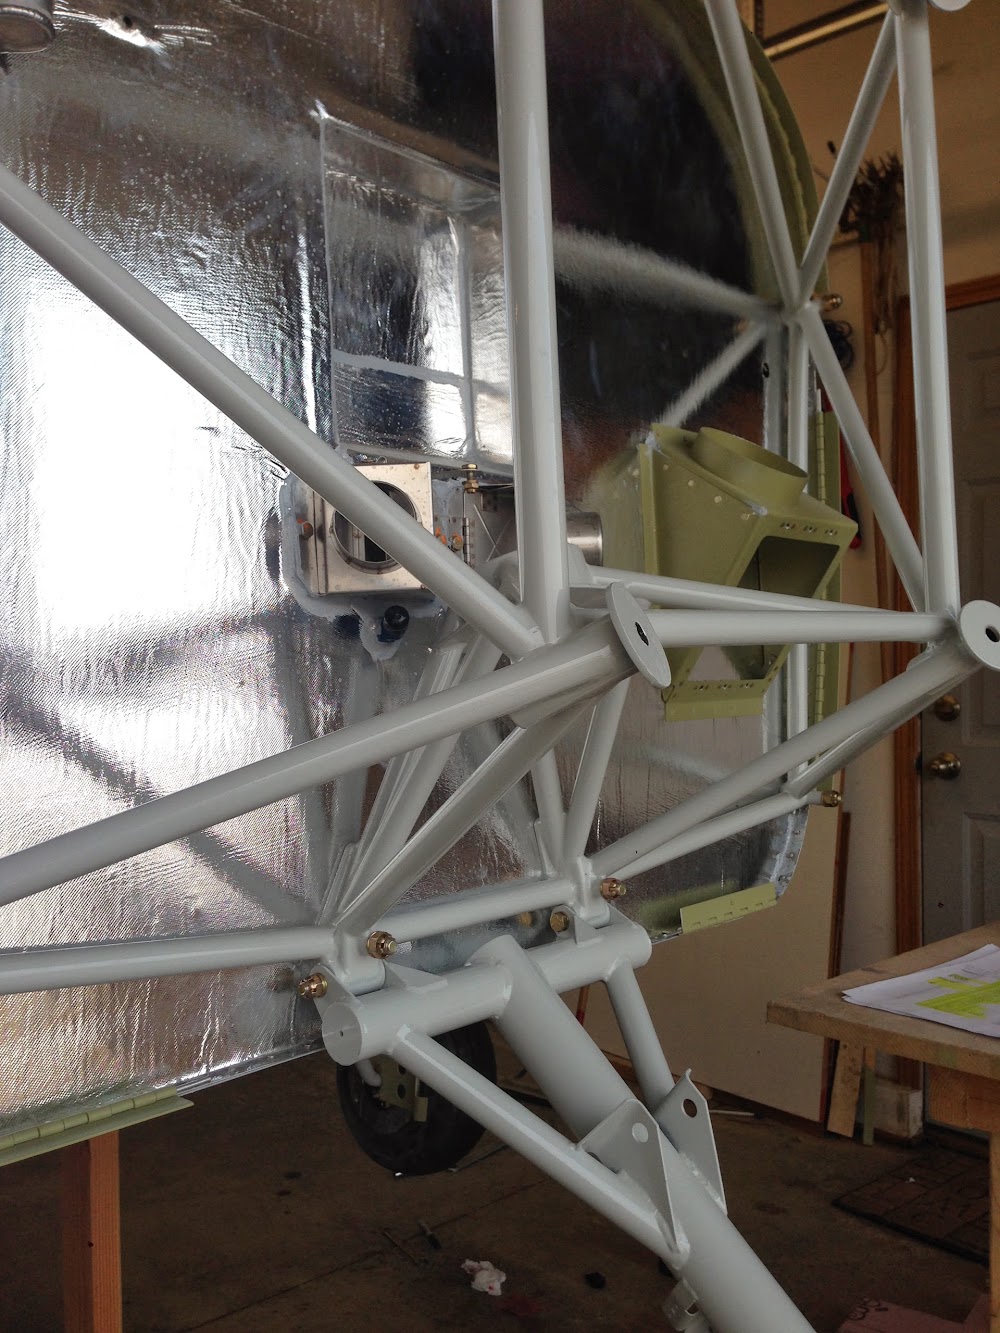
One gotcha, make sure to match drill the nose gear link collar and the nose gear link before you install it. The heater boxes make it tough to get a drill in there!
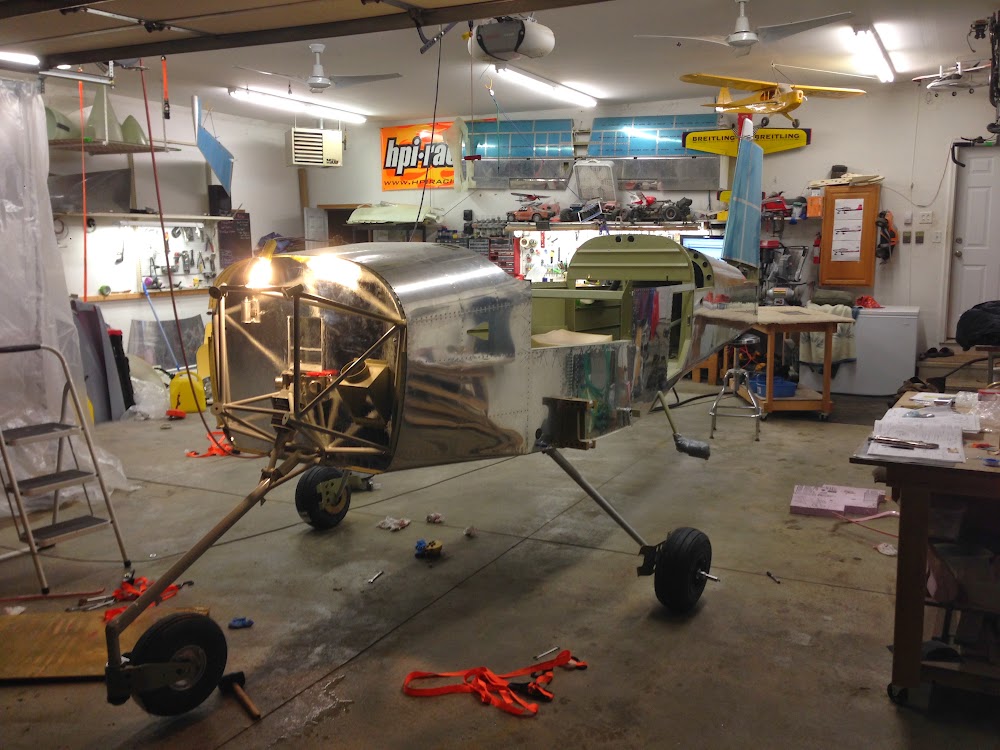
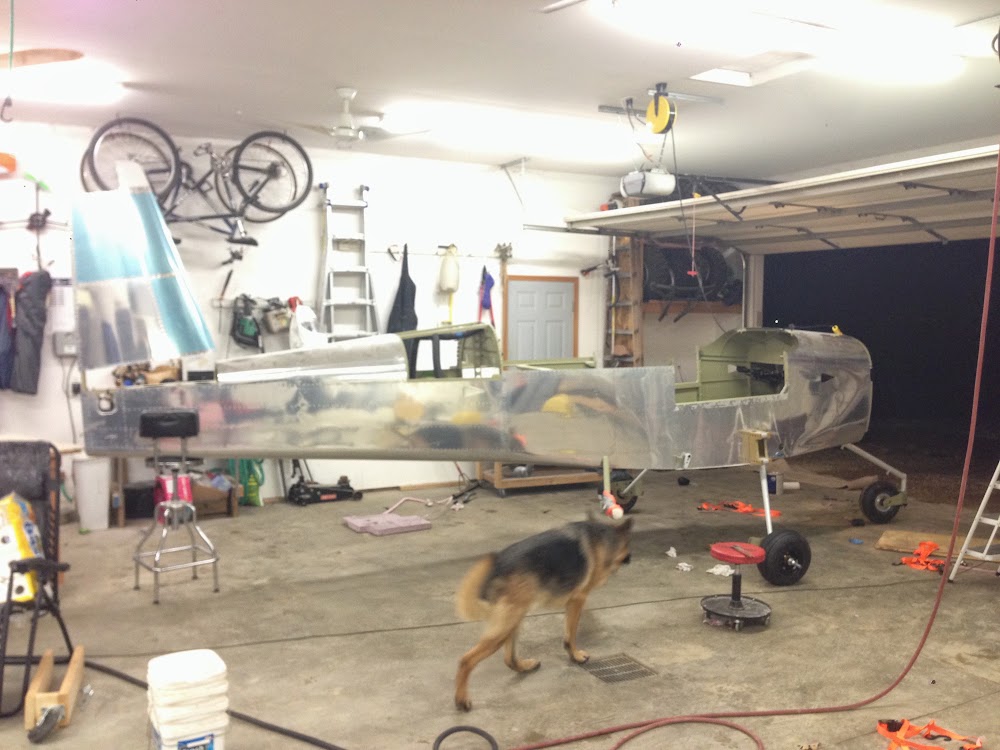
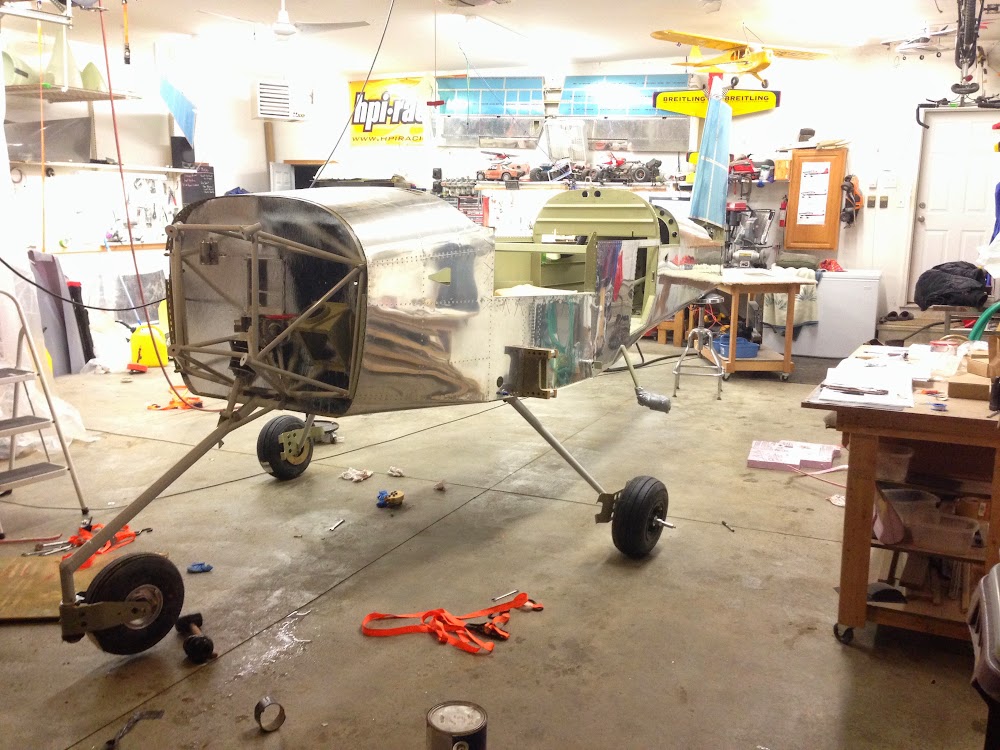
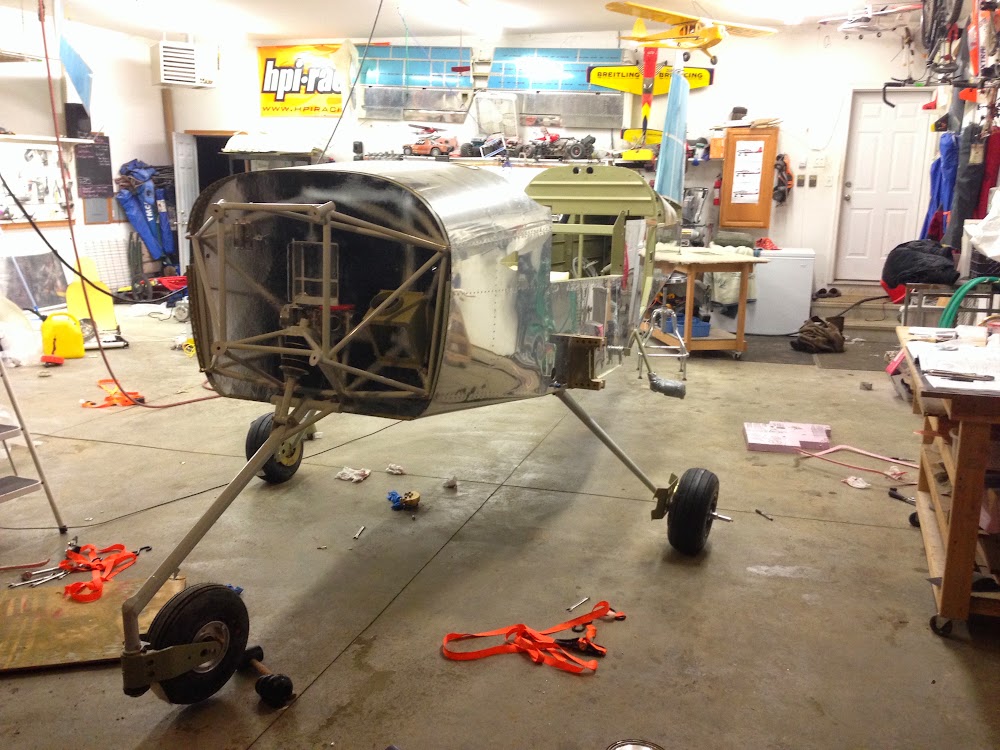
And with the nose gear mostly done (I still need to torque the nose fork nut) the 10 was able to stand on her own legs for the first time!