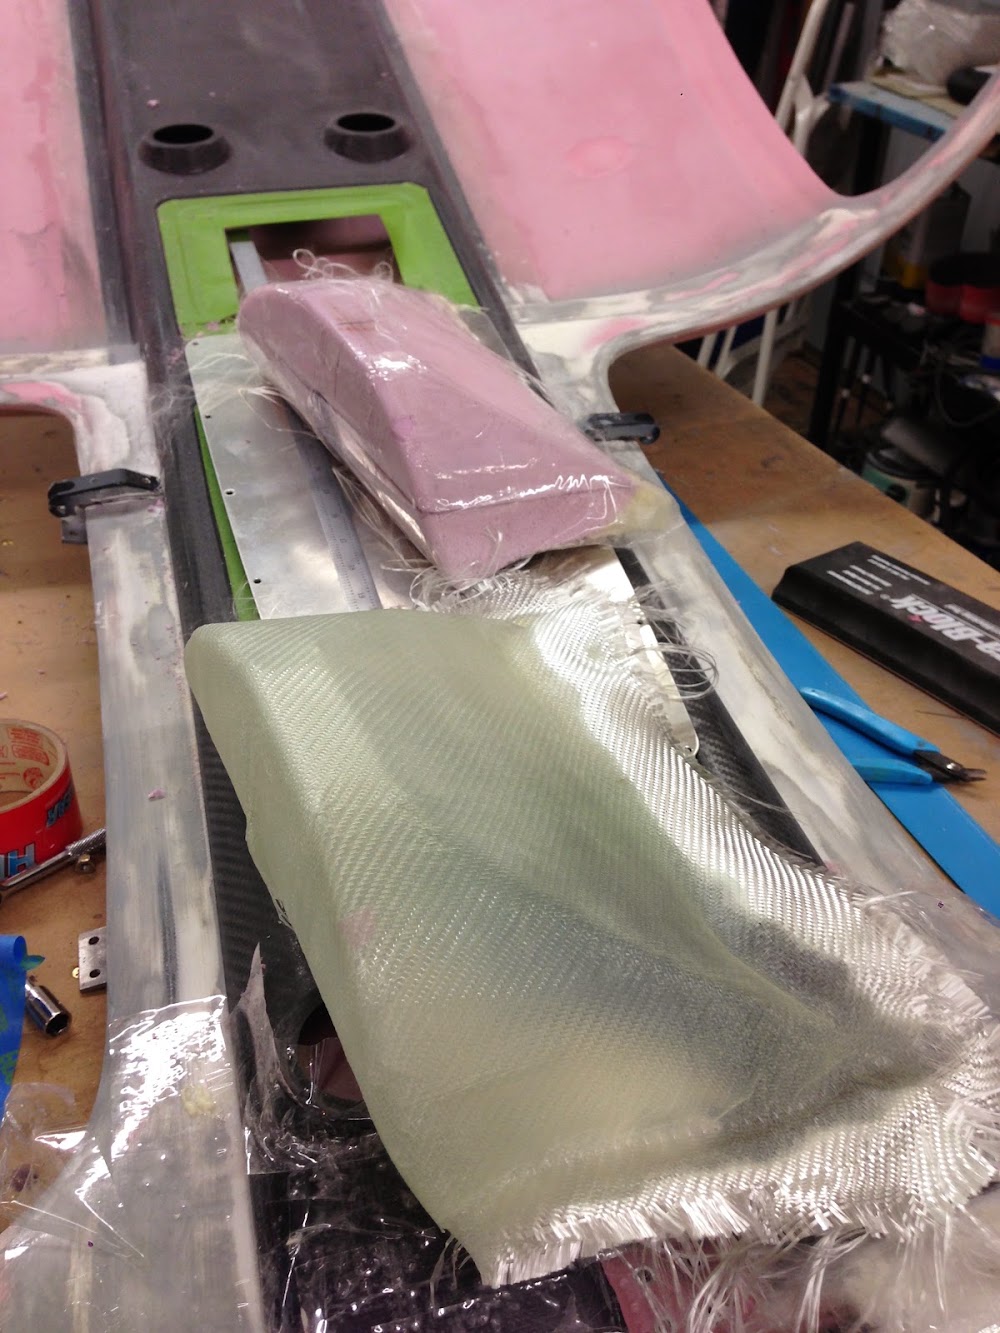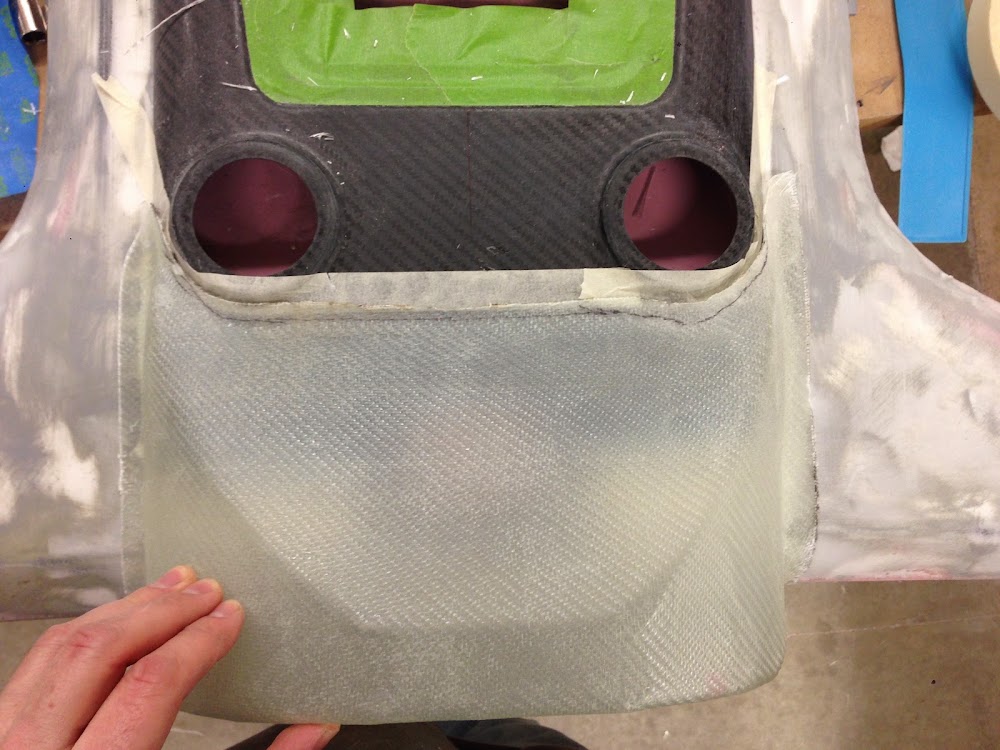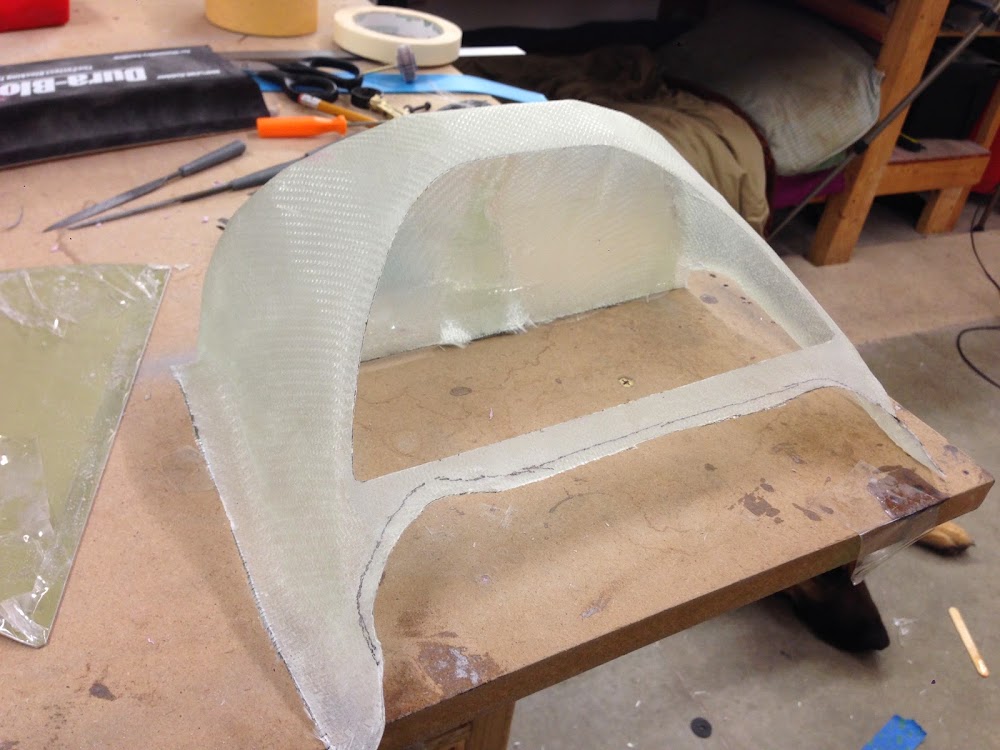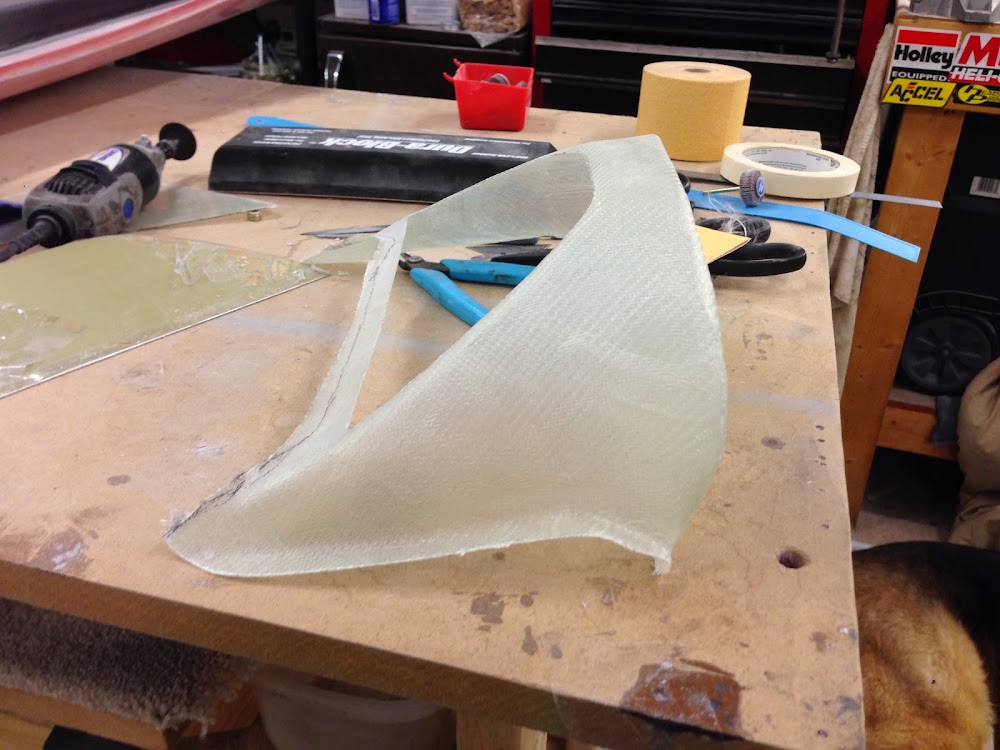
Overnight, the switch pod had fully cured (thanks to some heat lamps, this Minnesota winter doesn’t want to go away!) I popped the pod off of the cabin top and then pulled the mold out of the fiberglass. It came out relatively easily, and the fiberglass part looked great! I did some trimming work around the outside edges.
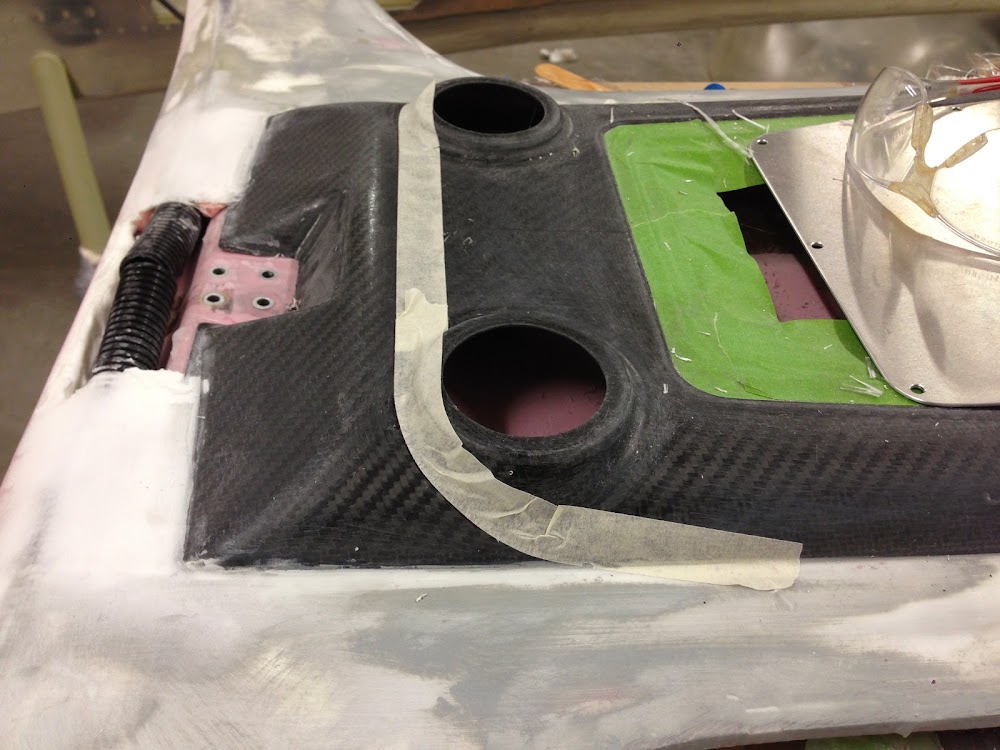
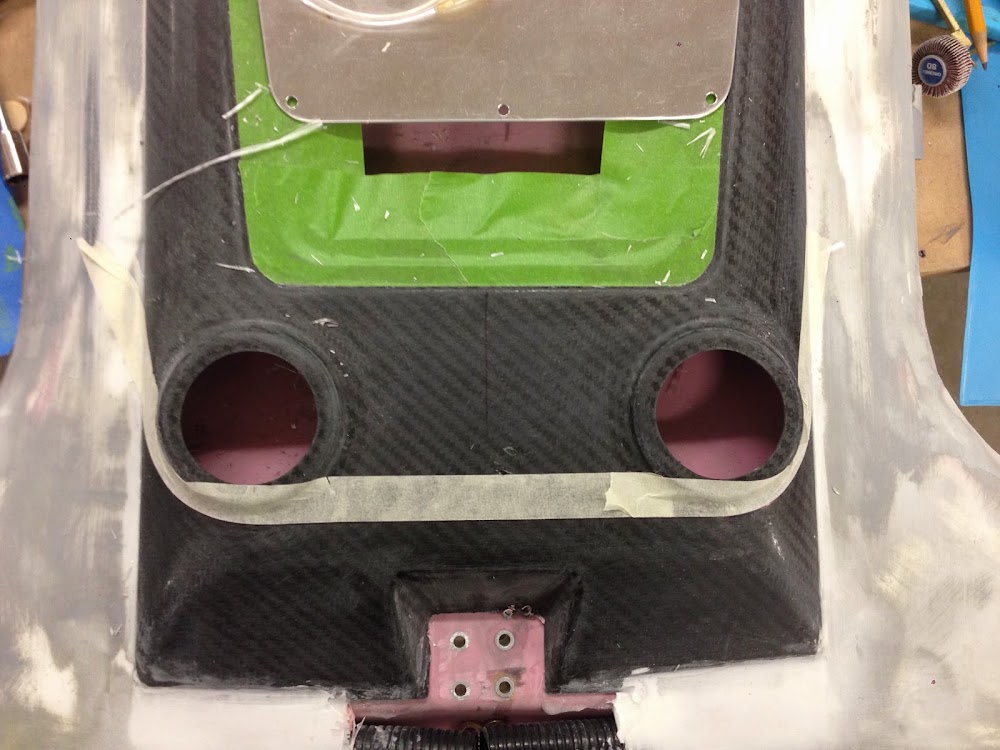
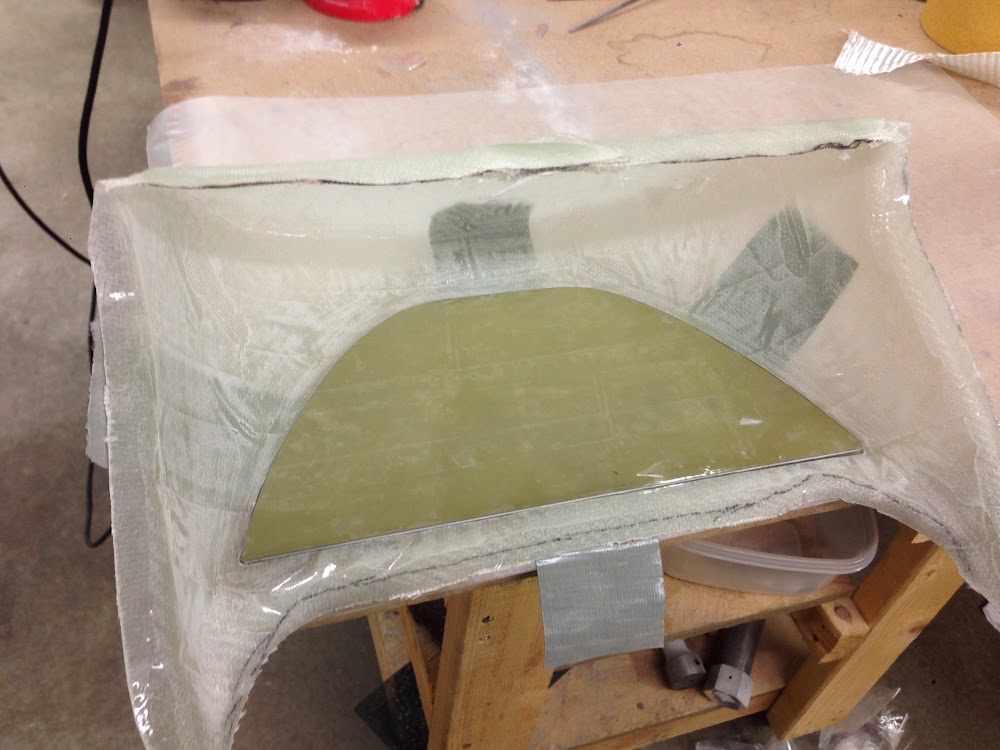
Next, I traced out the shape of the aluminum insert onto the pod, and cut out that fiberglass. Then, I taped the aluminum insert into the pod, flush with the outside surface.
Finally, I put a few layers of glass cloth around the perimeter of the panel on the inside of the pod. When this cures, it will form a recessed flange that the aluminum panel will screw to.
***Note from the future: When building the recessed flange for the insert, I should have put a layer of epoxy/micro around the perimeter of the insert before laying the glass down. This would have given me a better, smoother transition from the outside of the pod to the inside of the flange. It’s no big deal, and I’ve got it all set up nice now, but it would have been easier that way!
Tonight, I also taped off what is going to be the transition line between the carbon fiber of the overhead, and the fiberglass of the switch pod. I want this to be a nice smooth even line, as I’m planning on painting the pod the same tan color as the cabin top, but clear coating the carbon fiber overhead.