
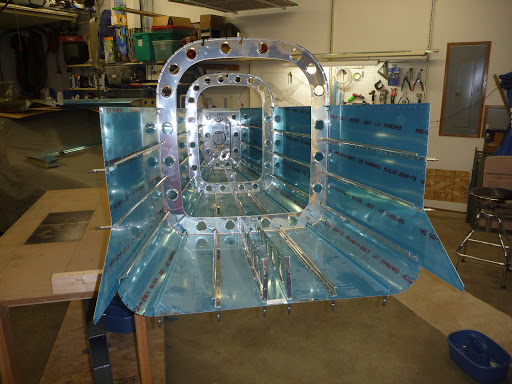
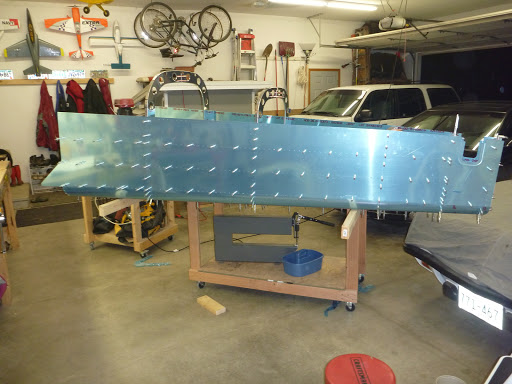
I started the night with a bunch of flat parts, and now, there is a pretty big aluminum box on my work bench!
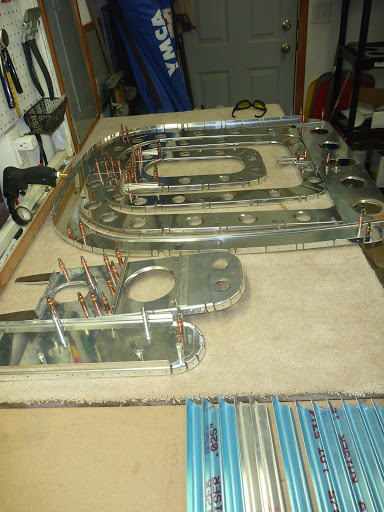
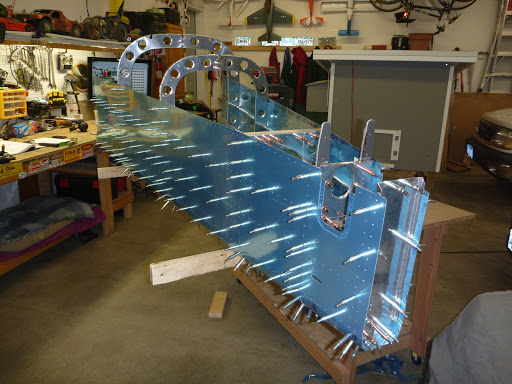
The night started with setting the bottom tail cone skin on the saw horses I built off the side of my workbench. To the skin I attached some of the bulkhead, and then three of the stiffeners were threaded in between the skin and the bulkheads. You need to drill all the holes in the stiffener. You line the stiffeners up to the holes in the skin with the lines that were drawn on the stiffeners last night.
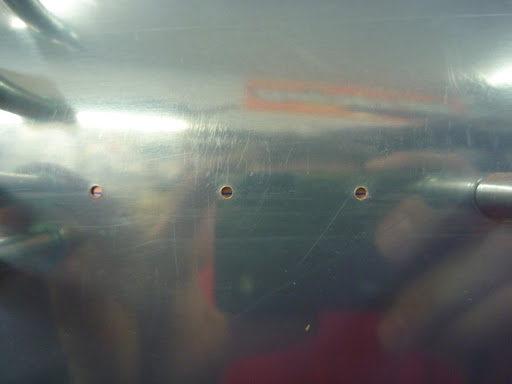
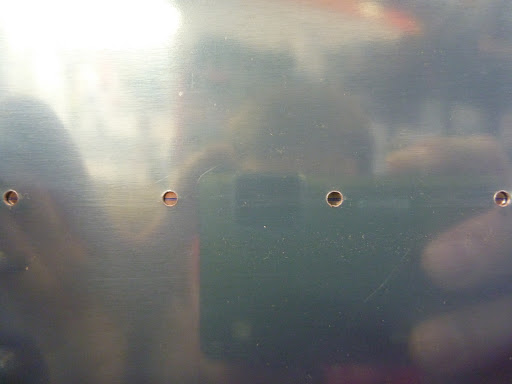
After the bottom skins are done, you hang one of the side skins. You follow the same procedure with the stiffeners as the bottom skin. Once the side skin is on and the stiffeners drilled, you cleco in the last two bulkheads and a small additional piece of bottom skin that’s seperate from the main bottom skin.
Finally, the other side skin is added following the same procedure as the first side.
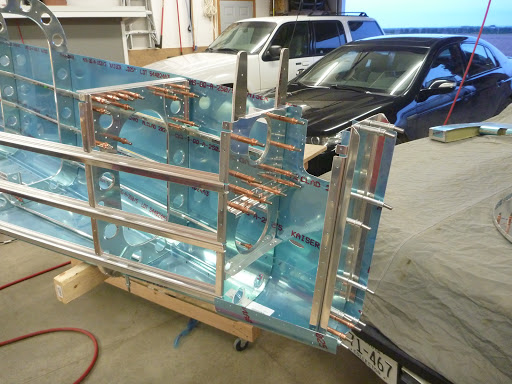
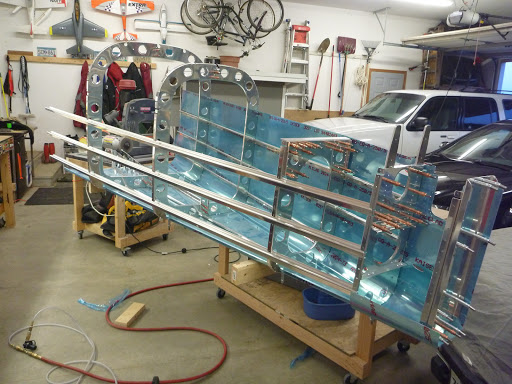
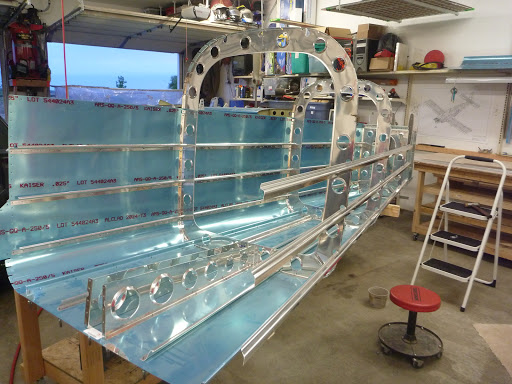
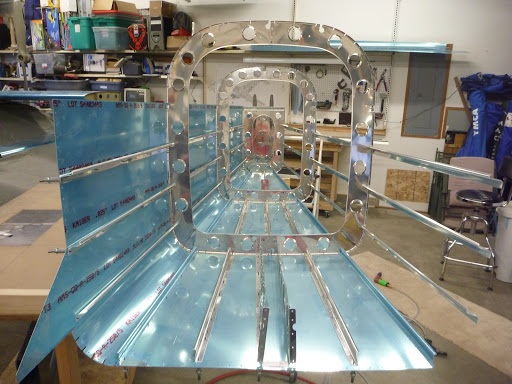
I agree, very cool to see a pile of flat parts become the shape that they make once assembled; the tail cone.
Looks like you are making great progress. Keep up the good work!