
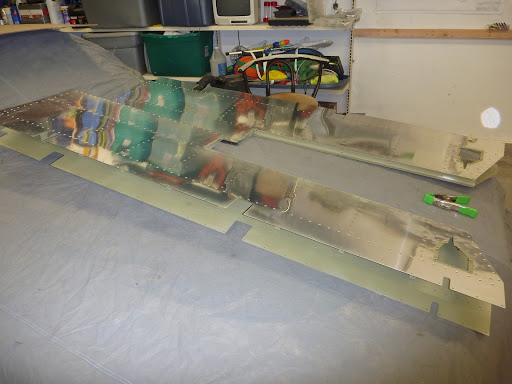
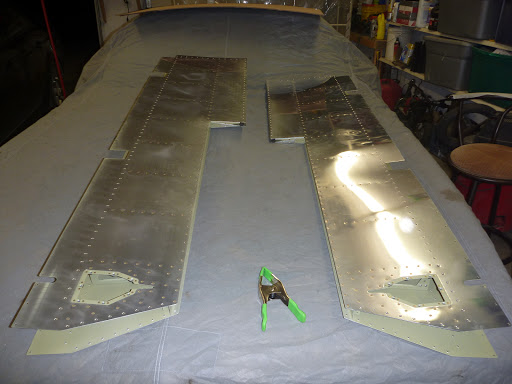
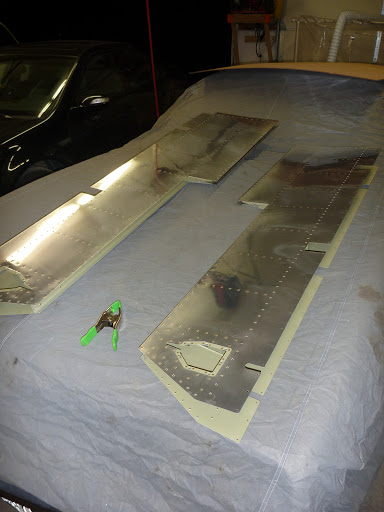
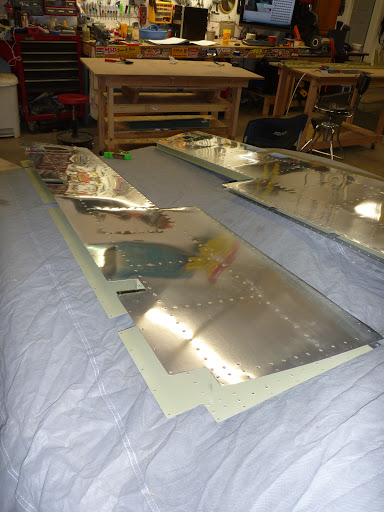
More riveting on the elevators tonight. Going into this project, I always thought about how much time all this riveting was going to take… but in reality, the majority of the time goes into preparing the parts to be riveted. The riveting is the rewarding final step after which you have a real airplane part!
I almost had another snafu along the lines of last nights, but this time I caught myself! I’m really glad I’m triple checking myself now. This time I almost joined the two top skins together instead of a top and a bottom. I had it all clecoed together, but I caught my mistake before any rivets were set.
There was also a new tool used to rivet tonight, and this is the only place on the entire plane it’s used:
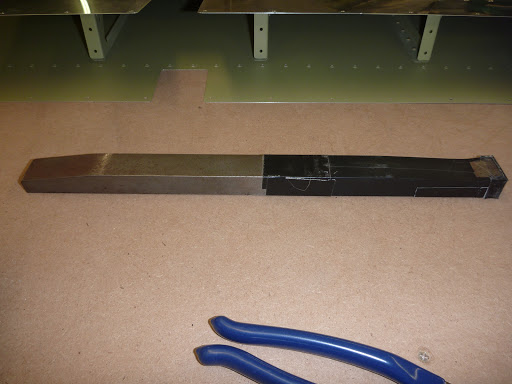
It’s the RV10 Bucking Bar. The plans tell you how to make one (if you happen to be a machinist… which I am not!), you can buy one, or you can go the way I did and BORROW ONE! This is the second post in a row in which I need to thank Mike B, the fellow Minnesota RV10 builder!
This special bucking bar is used to buck the rivets that connect the rear elevator spar to the skin. In this case, a picture is worth a thousand words. So here are three thousand words:
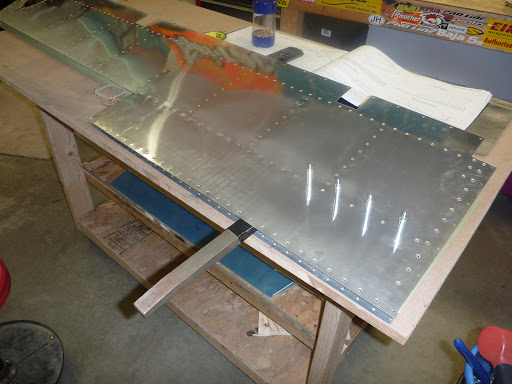
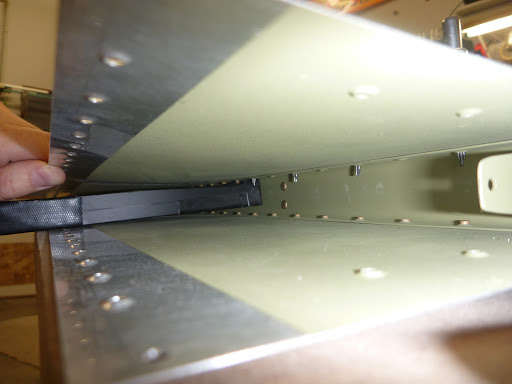
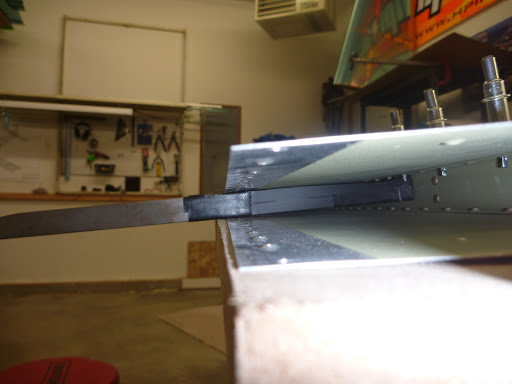
The geometry of the parts won’t allow you to fit your hands in there with a traditional bucking bar, so this long specifically angled one works perfectly!
Everything else was pretty straight forward, and the pile of parts is getting smaller! They kinda look like elevators now.
Good catch babe! Lookin’ good!
Ed,
Hold onto that elevator bucking bar, it works real well on the forward longeron to skin to engine mount rivets. There is a channle there it fits right into. I lover Sawyer’s bed under the bench!! Bailey, my Golden drug his bed into the garage from our bedroom when I work out there, I had to buy him one for the hangar since my second RV-10 is being built there instead of at the house.