
Tonight, I finished final drilling the elevator skins. Nothing new here, just the same as the other 3 skins. After that, I measured out and drilled holes in the two trim cable brackets, and match drilled those to the plate that they are mounted on.
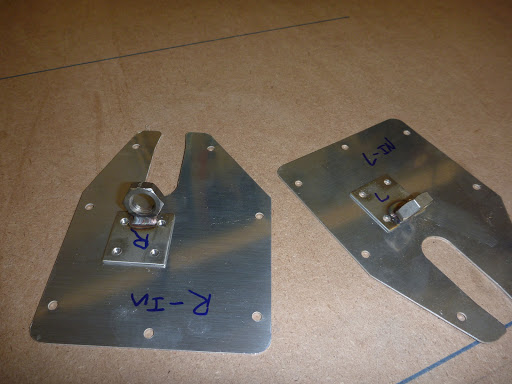
Finally, it was time to disassemble everything, making sure that everything is labeled so I can put everything back in the same place when it’s ready for final assembly.
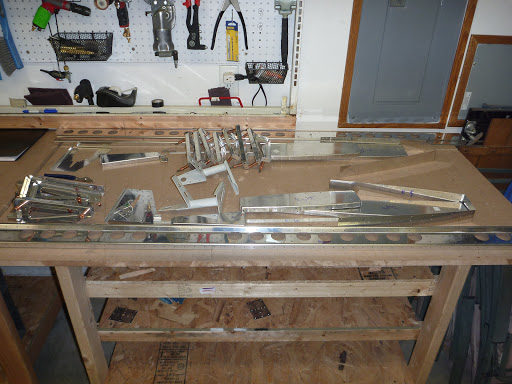
What started the night as two big elevators ended as a pile of parts:
On the last post, Ryan had the following comment:
In a future post, can you explain the process? I’m a bit confused: you put the pieces together, drill to ensure fit, add clecos to hold, then go back and dimple the holes, then you rivet?
I’ll try to go thru the steps I take as I build a part like an elevator.
- Locate all the parts.
- Debur the edges of all the parts. When the parts are made at the factory, the edges have a sharp lip that need to be taken off to insure that a) the parts fit together tightly, b) you don’t cut yourself working on the plane, c) get rid of the rough edges can have microscopic cracks which can become larger cracks from vibration over the life of the plane. Deburring smooths these cracks out.
- Assemble the parts with clecos. Clecos are basically a spring loaded temporary rivet. The parts come from Van’s with holes that are pre-drilled. These parts are created with CNC machines, so the holes line everything up without the use of jigs. The holes come from the factory a bit smaller that the final needed size, so once the part is assembled, you need to “Final Drill” the holes so the rivets will fit. The final drilling also perfectly matches the holes in the multiple parts.
- Sometimes there is a hole in one part that will match up with another part that doesn’t have a hole. In this case, you “Match Drill” using the factory hole as a template for the undrilled hole.
- After all the match and final drilling, take all the parts together, making sure to label everything so it can be reassembled the same way.
- The drilling process leaves burrs. Now you get to debur both sides of each hole (for the same reasons you deburred the edges).
- For holes that will have flush rivets (rivets who’s heads sit flush with the surface to stay out of the airstream) the holes need to be dimpled. Dimpling is just making a depression in the skin for the cone shaped rivet to fit into.
- You also have to dimple any parts that have dimpled skins attached, because you need room for the dimpled skin to sit flush
 The blue would be the external skin, the “teal” would be a rib or another part the skin is attached to. The gray is the rivet.
- Scuff all the parts so primer will adhere better
- Wipe all parts down with acetone to remove oils and contaminates
- Prime the parts
- Rivet the parts together
And tonight’s video:
Good question Ryan and thank you Ed for the great explanation!