
Tonight started out with cutting down to size the extruded aluminum wedge that gives the trailing edge strength. Then I drilled the holes in the tabs I folded over the other night. After that, I added the elevator horns and final drilled them. All very straight forward, and simple.
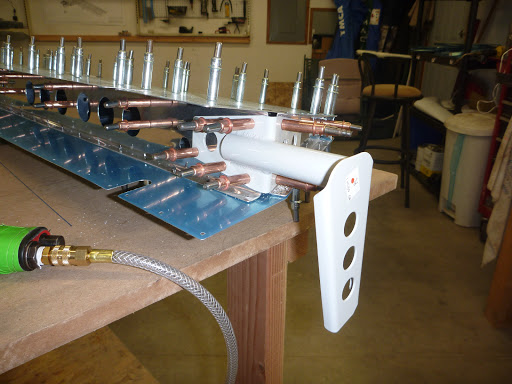
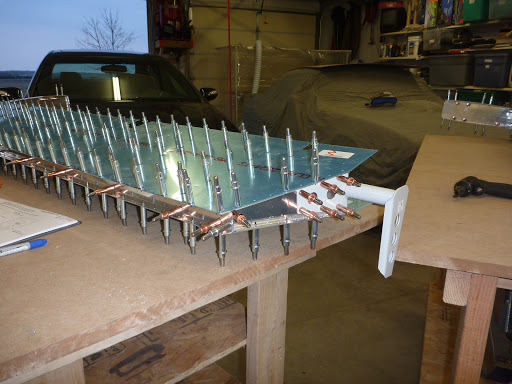
The big task for the night was to start final drilling the elevator skins. The manual recommends starting in the center and working your way to the edges, and clecoing every hole along the way. This is to prevent any warp working it’s way into the elevator. It also means that it’s pretty time consuming drilling a hole, putting the drill down, picking up the marker, marking the hole as complete, picking up the cleco gun, moving a cleco, setting the gun down, and picking up the drill for the next hole. Rinse, wash, repeat a few hundred times!
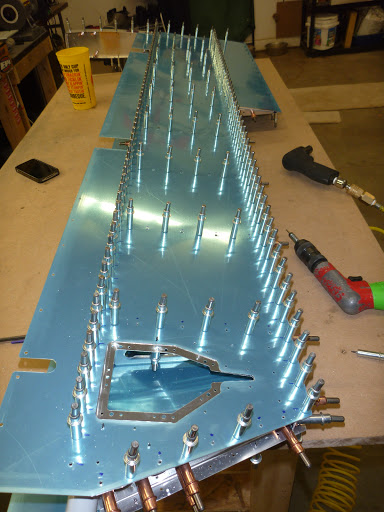
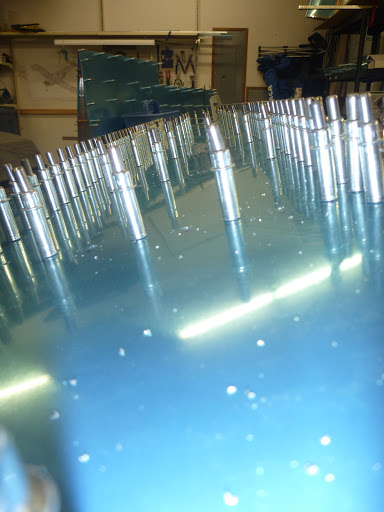
After all that work, one of the two elevators is final drilled!
I also messed with my timelapse software tonight, and I am capturing the images in widescreen HD. I’m still running some JPEG compression, but the quality should be better.