
I started off the day fixing a mistake I made yesterday. Luckily, it was a very small mistake that was very easy to fix with very little time. When I first assembled the two rib haves to make each of the 16 ribs, I numbered them to make sure each half would stay with it’s individual mate. I didn’t pay attention to this when I attached the ribs to the skins, so the numbers were all out of order. Luckily I noticed this before I match drilled anything, so it was just a matter of un-clecoing the ribs, and re-clecoing them in order. Like I said, easy!
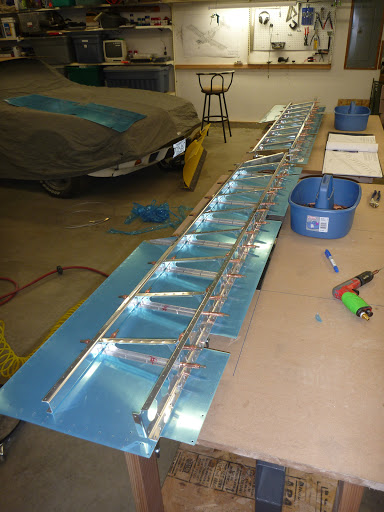
After that fix, I final drilled the spars to the ribs, and added in an access plate for the trim cables in the bottom skin of the elevators, and final drilled a gusset into the angled corner.
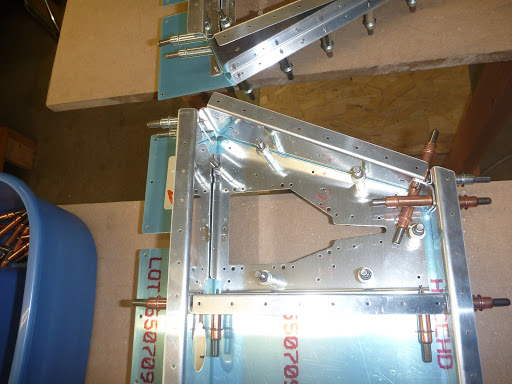
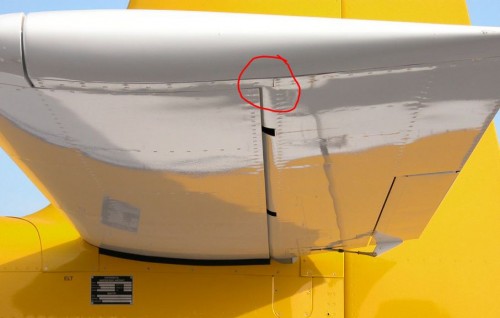
Next, I attached the counter-weight ribs that I built the other day. This part takes a little thought, as the plans are a little vague, and there are 4 layers of material that meet up in the corner here. You need to think about how each piece fits, and how they might interfere with each other. It was helpful to look at pictures of the Van’s factory RV10 that Doug Reeves was so kind to keep posted at VansAirforce.com. The red circle marks the spot where quite a few layers come together:
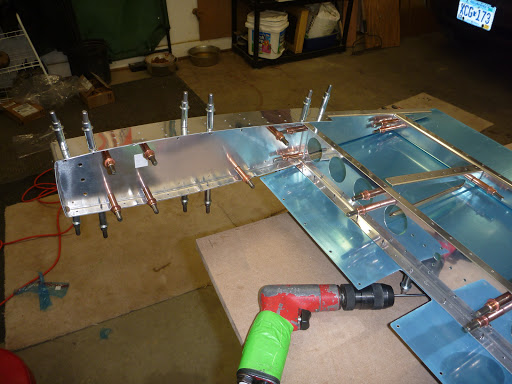
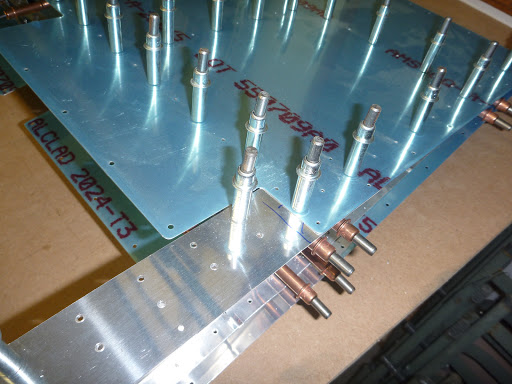
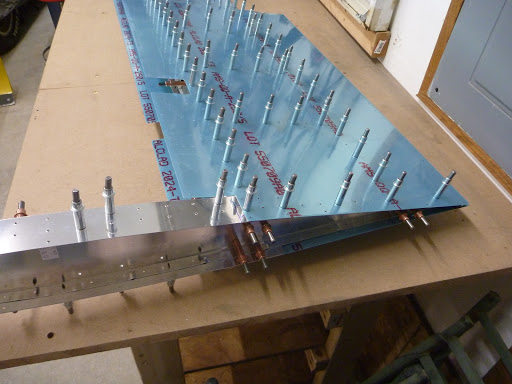
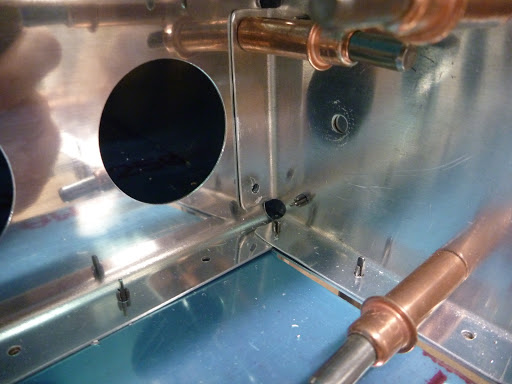
With the counter-weight ribs attached, I was time to fit the upper skin. I once again used all 500 of my clecos, but I can fully cleco one elevator at a time, so I’ll just rob from one for the other after the first is fully drilled.
And finally, today was the first day I really got a chance to put my new lightweight air hose from Cleaveland Tool to use. I can already tell it’s working MUCH better than the yellow coiled hose I had been using. It doesn’t get hung up like the coiled one did, it doesn’t tangle like the coiled hose, and you can barely feel it attached to the tool. I’m still going to put together a quick video review/demo, but for now, I can safely say that I recommend it!
Good job with the catch, that would’ve made an interesting time over the next few days if you hadn’t…
Thanks for the blow up picture of the 4 item joint. I did this step over the weekend and yes, the instructions are still less than clear! The top skin is clear; however, the bottom skin is not. Vansairforce was not much help either as people recommended both ways. Your page helped me decide, tip skin under main skin.