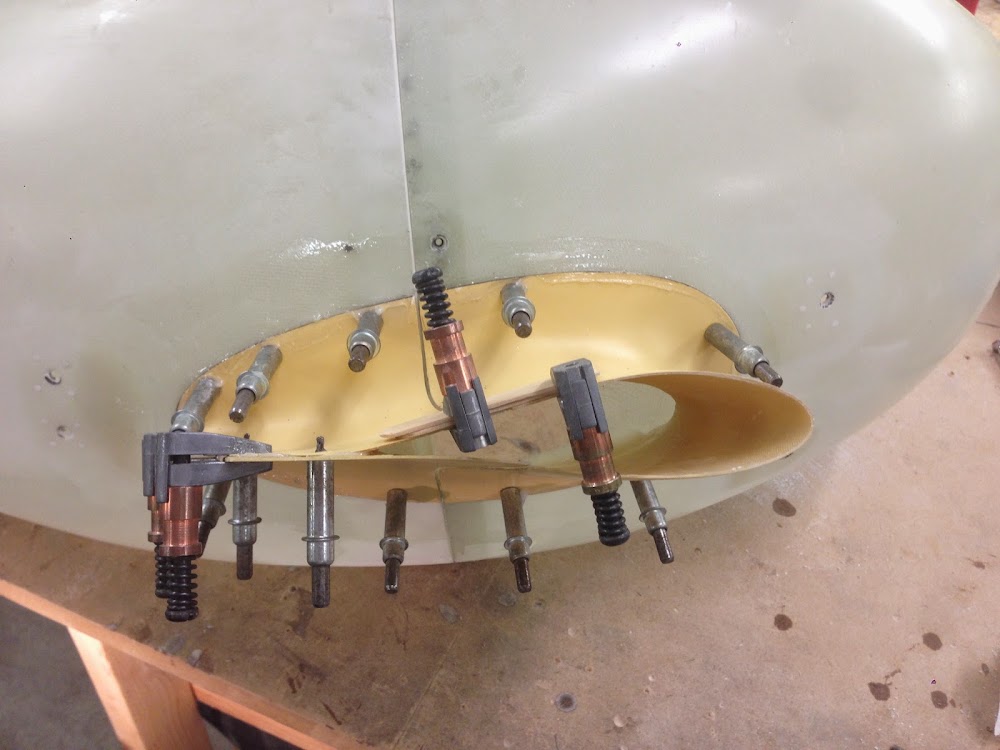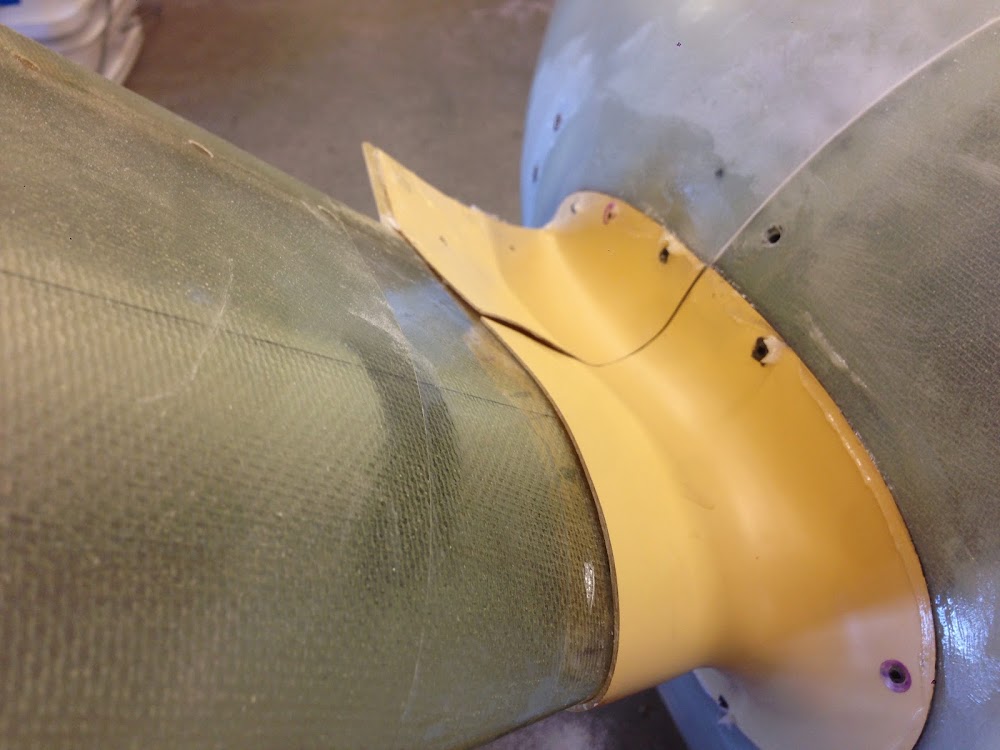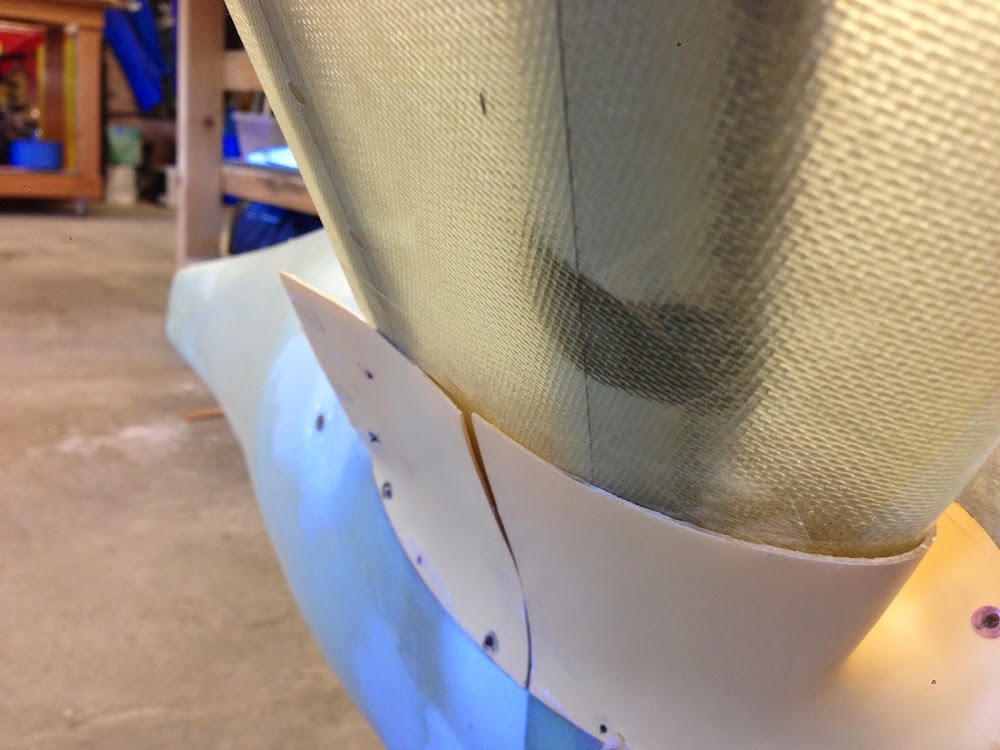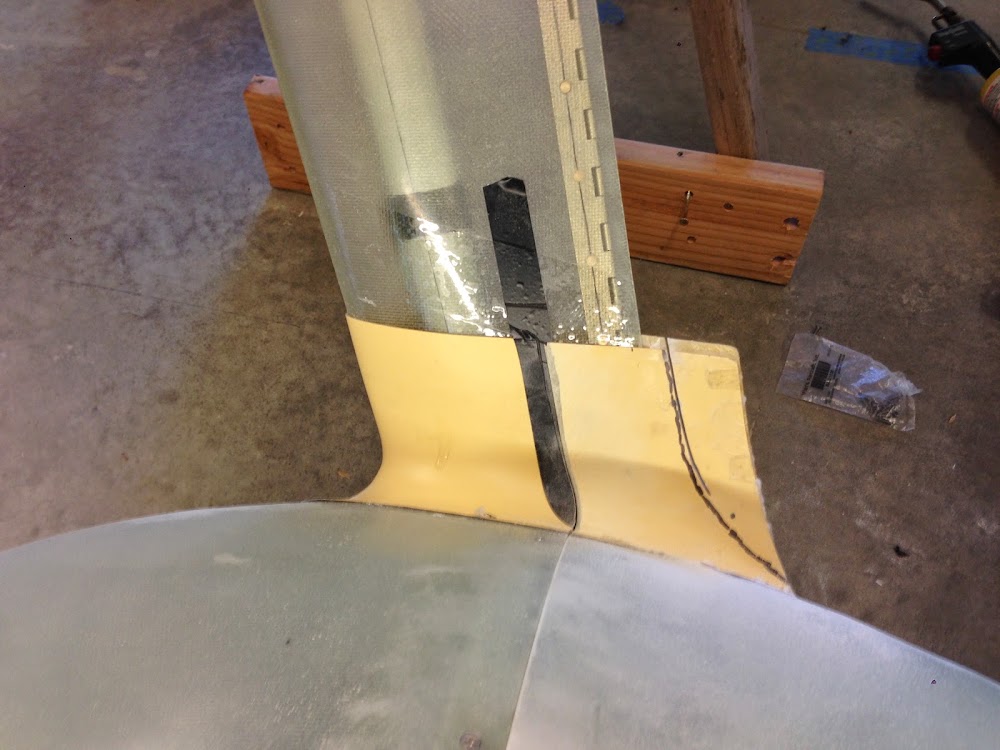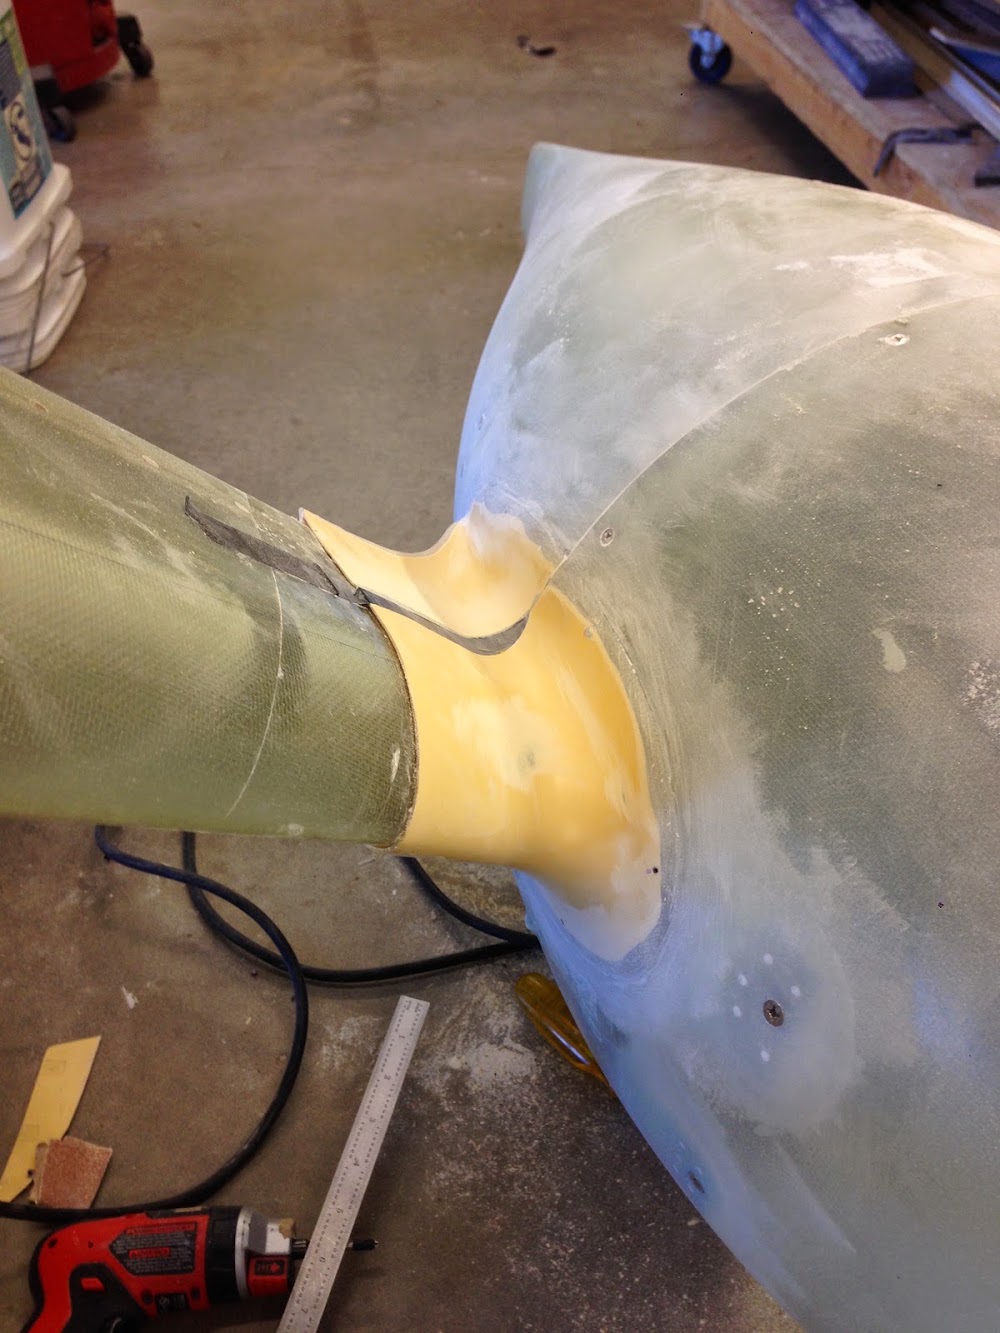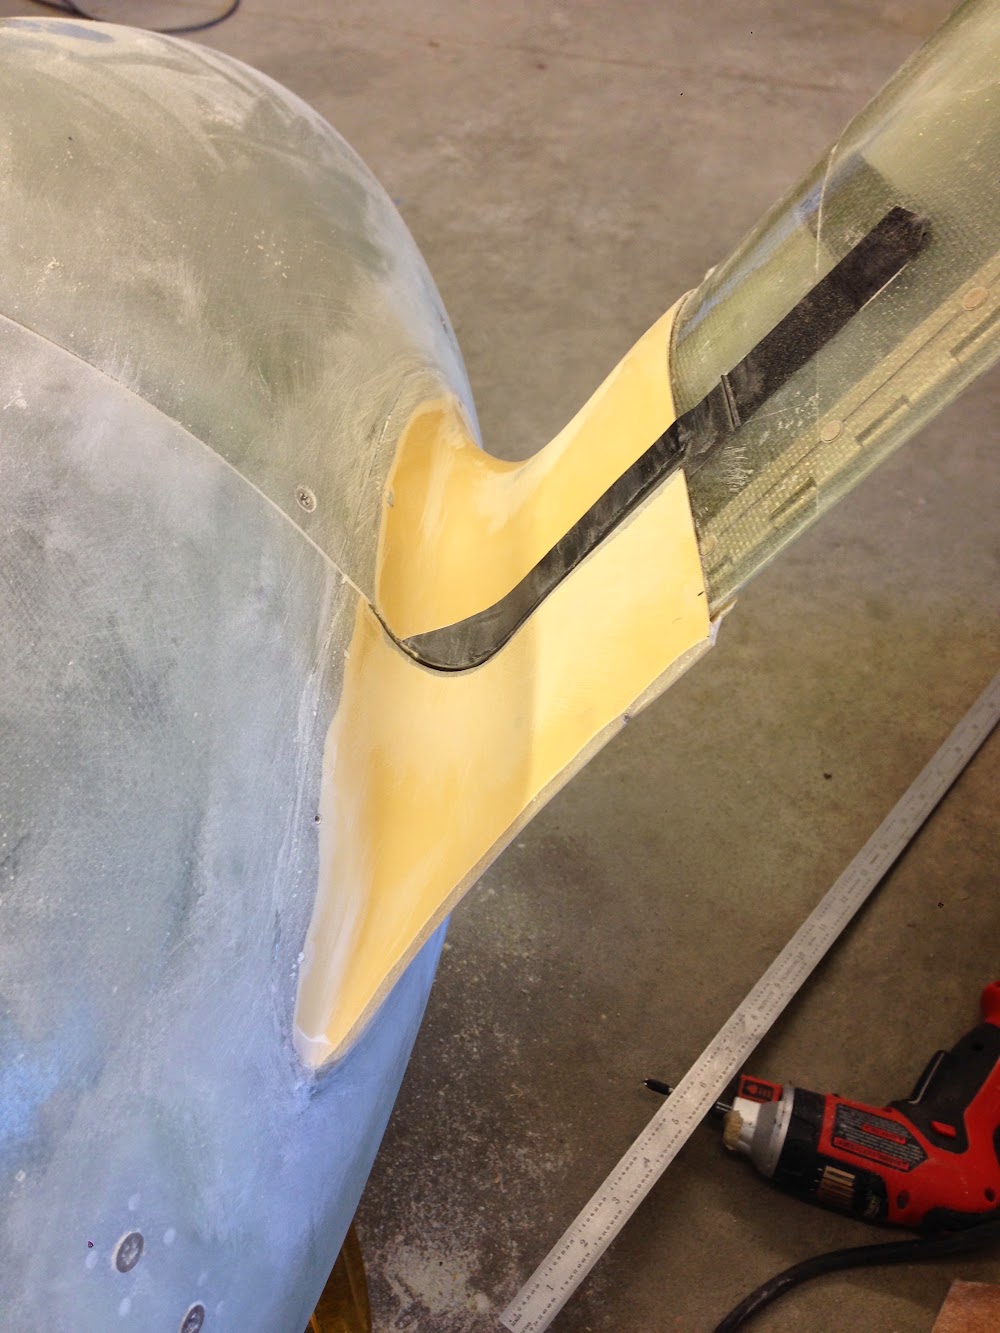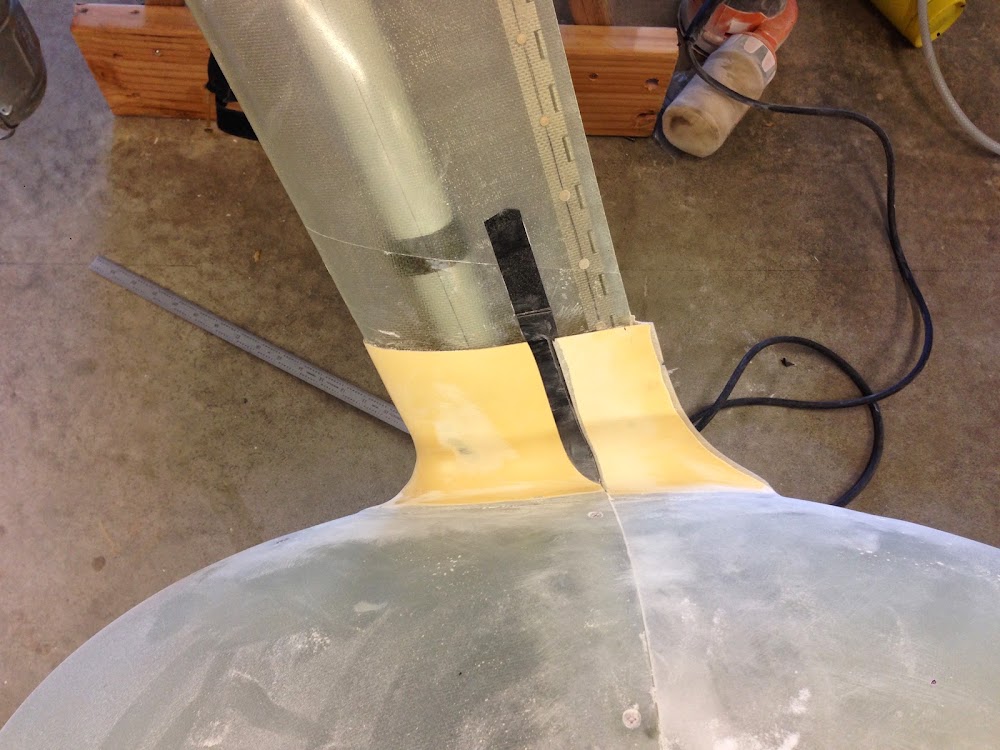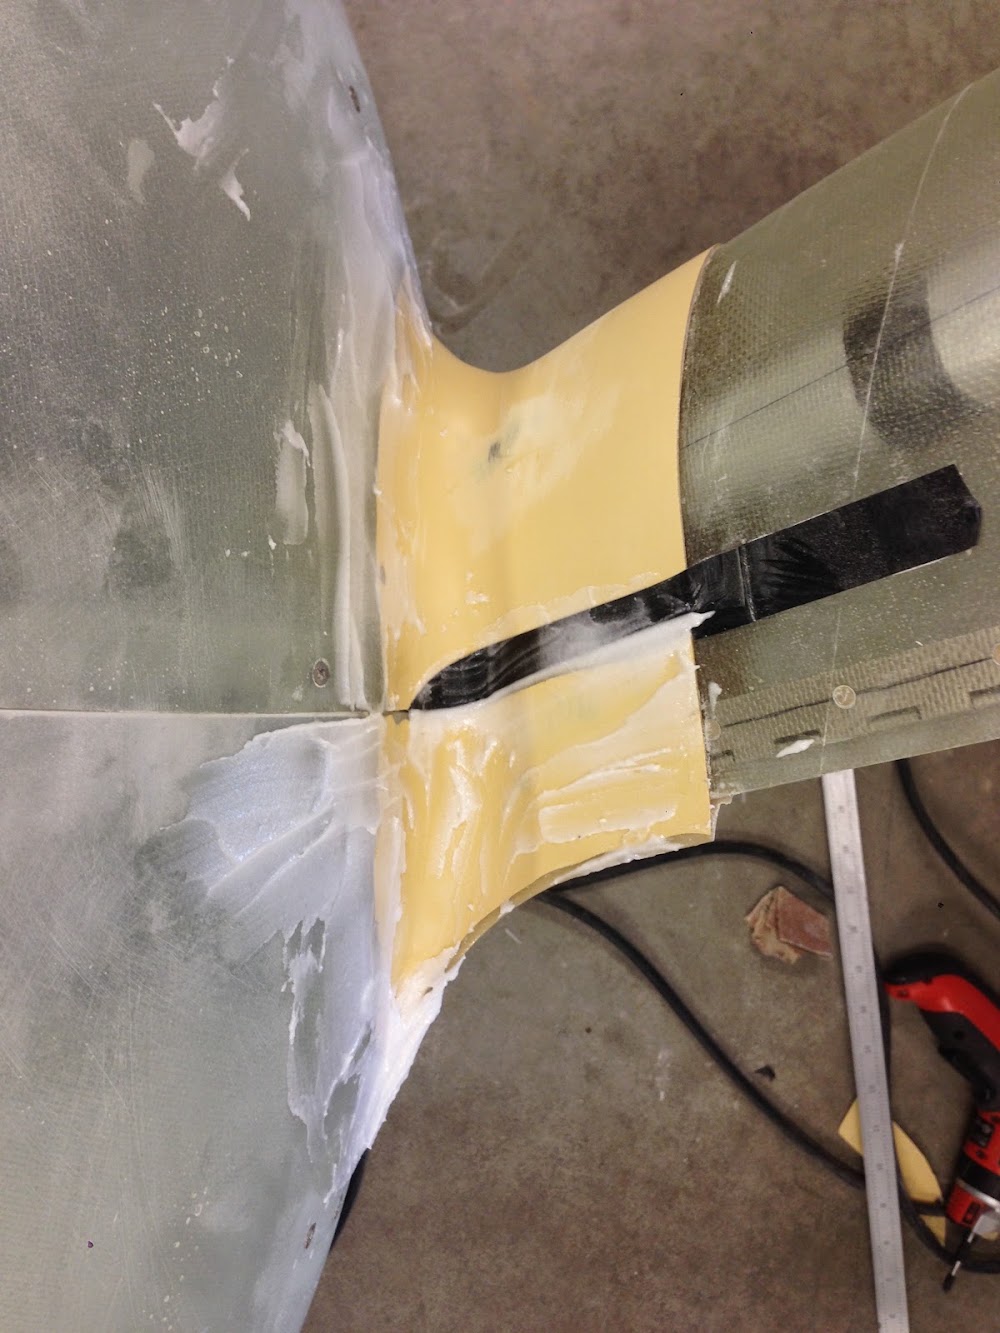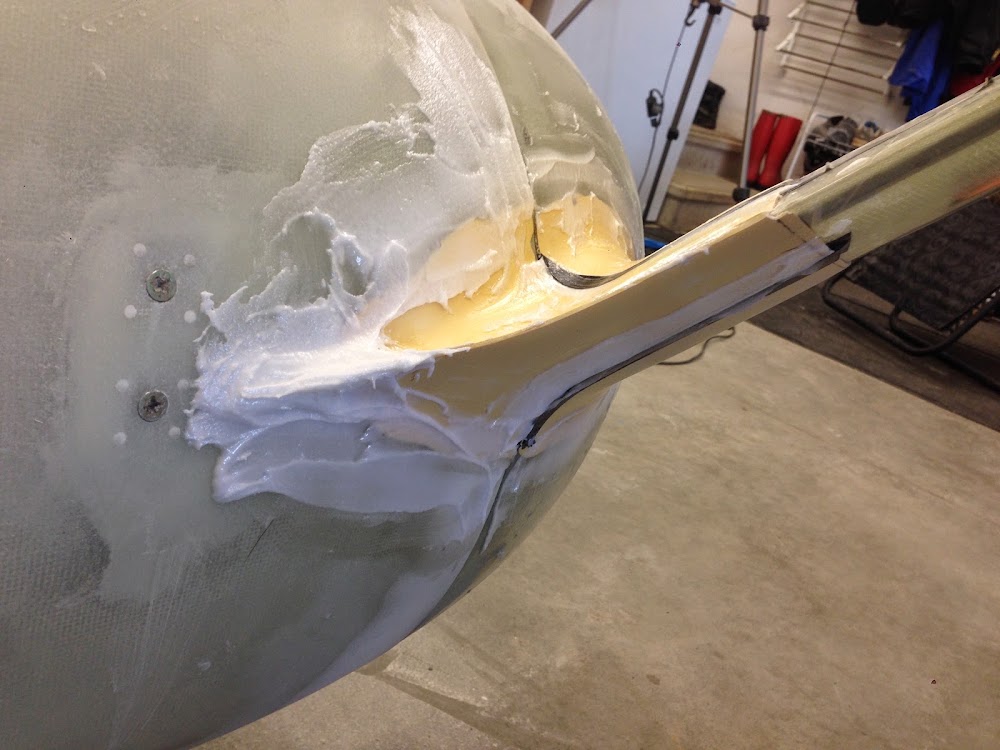
The intersection fairings cured overnight, and now it was time to see how they fit.
In two words, not well.
As I mentioned in the previous post, epoxy got where I didn’t want it, and the rear halves of the intersection fairing were bonded too closely. So the first half of the night was taken up cleaning up those mistakes with files, sand paper, and some hacksaw blades. It was annoying, but not too big of a deal.
Once that was done, the edges of the intersection fairing where I cut the joint still wasn’t matching up perfectly. To correct this, I VERY CAREFULLY warmed the glass of the fairing up with a torch. Once it was warm (I could still handle it without gloves, DON’T BURN THE FIBERGLASS), I was able to mold the intersection fairing to sit tightly against the gear fairing. This took 2 or three gentle adjustments to get right, but in the end, it looks perfect!
Next I cut off the excess fairing material on the trailing edge. Again, I just eyeballed this to a pleasing looking curve.
I then sanded the transition area between the intersection fairing and the wheel pant to take off a bunch of the extra fairing material, then mixed up some an epoxy, cabosil, microballoon mixture and smeared is over the transition and at the trailing edge of the fairing. This will allow me to sand down a nice streamlined shape, and it should look like the pants and fairings are all one piece.