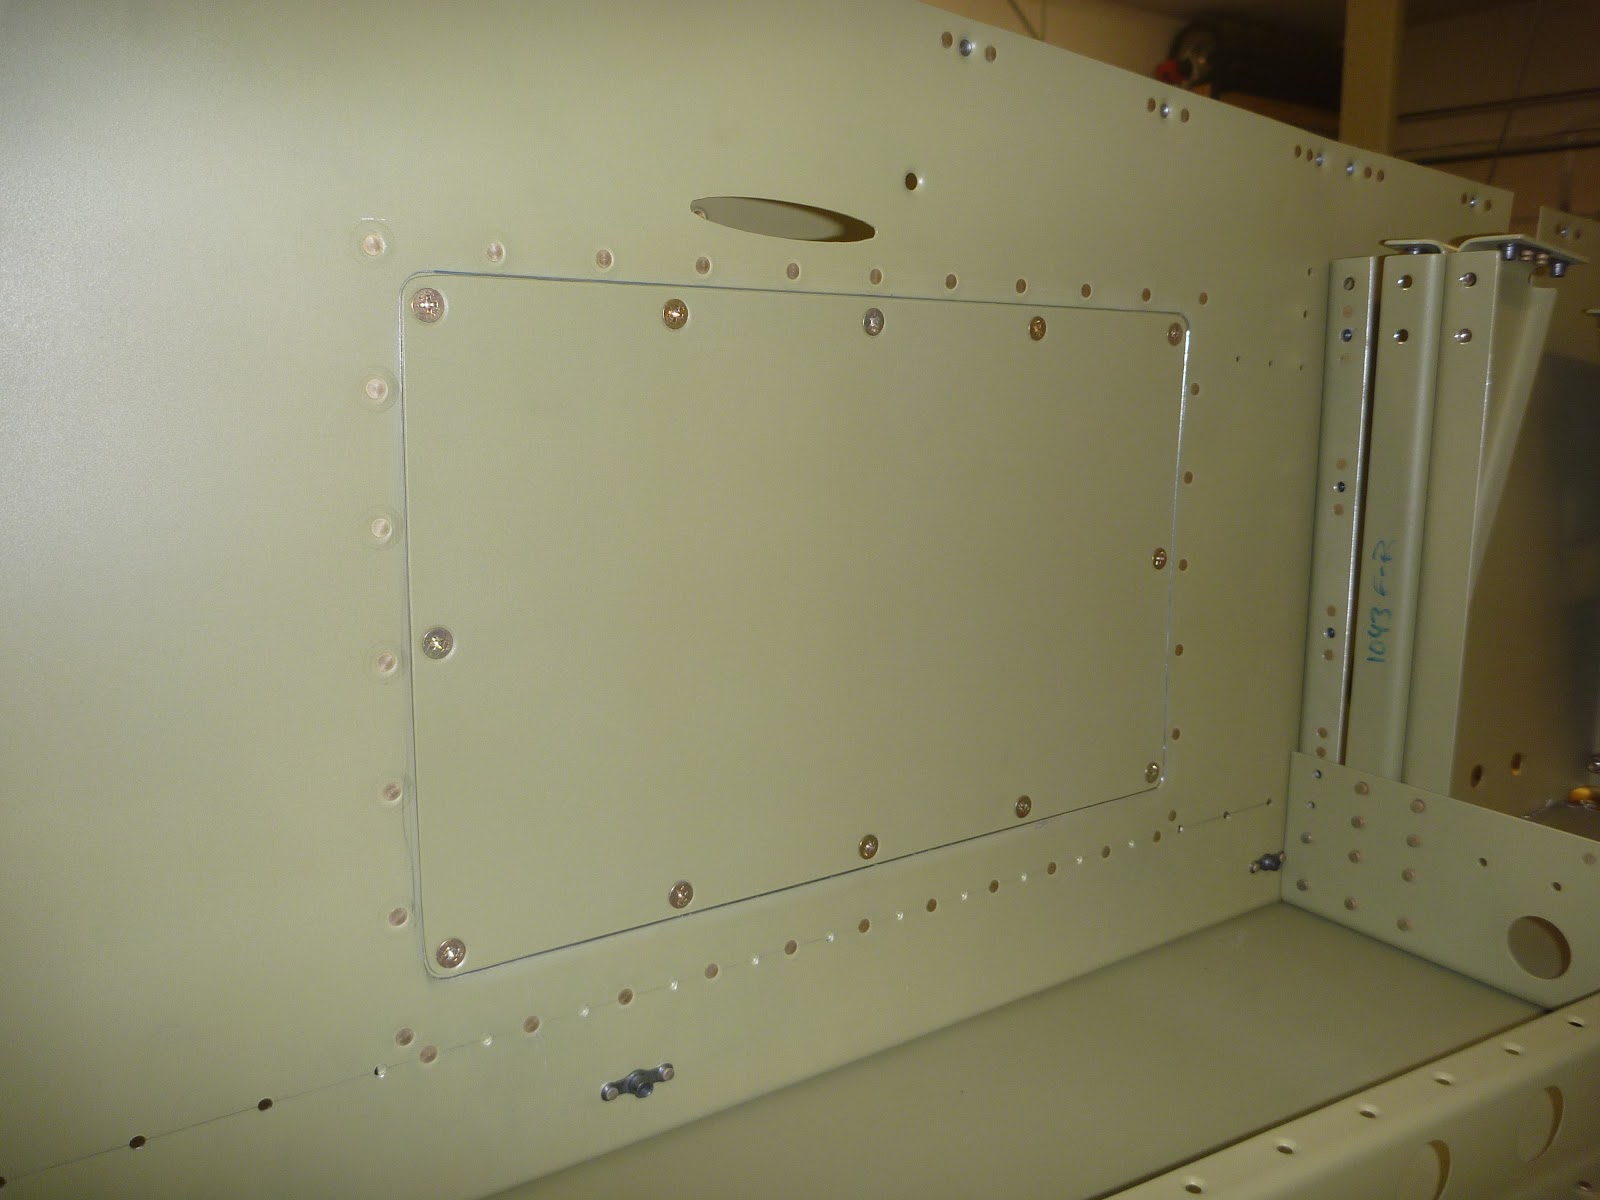
Tonight, I riveted together all the parts of the tunnel access panels and finished their installation.
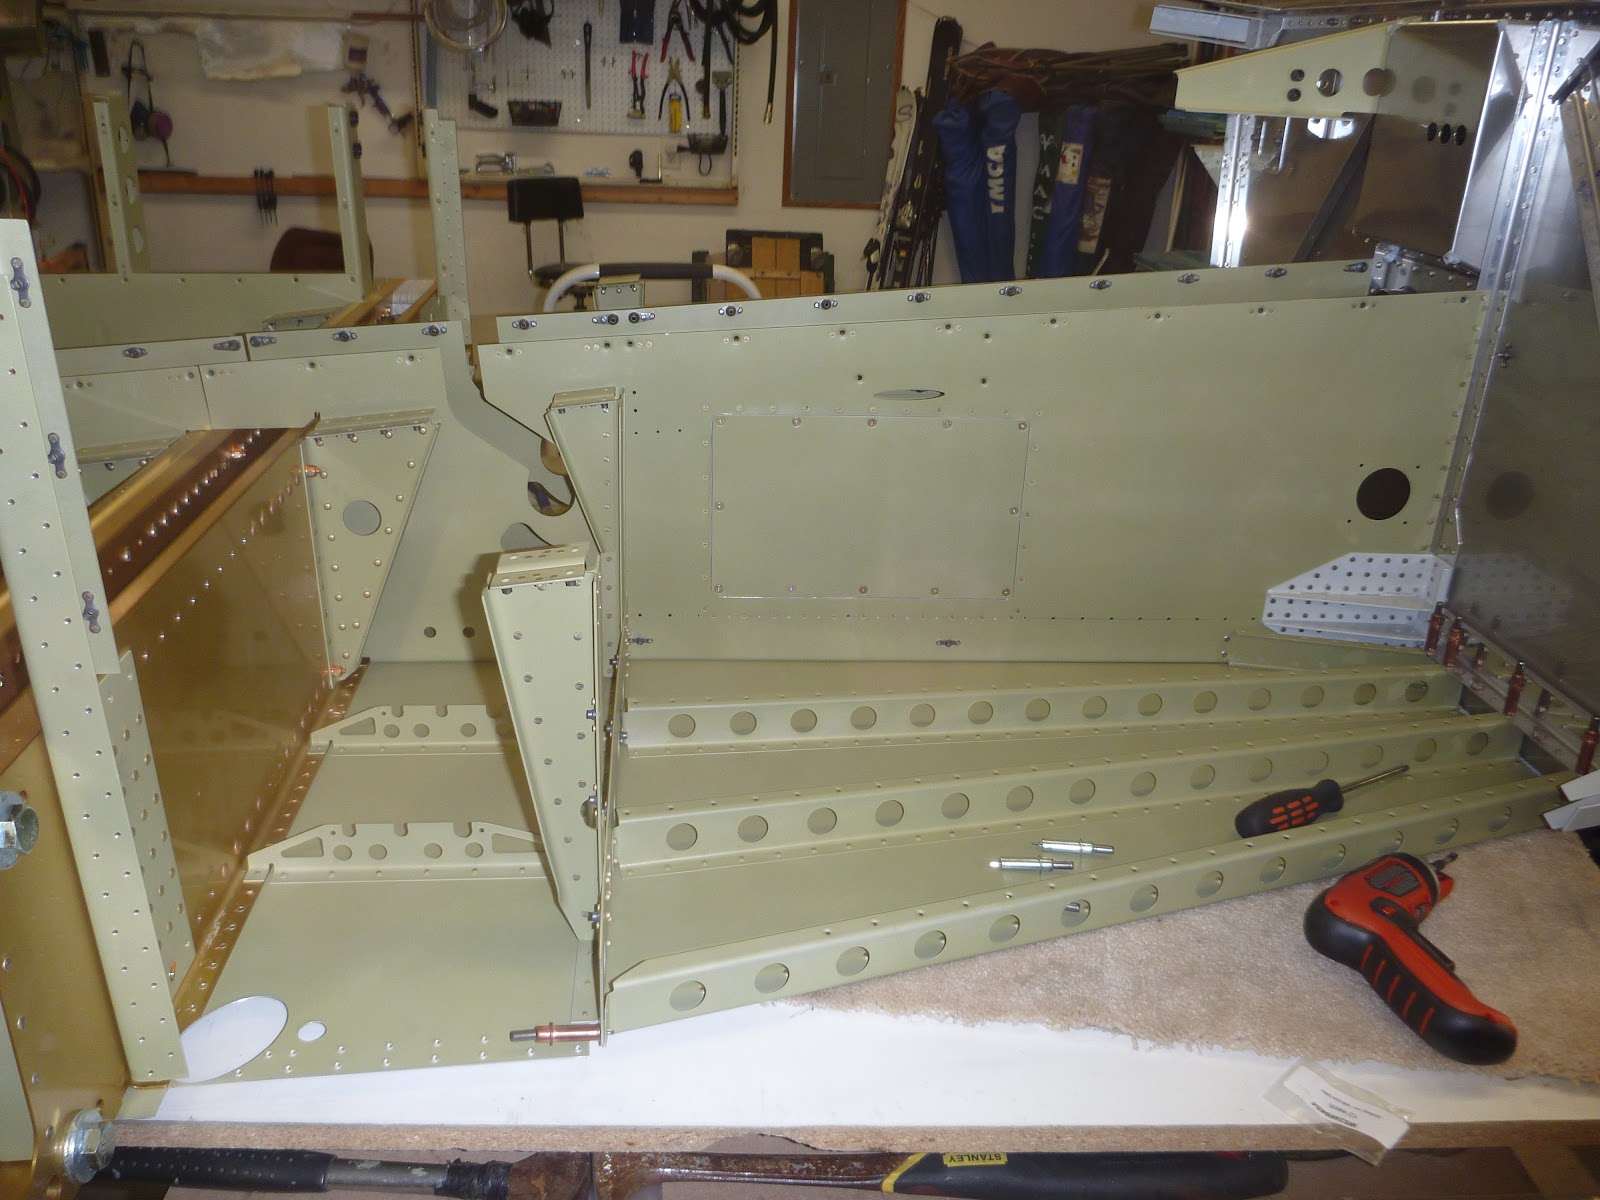
I also began bolting together the front seat bulkhead assemblies.

One average family living on the fly
Tonight, I riveted together all the parts of the tunnel access panels and finished their installation.
I also began bolting together the front seat bulkhead assemblies.
Comments are closed.
I’m copying your plan with the tunnel access panels, but I’ll be !#$%ed if I can get a smooth countersink on the panel for the #8 screws. The hole seem to be #12, and the biggest countersink tip I have is for a #19, so the hole is wallowed out. May have to make a backing plate just for countersinking. What worked for you?
I just dimpled all the parts for the access panels. The material is too thin to countersink.
My initial reaction was to dimple, but then I figured I’d have to get 24 K1100 nut plates to replace the 1000’s he sent. It’s going to sound dumb, but I figured if the directions say to countersink, he must have been able to do it. Needless to say, the holes look like crap, and I’m a dumb***.
Now that you mention it, that’s exactly what I did. I used K1100’s instead of the supplied K1000’s. Everything sits very nice and flush. And I wouldn’t worry about a few wallowed out holes on the backing plate. It’ll be hidden by the tunnel aluminum, and it’s not structural. But dimpling worked perfectly for me.
I’m at the point of riveting the two halves together, and it seems like the rivets called out are a little short – instead of 4.5 and 5’s for the tabs, I’m using 5 and 6’s (after drilling out some pretty flat rivets…) wondered if you had the same problem.